
November can look like the end of the gardening year, but below the surface your soil is just getting started. This is the month when a few focused steps quietly transform tired beds into rich, resilient loam for next spring.
In this guide, I’ll cut through the overwhelm and walk you through exactly what to do: how to test your soil, build loam, fine-tune pH, use compost and mulch wisely, and put cover crops to work for you. By the time you’re done reading, you’ll have a clear, actionable November soil plan instead of a vague “I’ll deal with it in spring” feeling.
I still remember the year I finally took November soil care seriously. I ran a simple soil test, spread compost, added mulch, and sowed a cover crop instead of leaving beds bare. The next spring, my plants rooted faster, stayed greener, and shrugged off heat waves that used to flatten them. That’s the quiet power of November soil work—and you can absolutely get the same results.
Why November Soil Work Matters More Than You Think

What Loam Soil Really Is (And Why Gardeners Obsess Over It)
When gardeners talk about “perfect soil,” we’re usually talking about loam. Loam is a balanced mix of sand, silt, and clay with plenty of organic matter woven through it.
In practical terms, that means loam is crumbly, airy, and slightly spongy. Roots can easily push through it to chase deeper moisture, which makes plants more resilient against temperature swings, dry spells, and wind. If you want a deeper dive into loam soil—why gardeners obsess over it and how to identify or improve it—you can check out this comprehensive guide to loam soil.
- Sand particles are the largest and improve drainage.
- Clay particles are tiny and slow water movement, helping hold moisture and nutrients.
- Silt particles sit in the middle and help bind everything into that crumbly structure we love.
November is the perfect time to start nudging heavy clay or lean, sandy soil toward loam by adding organic matter and using cover crops. For instance, mixing in soil amendments like vermiculite can improve moisture retention and nutrient availability—here’s a detailed guide on how to use vermiculite in potting soil for gardeners.
How Winter Quiet Builds Summer Growth
Even when your garden looks asleep, there’s a lot happening in the soil. Microbes, fungi, and tiny soil creatures are still at work, just at a slower pace. For more insights on what to focus on in November soil care, check out this November soil guide from Epic Gardening.
When you add compost, mulch, or cover crops in November, you’re basically setting the table for these organisms. Over winter they:
- Break down organic matter into plant-available nutrients.
- Improve structure so roots can breathe and penetrate more deeply.
- Reduce compaction that comes from rain, snow, and foot traffic.
By spring, roots find a softer, richer, better-aerated home ready for rapid growth.
Common Soil Problems You Can Start Fixing In November
If your soil feels like pottery clay or beach sand, November is your friend. I like to quickly diagnose beds before winter by simply digging a spadeful and looking for signs such as:
- Heavy clay: soil clumps hard, drains slowly, and can form cracks when dry.
- Very sandy soil: feels gritty, dries out fast, and struggles to hold nutrients.
- Compacted soil: roots are shallow and twisted, water pools on top after rain.
- Poor fertility: stunted plants, pale or yellowing foliage, weak new growth.
All of these issues respond well to compost, mulch, cover crops, and pH adjustments started in late fall. You can explore additional strategies and seasonal tips in this All That Grows guide to November soil.
The 7 Smart November Soil Steps (Quick Overview)
Your 7-Step November Soil Game Plan
To keep everything simple, here are the 7 key steps I recommend doing in November. We’ll go into more detail in the sections that follow, but this overview will help you see the big picture.
- Do a soil test: Learn your soil type, nutrient levels, and pH so you’re not guessing with amendments.
- Topdress with compost: Spread 1–2 inches of finished compost to feed microbes and build loam.
- Adjust soil pH if needed: Use lime to raise pH or sulfur to lower it, following test recommendations.
- Add winter mulch: Apply 2–3 inches of straw, bark, or leaves after a hard frost to protect roots.
- Make use of fall leaves: Use them as mulch, compost brown material, or future leaf mold.
- Plant a cover crop: Sow legumes and/or grasses to protect, loosen, and enrich the soil.
- Plan spring planting around your soil: Match crops to your current soil while you continue to improve it.
If this looks like a lot, don’t panic. I rarely do all seven steps on every bed in a single weekend. Instead, I choose one or two priority beds each year and rotate, so the whole garden steadily improves.
Test, Observe, And Adjust Your Soil Before Winter
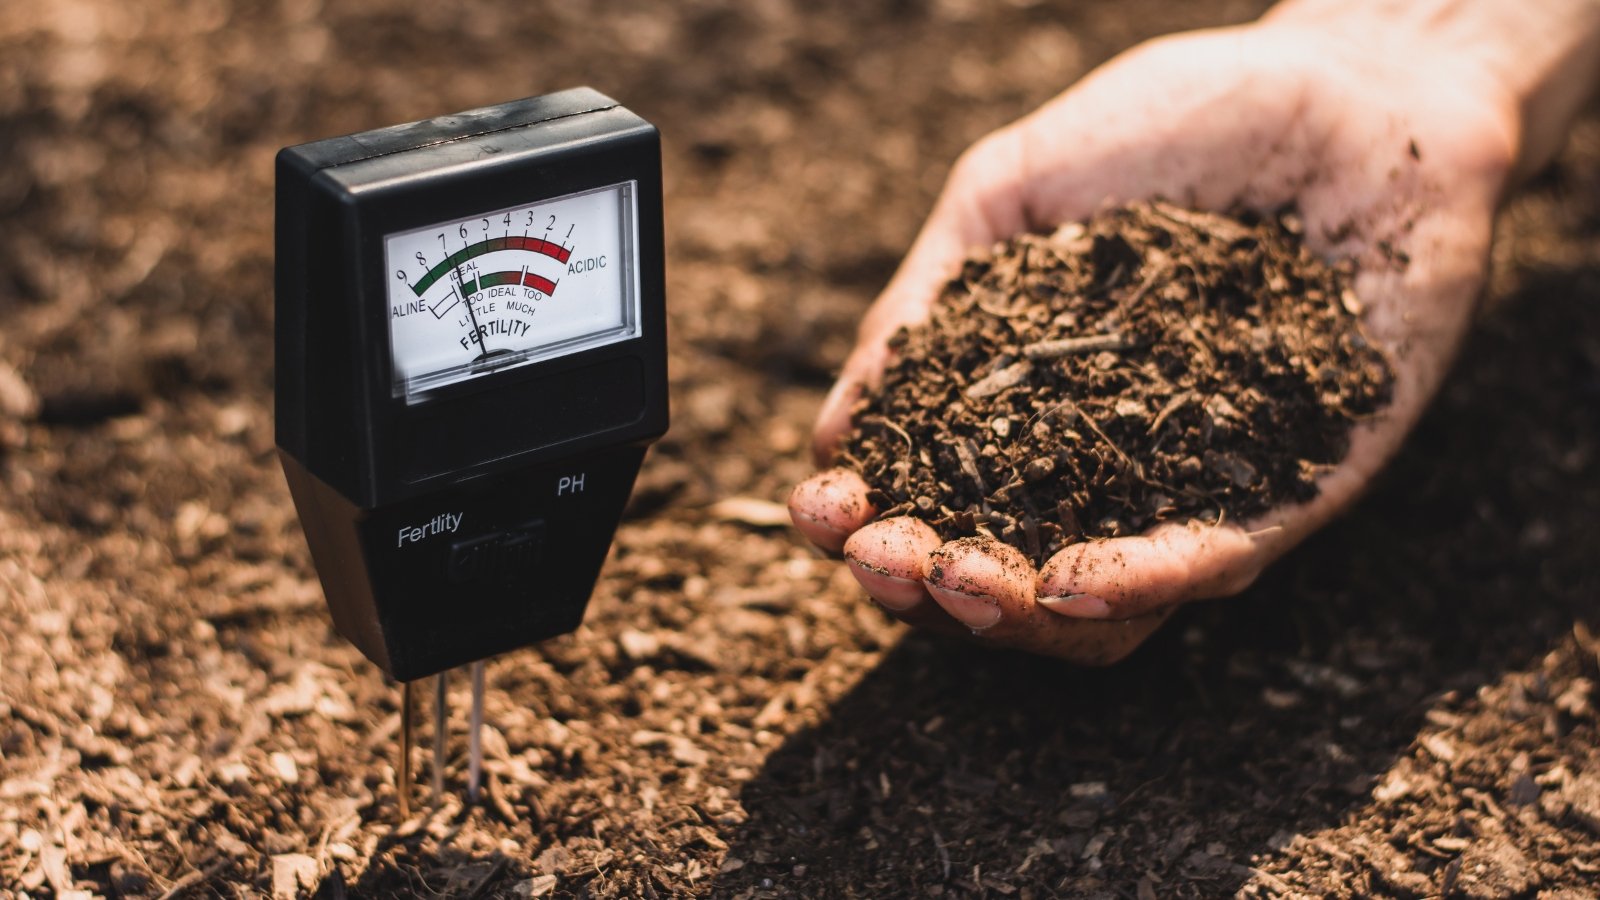
Do A Simple Soil Test (It’s Easier Than You Think)

If you haven’t tested your soil in the last 3–5 years, November is the time. I like to think of a soil test as a checkup that saves you money and guesswork all season long.
You can use a mail-in test from your local extension office or a quality at-home kit. For a step-by-step walkthrough on collecting soil samples, interpreting results, and improving nutrient levels, see this soil test guide for gardeners. For the best results:
- Sample specific areas if you want detailed info (e.g., vegetable beds vs. shrub borders).
- Or mix several small samples from around the yard for a big-picture overview.
- Follow the instructions carefully for how deep to dig and how much soil to collect.
Good lab results usually tell you soil texture, nutrient levels, pH, and amendment recommendations with application rates. I always keep the report in a garden notebook to track improvements over time.
Check And Adjust Soil pH
Soil pH quietly controls how well roots can access nutrients. Even if your soil is rich, plants will struggle if the pH is way off. Most garden plants (edibles and ornamentals) prefer a slightly acidic to neutral pH of 6.0–7.0.
When your soil test results arrive, look for these signals:
- Too acidic (low pH): leaves may yellow (especially between veins), and growth is weak.
- Too alkaline (high pH): iron and other nutrients get “locked up,” leading to chlorosis.
To correct pH in November, while soils are still unfrozen:
- Raise pH (less acidic) with garden lime, applied at the rate your soil test recommends.
- Lower pH (less alkaline) with garden sulfur, again following the lab’s rate and timing.
Adjusting pH in fall gives these materials time to react with the soil so plants benefit right away in spring.
Read Your Plants As Soil Indicators
Even without a lab report, your plants are constantly sending messages about soil health. I walk my beds in late fall and look for patterns like:
- Patchy yellowing that hints at nutrient imbalance or poor drainage.
- Stunted or dwarfed plants that suggest compaction or low fertility.
- Plants that flop or wilt even when soil is moist, pointing to root damage or oxygen-poor soil.
Use these visual clues to prioritize which beds need the most attention this November.
Feed And Protect: Compost, Mulch, And Leaves
Topdress With Finished Compost

Compost is my number-one November soil amendment. Spreading a 1–2 inch layer of finished compost over your beds does several things at once. For a detailed overview of preparing garden soil before planting, you can also see this Almanac guide to soil preparation.
- Feeds soil life with a steady trickle of nutrients over winter.
- Improves structure in both clay and sandy soils, moving them closer to true loam.
- Helps regulate temperature around roots and microbial communities.
Use compost that’s fully broken down (it should smell earthy, not sharp or sour). If you’re using manure, wait until after frost and apply it lightly so it can mellow over winter without burning roots.
Protect Roots With Winter Mulch

Once your perennials have gone dormant and the ground has experienced a hard frost, it’s time for winter mulch. I aim for a 2–3 inch layer over most beds.
Good options include:
- Clean straw for vegetable beds and berries.
- Bark chips or shredded wood around trees and shrubs.
- Shredded leaves in ornamental or mixed beds.
Mulch helps by:
- Preventing frost heaving that can lift roots out of the soil.
- Reducing moisture loss from winter winds and low humidity.
- Slowly adding organic matter as it breaks down.
Just be sure to keep mulch a few inches away from stems and trunks to avoid rot and fungal problems.
Make The Most Of Your Fall Leaves
If you have trees, you have free soil-building gold. Instead of bagging leaves, I treat them as a multi-purpose November resource.
- Use whole leaves as a gentle mulch on beds, especially for pollinator-friendly borders.
- Shred leaves with a mower to create a neater-looking, faster-breaking mulch.
- Stack extra leaves in a bin or pile to make leaf mold in 6–12 months.
- Add some leaves to compost as the carbon-rich “brown” component.
As leaves decompose, they insulate roots, feed soil life, and create habitat for overwintering beneficial insects—one of the simplest ways to support a balanced garden ecosystem.
Supercharge Soil Health With Clever Cover Crops
Why Cover Crops Build Better Loam
Leaving beds bare over winter is like leaving a pantry door open in a storm—nutrients wash away and soil structure breaks down. Cover crops solve that by acting as a living blanket for your soil.
When you sow a mix of grasses and legumes in fall, they:
- Reduce erosion by shielding soil from rain, snow, and wind.
- Suppress winter weeds with a solid canopy of foliage.
- Improve soil structure as roots create channels for air and water.
- Add organic matter when you cut and drop the plants to decompose in place.
Over time, regular cover cropping is one of the fastest ways I’ve seen to turn poor soil into rich, workable loam.
Best Legumes And Grasses To Sow As Cover Crops

I like to keep cover crop choices simple and reliable. You can sow just one species or mix a legume with a grass for extra benefits.
- Legumes (nitrogen fixers): clover, field peas, vetch, and certain beans that tolerate cool weather.
- Grasses (quick cover and roots): annual ryegrass, oats, winter wheat, and buckwheat in milder areas.
Legumes partner with soil microbes on their roots to capture nitrogen from the air. Grasses offer fast top growth and dense roots that hold soil together and add organic matter when they’re cut down.
Warm vs. Cold Climate Cover Crop Tips

Your cover crop strategy in November depends a bit on your climate. I like to adjust this way:
- In warmer climates (mild winters): sow in late fall, let crops grow through winter, then cut them back after flowering but before they set seed. Leave the cut material as mulch or lightly incorporate it before planting.
- In colder climates (hard freezes): sow early enough in fall for cover crops to establish, then let them experience winter kill. The dead plants form a natural mulch you can plant through or gently work in come spring.
In both cases, choose varieties suited to your USDA zone and gardening window so they have enough time to grow before deep winter sets in.
Putting It All Together: November Soil Plan And Smart Gardening Mindset
A Simple Weekend-Style November Soil Plan
If you’re short on time (and who isn’t in November?), here’s how I often break things up into manageable chunks across one or two weekends.
- Day 1: Walk the garden, note problem areas, collect soil samples, and mail or start your soil test.
- Day 2: Topdress priority beds with compost and rake leaves into place as mulch or into piles for future leaf mold.
- Day 3: Apply lime or sulfur according to soil test recommendations and sow cover crops in any empty beds.
- After first hard frost: Add winter mulch to protect roots and finish tucking the garden in.
You don’t have to be perfect. Even doing two or three of these steps this year will noticeably improve your soil by spring.
What To Expect By Spring If You Start Now
When you give your soil attention in November, you’ll usually notice a few clear differences in spring:
- Soil feels looser and easier to work, even after winter rains and snow.
- Plants root more deeply and show stronger, greener growth early in the season.
- Water drains more evenly, avoiding both puddles and bone-dry patches.
- Fewer weeds pop up where cover crops and mulch were used effectively.
Over several seasons, these subtle changes add up to a big shift: your garden becomes more forgiving, more resilient, and less dependent on constant rescue efforts.
Common November Soil Mistakes To Avoid
I’ve made plenty of mistakes with fall soil care. Here are a few to sidestep:
- Skipping the soil test and guessing at fertilizers or pH adjustments.
- Using fresh, hot manure right before planting instead of giving it time to mellow.
- Burying mulch against stems and trunks, which invites rot and pests.
- Leaving beds completely bare, allowing erosion and nutrient loss all winter.
A little planning now prevents a lot of frustration later.
Quick Reference Table: Key November Soil Actions
| Action | Best Timing | Main Benefit | What To Watch For |
|---|---|---|---|
| Soil Test | Early–mid November | Reveals nutrients, pH, and soil type | Follow lab rates; don’t over-amend blindly |
| Compost Topdress | Any time before ground freezes | Feeds microbes and builds loam | Use finished compost; avoid thick, soggy mats |
| pH Adjustment (Lime/Sulfur) | When soil is moist but not frozen | Optimizes nutrient uptake for roots | Apply only with a test; recheck every few years |
| Winter Mulch | After hard frost | Protects roots and reduces heaving | Keep away from stems and trunks |
| Leaf Use (Mulch/Leaf Mold) | Throughout fall | Free organic matter and habitat for insects | Avoid smothering small, evergreen plants |
| Cover Crop Sowing | Late fall, before deep freezes | Prevents erosion and adds biomass | Choose varieties suited to your climate and timing |
7-Step November Soil Checklist
Use this quick checklist to keep yourself on track:
- Collect soil samples and send in or run your at-home test.
- Note which beds have compaction, poor drainage, or weak growth.
- Spread 1–2 inches of compost over priority beds.
- Apply lime or sulfur only if your soil test calls for it.
- Rake and shred leaves to use as mulch or to start a leaf-mold pile.
- Sow a cover crop in any beds that would otherwise sit empty.
- Add winter mulch after a hard frost to lock in moisture and protect roots.
Final Thoughts: Grow Smarter, Not Harder
Smart gardening isn’t about working nonstop; it’s about choosing the right actions at the right time. November soil care is one of those quiet investments that pays you back all season long in healthier plants, easier watering, and fewer problems to fix later.
If you start with just one or two of these November soil steps this year, you’re already gardening smarter. Next year, build on what worked. Over time, your soil—and your garden—will only get better.
If you found this guide helpful, I’d love to hear what you’re trying in your own beds this fall. Visit Plant Care Dairy and share your experiences or questions in the comments so we can keep learning from each other.
Disclaimer: This article is for educational and informational purposes only and is not a substitute for professional horticultural, agricultural, or soil-testing advice. Always follow local regulations and product labels, and consider consulting your local extension service or a qualified professional for recommendations tailored to your specific site and conditions.