
Your Christmas cactus can deliver jaw-dropping color right when you want it most—if you match the right care to the right timing. In this guide, I’ll cut through the confusion and give you actionable, beginner-friendly steps you can follow today. We’ll focus on the essentials: identifying your holiday cactus, dialing in light and soil, watering with confidence, and triggering blooms right on schedule.
By the end, you’ll know exactly how to set the stage for buds, how to avoid the most common issues, and how to prune and repot without stress. I’ll also share the 7 simple steps I use to get reliable blooms every year and a printable checklist to make it effortless.
I learned the hard way. The first year I kept my plant on a bright, hot windowsill and watered whenever I remembered. It rewarded me with crispy leaf edges and zero flowers. Once I shifted to bright, indirect light, mixed my own coarse soil, and gave it cool, long nights in early fall, it burst into color. You can do this too—and I’ll show you how.
Holiday Cactus 101: Identify What You’ve Got

Schlumbergera vs. Rhipsalidopsis Basics
Holiday cacti are epiphytes from South American rainforests. In nature, they anchor onto tree branches, and their segment-linked stems cascade under dappled light. Most Christmas and Thanksgiving cacti are in the Schlumbergera genus, while Easter cactus lives in Rhipsalidopsis. For a more detailed overview, check out this complete guide to growing Christmas cactus.
Because they evolved on trees, they prefer well-aerated, moisture-retentive media—not heavy garden soil. Think of them as rainforest cacti that cherish indirect brightness and even humidity.
Leaf Segment Clues
If you’re unsure which holiday cactus you’re growing, study the segment edges. It’s the quickest ID method for beginners.
- Thanksgiving Cactus (Schlumbergera truncata): Noticeably jagged, serrated segment edges.
- Easter Cactus (Rhipsalidopsis gaertneri): Segments are more rounded, with softer scallops.
- Christmas Cactus (Schlumbergera x buckleyi): Gently rounded with slight serrations, a middle ground between the two.
Don’t stress if your tag says “Christmas cactus” but the segments look more like Thanksgiving cactus. Many store-bought plants are hybrids, and the care is nearly identical.
Bloom Timing and Hybrid Confusion
The common names reference typical bloom windows: Thanksgiving (late fall), Christmas (early winter), and Easter (spring). Hybrids blur the lines, so I focus on controlling light and temperature to cue buds instead of chasing exact labels. You can also learn how to collect different Christmas cactus varieties to expand your indoor holiday garden.
If the plant’s leaves, growth habit, and flowers resemble a holiday cactus, care principles in this guide will work.
Quick ID Checklist
- Check segment edges: Serrated suggests Thanksgiving; rounded suggests Easter; in-between hints Christmas.
- Note bloom season: Late fall to early winter for Thanksgiving/Christmas; spring for Easter.
- Observe flower form: Tubular blooms often at segment tips, in multiple vivid colors.
- Care alignment: Bright, indirect light and a coarse, airy mix are universal needs.
Light, Soil, and Water: Set the Stage for Success

Bright, Indirect Light Done Right
Your cactus will thrive with bright, indirect light—think the soft brightness under a rainforest canopy. Indoors, place it offset from a south or west window so it catches light without harsh midday beams.
If you use a grow light, avoid baking the plant directly under the bulb. I position mine off-center to keep it bright but gentle.
DIY Potting Mix That Drains Yet Holds Moisture
Skip dense soils. We want a mix that’s coarse, free-draining, and lightly moisture-retentive, just like their tree-branch habitat. Here’s a reliable recipe for beginners:
- 2–3 parts high-quality potting soil
- 2 parts coarse sand (agricultural sand or horticultural grit)
- 1 part perlite for extra air pockets
Blend thoroughly. If your home runs dry in winter, a small portion of fine bark or coco coir can improve moisture hold without sacrificing airflow.
Smart Watering Rhythm Through the Year
Water only when the top layer of mix feels dry to the touch. In active growth, that’s often every 2–3 weeks, depending on pot size, light, and humidity. Always let excess run through—no soggy saucers.
During the blooming phase, the plant may drink more; after blooms fade, scale back as it rests. Consistency beats guesswork—so I check the mix with a finger and lift the pot to gauge weight.
Feeding for Growth and Blooms
Use a balanced liquid fertilizer at half-strength during the growing season. I feed bi-weekly for steady growth. If you want to fine-tune bloom performance, switch to a higher-nitrogen feed early in the cycle, then about a month before bloom initiation shift to a fertilizer higher in phosphorus and potassium.
Whatever you choose, avoid overfeeding. Light, regular feeding wins every time.
7 Simple Steps to Consistent Blooms
The 7-Step Game Plan
Here’s the exact routine I use to cue buds and enjoy reliable holiday color. Follow these steps in order.
- Keep It Bright But Indirect: Maintain strong, indirect light for healthy growth without scorching. Offset from west/south windows or diffuse with a sheer curtain.
- Stabilize Temperatures: Aim for 60–75°F (16–24°C) most days, and keep the pot away from drafts and heat vents. Sudden swings cause leaf and bud drop.
- Build a Coarse, Airy Mix: Repot into the potting soil + coarse sand + perlite blend so roots stay oxygenated. Good drainage is the best insurance against rot.
- Water Only When Dry to the Touch: In growth, that’s often every 2–3 weeks. Increase slightly during bloom, then reduce post-bloom as the plant rests.
- Feed Lightly, Regularly: Use a half-strength balanced fertilizer through the season. For advanced results, lean higher nitrogen early, then higher P/K about a month before bloom time.
- Initiate Buds in Early Fall: Provide 13–14 hours of darkness nightly and cool nights at 55–65°F (13–18°C) for several weeks. Use a blackout curtain, closet, or a simple box to ensure darkness. For a winter bloom boost, see how to trigger Christmas cactus buds in December. Learn additional techniques to encourage Christmas cactus to bloom successfully indoors.
- Return to Normal After Bud Set: Move the plant back to bright, indirect light at about 70°F (21°C). Keep moisture even and avoid moving the plant while buds are developing.
When to Start the Bloom Cycle
I begin in September for Thanksgiving/Christmas timing. Give consistent long nights until you clearly see bud set. If you miss the window, repeat the cool, dark routine later—you can still coax a bloom, just on a different schedule. This guide shows simple ways to coax a Christmas cactus to flower again.
Once buds form, resist the urge to fuss. Stable light and temperature help prevent bud drop.
Reset After Bud Set
After buds are visible, return the plant to its regular bright spot and maintain moderate warmth. Keep watering steady and avoid drafts. If a few buds drop, don’t panic—focus on keeping conditions consistent.
When flowering finishes, reduce watering and let the plant rest. This is a great time to plan pruning for a bushier display next season.
Pruning, Repotting, and Propagation
When and How to Prune for Bushier Blooms
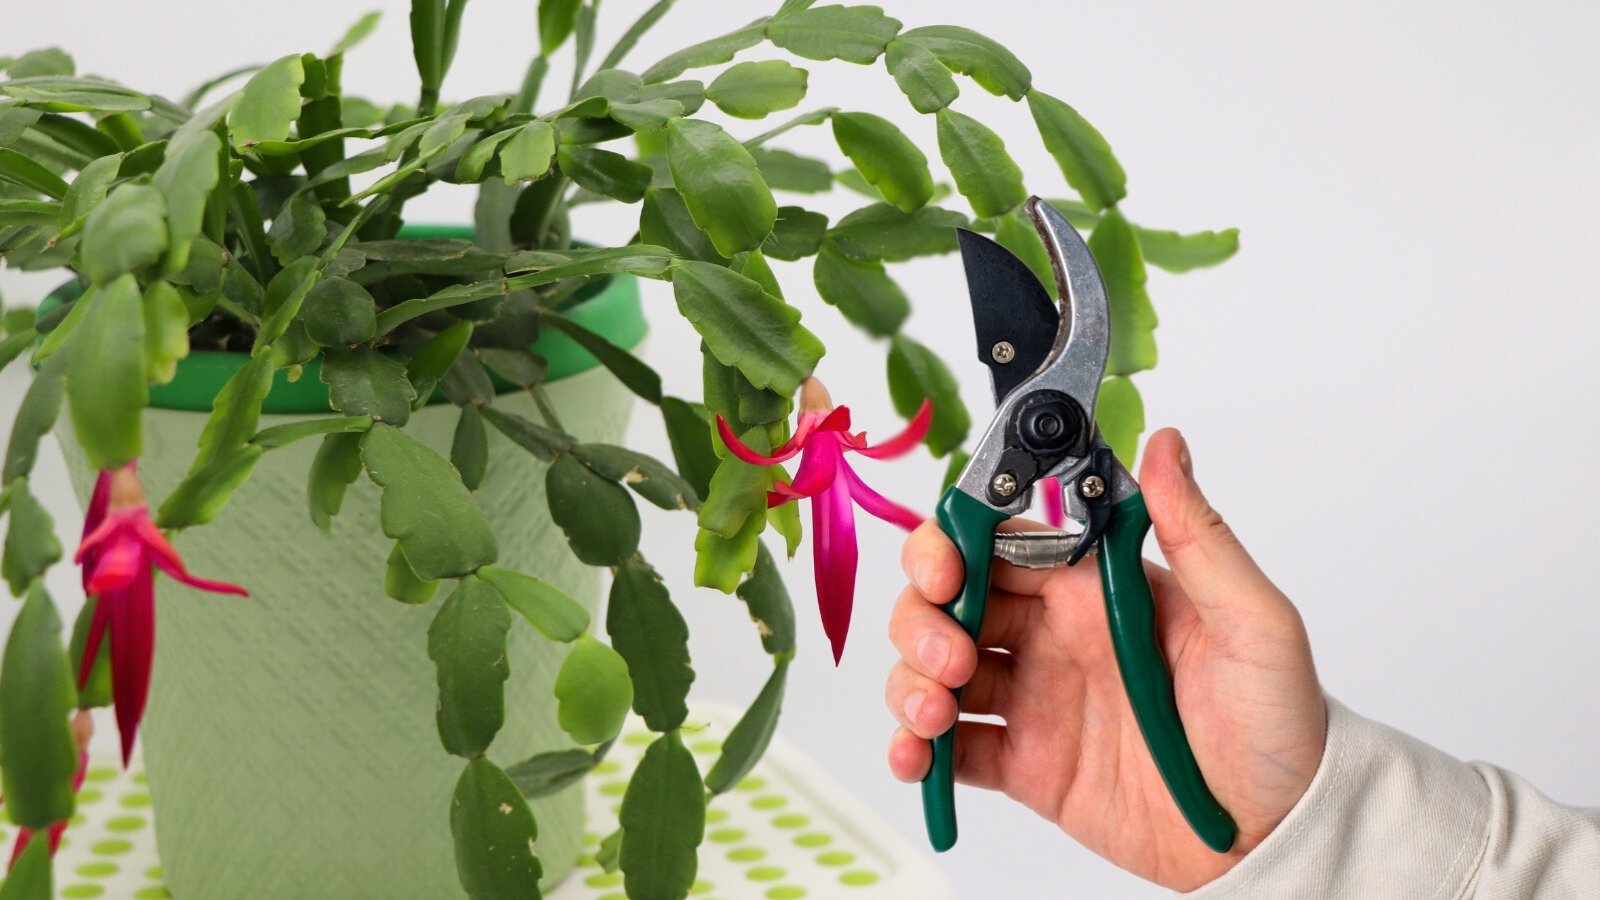
Prune after flowering and into spring to encourage branching. Use sharp, sterilized pruners and cut cleanly between segments at the tips to shape the plant and increase future flower sites.
Avoid heavy pruning in midsummer—it can reduce the number of blooms. Small, regular trims produce the best shape and density.
Repotting Without Shock
Repot when roots are crowded, the mix breaks down, or the plant shows watering problems (stays wet too long or dries too fast). Choose a pot just 1–2 inches wider than the current one to maintain healthy moisture rhythms.
Gently remove old mix from the root ball, inspect for rot or tangles, and trim away browned sections with sterile tools. Replant in fresh, airy mix and water lightly to settle.
Propagate From Prunings as Gifts
Don’t toss those pruned tips—root them! Let cut ends callus for a day, then place the bottom segment in slightly moist, airy mix. Keep in bright, indirect light and resist overwatering.
In a few weeks, you’ll have new starts to pot up and share. It’s the easiest way to multiply a favorite color.
Troubleshooting: Save a Stressed Christmas Cactus Fast

Leaf and Bud Drop: What Changed?
Sudden drops usually trace back to a change in environment. Check for drafts, heat from vents, or relocation during bud development. A quick move from shade to direct sun can also trigger stress.
Stabilize conditions: maintain bright, indirect light, avoid temperature swings, and keep watering even. Most plants rebound once the stressor is removed. If bud drop persists, follow our guide to prevent Christmas cactus bud drop and maintain a vibrant display.
Root Rot Rescue: Signs and Fixes
Signs of rot include waxy, limp, or mushy segments, a sour smell, and potting mix that stays wet too long. Act fast: unpot the plant, trim away all brown, mushy roots, and replant in fresh, coarse mix.
- Remove soggy media: Brush away old, saturated mix so roots can breathe.
- Sterilize your tools: Clean pruners before and after trimming.
- Repot slightly snug: Use a pot just big enough; oversized pots stay wet too long.
- Water sparingly at first: Let the plant reestablish before resuming normal watering.
Going forward, let the top layer dry before watering, and ensure the pot drains freely. Good airflow at the root zone is the best prevention.
Sunburn, Wrinkling, and Limp Leaves
Brown, crispy patches point to excess sun or heat. Move the plant to filtered light. Wrinkled segments can signal underwatering or, paradoxically, root damage from overwatering; check the mix and roots to be sure.
If segments are limp but not mushy, water thoroughly and allow excess to drain. With a healthy root system, the plant should firm up within a day or two.
Key Takeaways and Quick Reference
Smart-Gardener Mindset
Christmas cacti are long-lived—many thrive for 50–100 years when kept in stable, gentle conditions. The winning strategy is simple: bright, indirect light, an airy mix, water on feel, and cool, dark nights to initiate buds.
Stay consistent and resist over-correcting. Small, predictable rhythms are what these plants love.
Quick Reference Table
| Care Topic | Ideal Condition | Notes |
|---|---|---|
| Light | Bright, indirect; offset from south/west windows | Use sheer curtains or position off-center under grow lights. |
| Temperature (Growth) | 60–75°F (16–24°C) | Avoid drafts and vents; sudden swings cause bud/leaf drop. |
| Temperature (Bloom Initiation) | 55–65°F (13–18°C) nights + 13–14 hrs darkness | Use a closet, box, or blackout curtain for consistent darkness. |
| Soil Mix | 2–3 parts potting soil, 2 parts coarse sand, 1 part perlite | Add a little fine bark or coco coir if indoor air is very dry. |
| Watering | Only when top feels dry | Every 2–3 weeks in growth; slightly more during bloom; less in rest. |
| Fertilizer | Half-strength balanced, bi-weekly | Higher N early; higher P/K ~1 month pre-bloom for advanced results. |
| Pruning | After flowering through spring | Cut between segments with sterilized pruners for a bushier plant. |
| Repotting | 1–2 inches wider pot when rootbound or soil degrades | Inspect, trim brown roots, refresh with airy mix. |
Printable Checklist
- Identify: Confirm segment shape and probable holiday cactus type.
- Place: Bright, indirect light; no blasting sun; avoid drafts/vents.
- Mix: 2–3 parts potting soil + 2 parts coarse sand + 1 part perlite.
- Water: Only when the top feels dry; drain thoroughly.
- Feed: Half-strength balanced fertilizer every two weeks in season.
- Bloom Cue: 13–14 hours dark + 55–65°F nights in early fall.
- After Bud Set: Return to ~70°F and bright, indirect light.
- Prune: Post-bloom through spring; cut between segments.
- Repot: 1–2 inch size-up if rootbound or mix breaks down.
- Propagate: Root prunings after callusing; keep lightly moist.
Have a tip, a win, or a question about your holiday cactus? I’d love to hear from you—drop a comment and let’s troubleshoot together. For more practical guides, visit Plant Care Dairy.
Disclaimer: The information in this article is for educational purposes and reflects personal experience. Always consider your specific environment and plant conditions, and consult local experts when in doubt.