
When cold weather closes in, it’s easy to feel torn between dragging every pot inside or risking damage outdoors. This guide cuts through the noise with straightforward, actionable steps so you can confidently wrap container plants in burlap for winter and help them ride out the season.
By the end, you’ll know exactly when and how to wrap, where to position grouped containers for maximum protection, how much to mulch (2–3 inches), and which 7 hardy plants handle chill beautifully. I’ll also show you how to unwrap at the final frost and transition into spring without setbacks.
I’ll be honest: I used to lug every pot into the garage at the first cold snap. The plants survived, but growth stalled and pests followed me inside. The season I tried burlap wrapping—grouped by hardiness, mulched, and tucked against the house—was the first winter I didn’t lose a single container plant. It’s simpler than you think.
Why Burlap Wrapping Works (And When It Doesn’t)
What Burlap Actually Does
Burlap is breathable and insulating. It reduces wind desiccation, blunts freeze–thaw swings, and shades roots and crowns from winter sunscald. In climates where winter is cold but not constantly frozen, this can make all the difference.
- Blocks harsh wind: Prevents moisture loss from evergreen foliage and exposed stems.
- Softens temperature shocks: Limits rapid thaw/refreeze that heaves roots in pots.
- Breathes: Unlike plastic, burlap lets excess moisture escape so rot and mold are less likely.
When Burlap Alone Isn’t Enough
In regularly frigid zones or exposed, windy sites, burlap still works—but you need to stack protections. The trick is to group containers, set them near a warm wall, and mulch 2–3 inches with organic material. This creates a layered microclimate that holds heat longer overnight.
- Lower zones (3–5): Keep pots close to your home’s foundation or a south/east-facing wall.
- High wind areas: Add a temporary windbreak or place groups behind fences/evergreen shrubs.
- No plastic wraps: Plastic traps moisture and can cook plants on sunny winter days.
The Best Candidates for Burlap Wrapping
Plants with hardy crowns and well-established root systems respond best. That includes tough perennials and native species. If you’re in doubt, choose plants with wide hardiness ranges and proven container vigor.
- Great choices: Asters, coneflowers, yarrow, creeping phlox, coral bells, Russian sage, and hostas.
- Borderline choices: Tender evergreens and plants that dislike cold, wet roots—consider moving these inside.
The 9-Step Wrap: Simple Setup for Winter
Follow these 9 simple steps to set your containers up for winter success—no garage juggle required. You can also follow this step-by-step guide to wrapping potted plants in burlap for visual instructions and tips.
- Group the Right Plants: Cluster containers with similar cold tolerance so each group gets the protection it needs.
- Choose a Protected Spot: Tuck pots against the side of your home to borrow warmth and cut wind exposure.
- Water Before Cold Spells: Hydrated roots tolerate cold better. Water thoroughly before the first hard freeze.
- Raise the Containers: Use pot feet, bricks, or pavers to keep drainage holes free and prevent frozen waterlogging.
- Mulch 2–3 Inches: Surround the pots with shredded leaves, bark, or compost to insulate root zones.
- Wrap with Burlap: Use reused burlap bags or long strips. Wrap the bases of grouped plants snugly, securing with twine.
- Shield the Windward Side: Add a second burlap layer or a temporary windbreak on the coldest side if winter winds are fierce.
- Check After Storms: Re-tighten twine, shake off heavy snow if stems bend, and refresh mulch that has compacted.
- Unwrap at Final Frost: As the final frost passes, remove burlap and reposition containers in their ideal growing spots to kickstart spring growth.
Cold-Hardy Container All-Stars: 7 Hardy Picks
Aster (Aster and Symphyotrichum spp.)

- Botanical Name: Aster and Symphyotrichum spp.
- Sun Requirements: Full sun to partial shade
- Height: 2–5 feet
- Hardiness Zones: 4–8
Asters offer pink, white, and purple daisies that are tough enough for cold zones yet adaptable to heat. Their native relatives are exceptionally resilient in containers and respond well to burlap grouping.
To make your setup ecologically friendly, leave seed heads after the first frost. Birds will forage through winter, and beneficial insects shelter in the stems. In spring, trim back once temperatures stabilize.
Coneflower (Echinacea spp.)
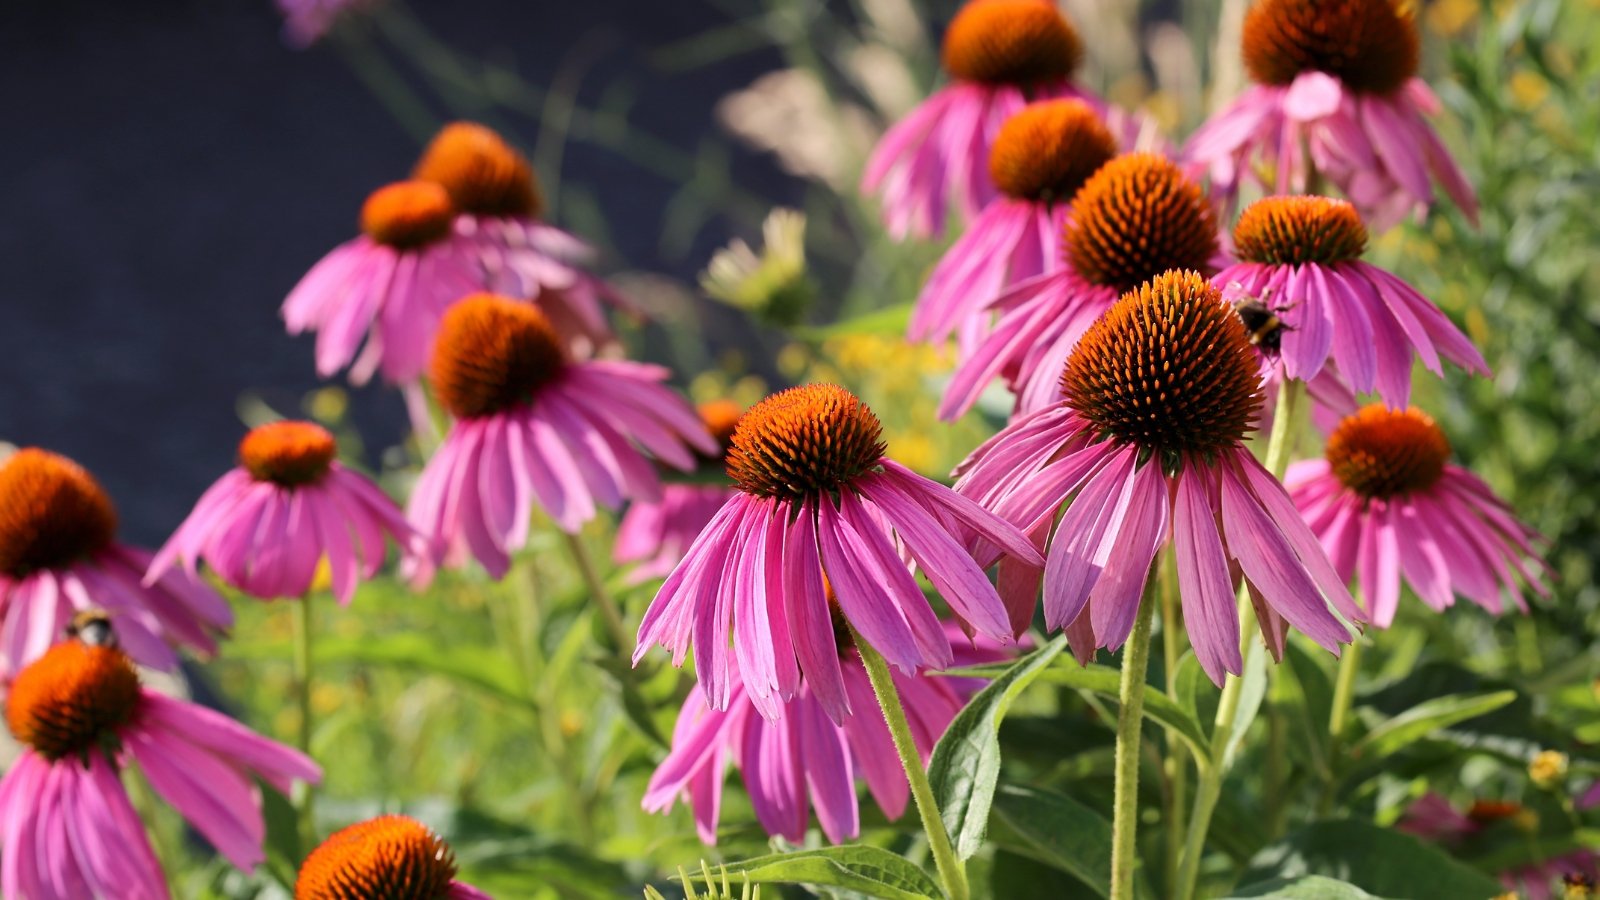
- Botanical Name: Echinacea spp.
- Sun Requirements: Full sun to partial shade
- Height: 12–36 inches
- Hardiness Zones: 3–9
Coneflowers thrive in summer containers and divide easily in fall. Their wide zone range makes them reliable in groups wrapped with burlap through winter.
Place coneflowers on the outer edge of your grouping with yarrow, hostas, coral bells, and creeping phlox to create a living wind shield. The straight species is often hardier than cultivars, but many named varieties do just fine.
Yarrow (Achillea millefolium)
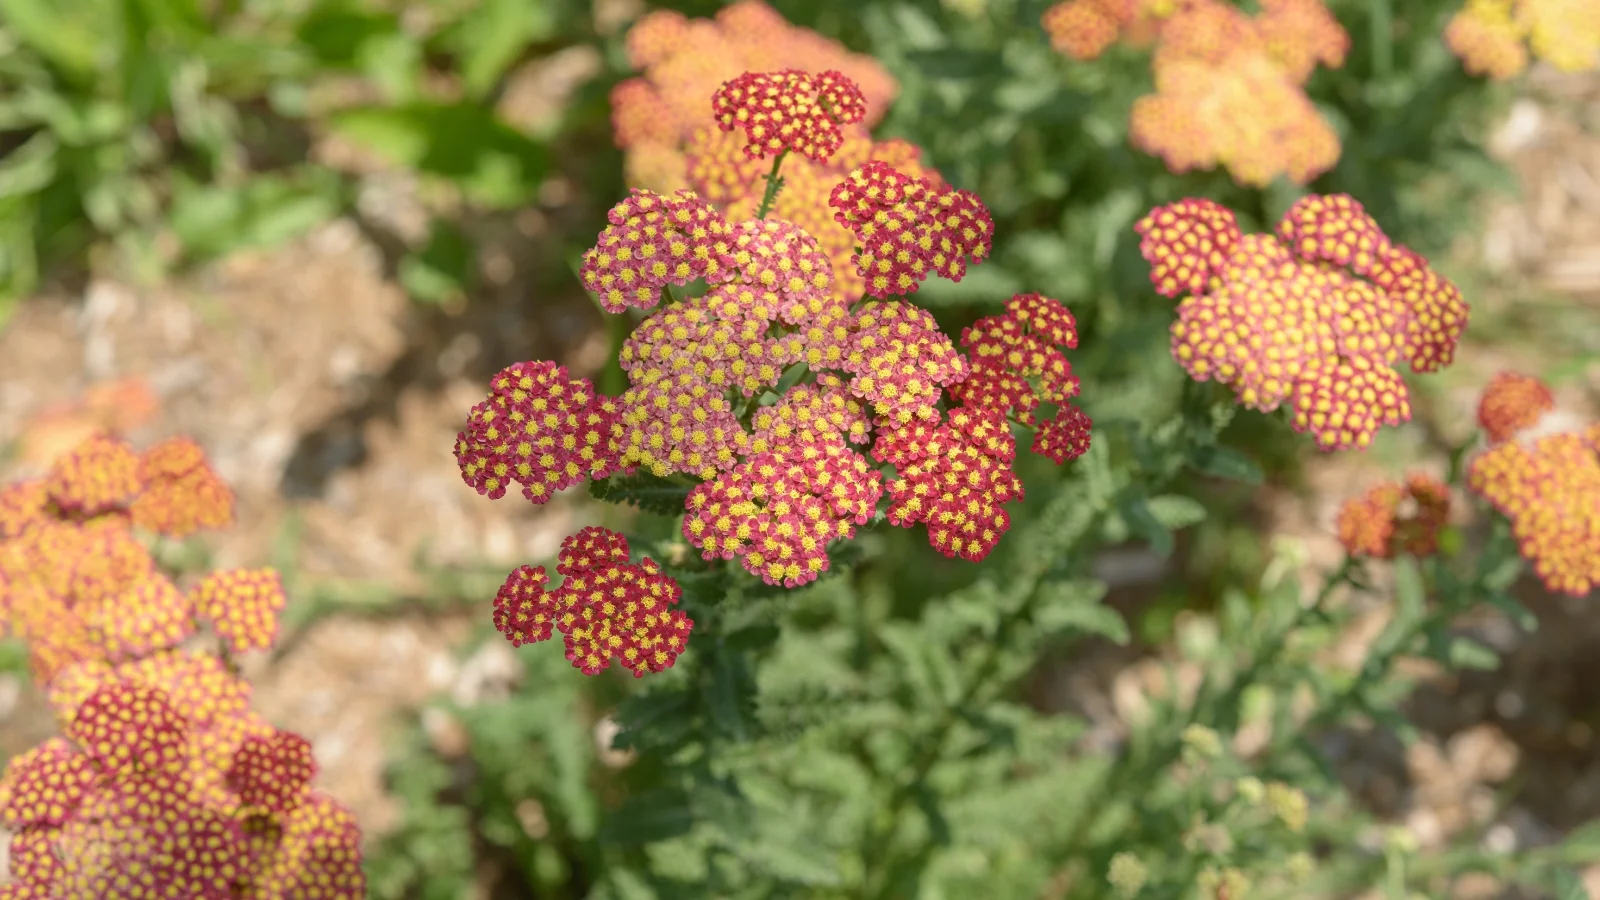
- Botanical Name: Achillea millefolium
- Sun Requirements: Full sun
- Height: 1–3 feet
- Hardiness Zones: 3–9
I can’t sing the praises of yarrow enough. It’s persistent, drought-tolerant, and one of the best outer-edge shield plants around a burlap-wrapped group.
As a North American native, leave stems and seedheads over winter to support wildlife. Once temperatures consistently reach 50°F (10°C), trim back last year’s dead stems; any stem-dwelling insects should have moved on by then.
Creeping Phlox (Phlox subulata)
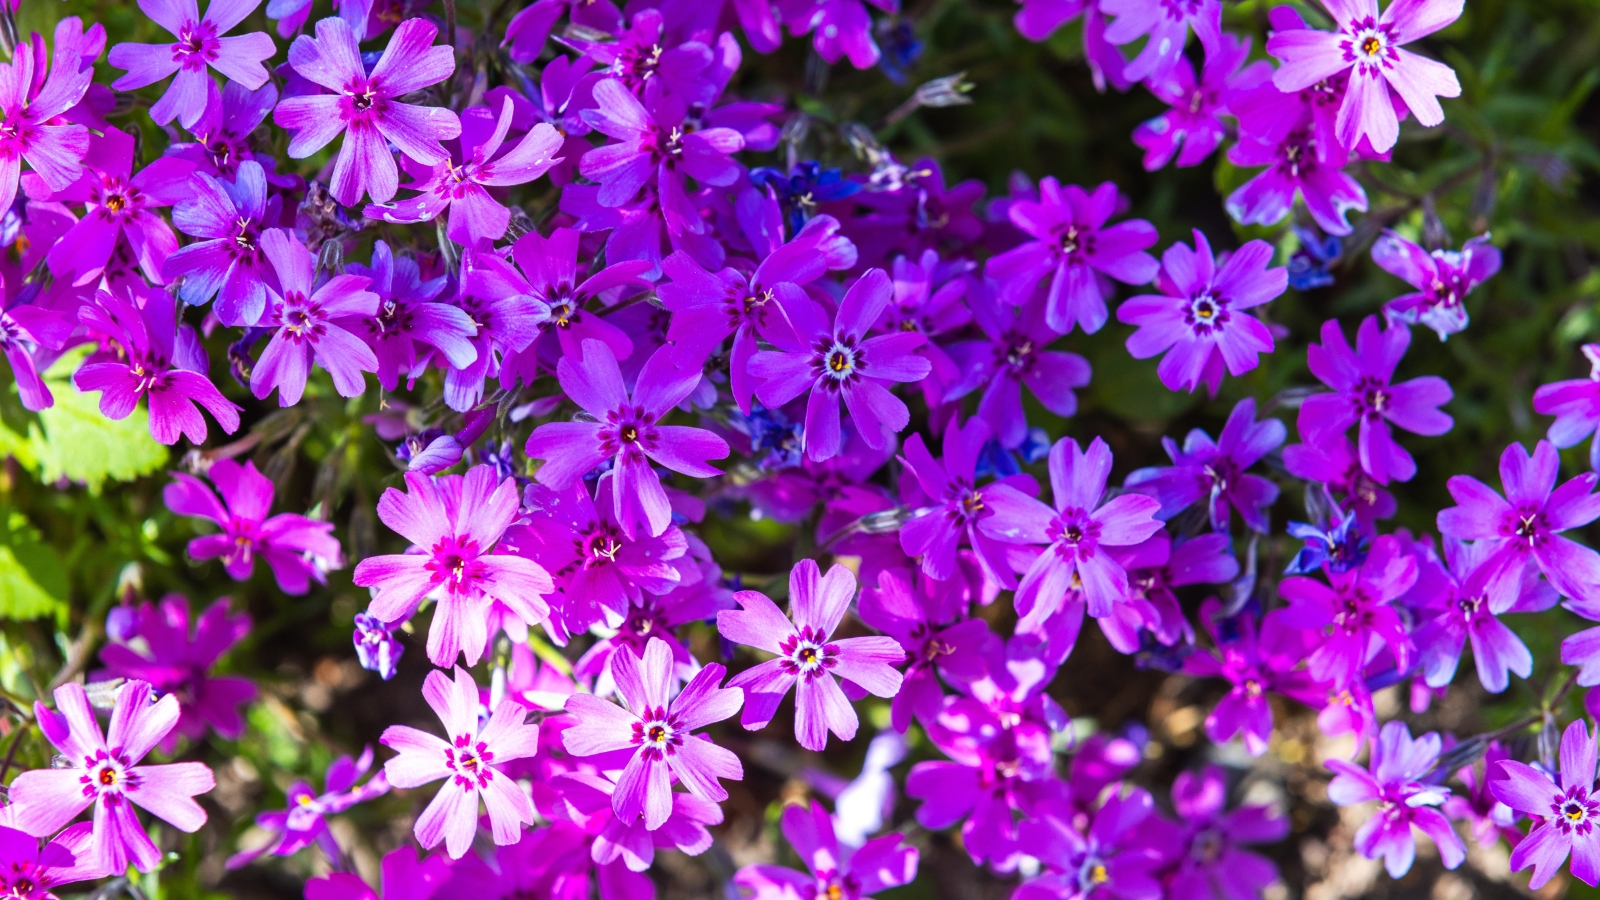
- Botanical Name: Phlox subulata
- Sun Requirements: Full sun
- Height: 4–12 inches
- Hardiness Zones: 3–9
Creeping phlox is a superb spiller in container designs, with roots that handle winter chill well. Its dense, colorful mat adds spring pop the moment you unwrap.
In regions with dry winters or where this species can overtake natural areas, keep phlox on the wind-facing edge of grouped pots. It helps shield more sensitive center plants from cold, drying gusts.
Coral Bells (Heuchera spp.)
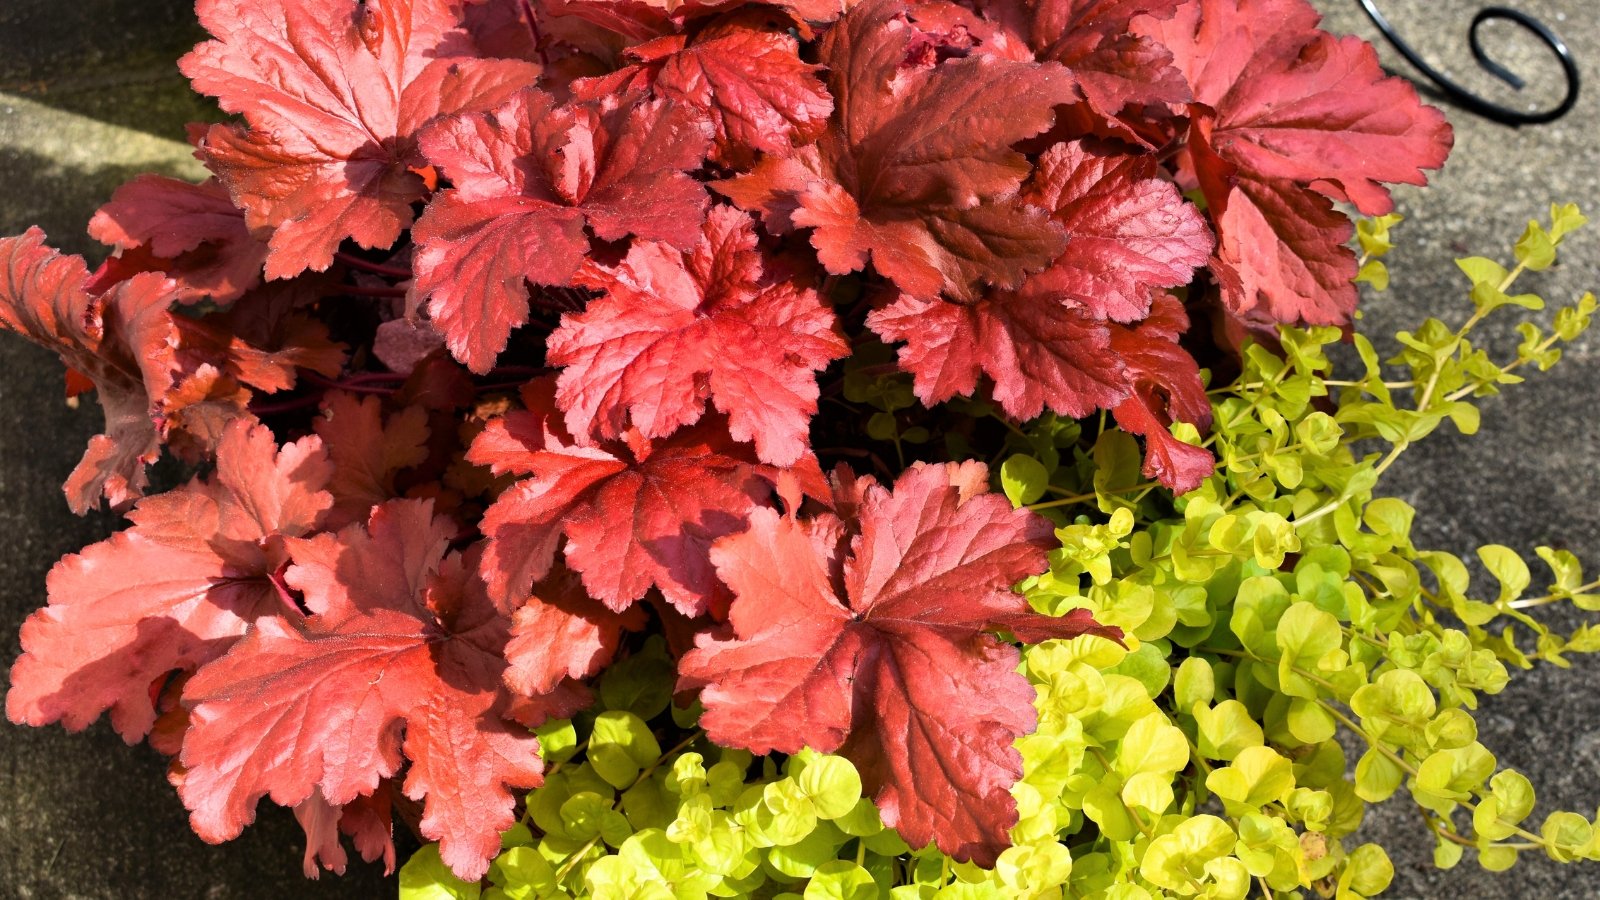
- Botanical Name: Heuchera spp.
- Sun Requirements: Full sun to partial shade
- Height: 6–20 inches
- Hardiness Zones: 3–9
With roughly 50 species and countless cultivars, coral bells bring a rainbow of foliage colors to winter container clusters. Most are North American natives and adapt well outdoors year-round.
Wrap coral bells with the group and water well in spring to prevent sunscald and leaf scorch. Gradually reintroduce them to brighter light as winter shifts to spring so they build hardiness without shock.
Russian Sage (Salvia yangii)
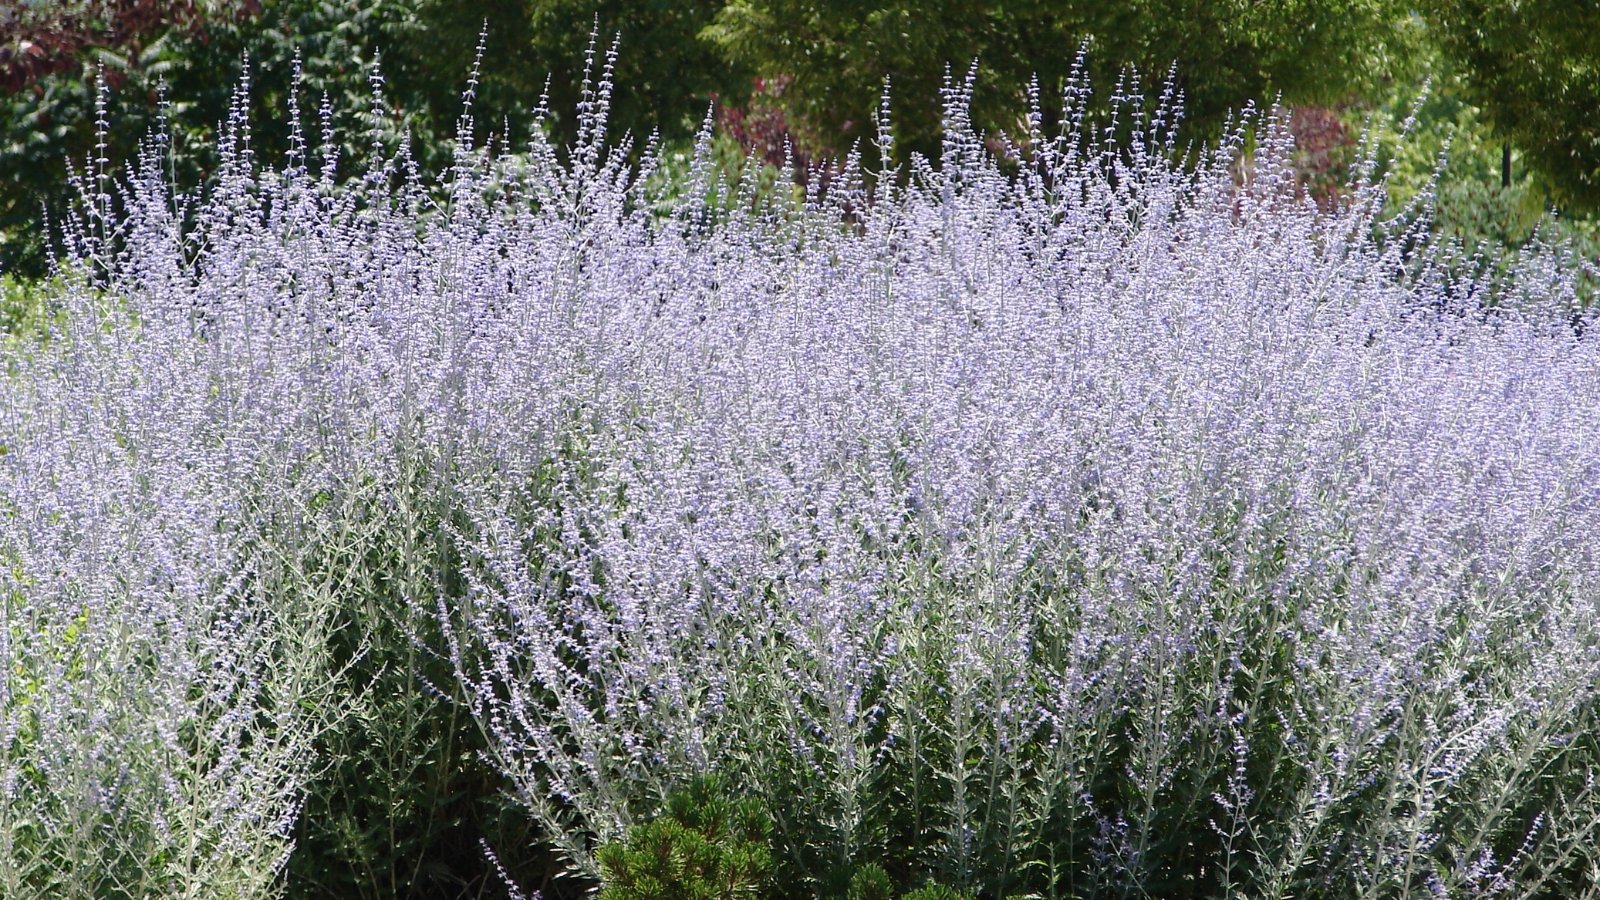
- Botanical Name: Salvia yangii
- Sun Requirements: Full sun
- Height: 2–4 feet
- Hardiness Zones: 5–9
Russian sage adds airy height and violet color, with good winter endurance when grouped and mulched. It’s not quite as cold-hardy as others here, so give it your warmest microclimate.
Mulch heavily and keep close to a warm wall. If you don’t plan to stake, prune stems after the first frost to prevent flopping and breakage in storms.
Hosta (Hosta spp.)

- Botanical Name: Hosta spp.
- Sun Requirements: Partial shade
- Height: 6–36 inches
- Hardiness Zones: 3–9
Hostas are shade-loving container favorites that handle freezing weather when protected. In fall, divide offsets into new pots and prune spent flower stalks after blooming.
Mulch before deep winter and, in late winter, remove browned leaves to prep for spring. Plan your slug defense—copper tape, organic bait, beer traps, or evening hand-picking as temperatures rise.
Placement, Mulch, and Microclimates
Use Your House as a Heat Sink
Position groups of wrapped containers along the leeward side of your home to borrow radiant warmth from the wall. For inspiration on covering garden containers with burlap, see examples of smart winter arrangements. Even a few degrees can keep roots in a safer temperature band.
- Best spots: East or south-facing walls that get morning sun and afternoon protection.
- Avoid heat spikes: If your south wall bakes on bright winter days, add an extra burlap layer to prevent midday thawing and nighttime refreezing.
Mulch Right: Depth and Materials
Mulching is non-negotiable. A 2–3 inch layer of shredded leaves, bark, or compost around the grouped pots boosts insulation and stabilizes moisture. Learn more tips on how to protect potted plants through winter with layering techniques and mulch guidance.
- Material matters: Shredded leaves pack well but still breathe; compost adds nutrients for spring wake-up.
- Keep crowns clear: Don’t bury plant crowns; aim to insulate the root zone and pot sides.
Wind and Sun Management
Wind steals heat and moisture, while strong winter sun can scald bark and foliage. Use burlap to buffer both risks without trapping moisture.
- Windbreaks: Fences, evergreen shrubs, or a burlap screen reduce wind exposure dramatically.
- Filtered light: Burlap diffuses sun, preventing sunscald on evergreen and semi-evergreen foliage.
Troubleshooting and Spring Transition
Signs of Cold Stress vs. Normal Dormancy
Expect leaf drop and cosmetic blemishes—that’s normal. True cold damage looks different and often affects new growth or crown tissue. Understanding how to prevent moisture-related plant damage can help in identifying winter stress versus normal dormancy.
- Likely normal: Dry leaves on perennials, minor stem discoloration, flattened mulch.
- Possible damage: Mushy crowns, split stems, or blackened buds that crumble when pressed.
When and How to Unwrap After Frost
As the final frost rolls through, remove burlap and move containers back to their ideal spots. Reintroduce sun gradually to avoid scorch on tender new leaves.
- Timing: Unwrap after your area’s average last frost date unless a late cold snap is forecast.
- Spring care: Water deeply, top-dress with compost, and refresh mulch to kickstart growth.
Common Mistakes to Avoid
- Wrapping too tight: Plants need airflow; overly tight burlap traps moisture and invites rot.
- Skipping mulch: Burlap alone can’t buffer deep freezes—always add 2–3 inches of organic mulch.
- Using plastic: Plastic overheats roots on sunny winter days and holds damaging moisture. If you have pets around your containers, consider pet-friendly houseplants to avoid toxicity issues.
- Unwrapping too early: Wait until you’re safely past the final frost before removing protection.
Smart Gardener’s Summary and Checklist
| Zone/Microclimate | Placement | Mulch Depth | Burlap Use | Spring Notes |
|---|---|---|---|---|
| Zones 3–4 (very cold) | Against house; add windbreak | 2–3 inches | Double layer on windward side | Unwrap after last frost; acclimate slowly |
| Zones 5–6 (cold) | Near east/south wall | 2–3 inches | Single wrap; check after storms | Top-dress with compost when unwrapping |
| Zones 7–8 (milder) | Protected courtyard/patio | 1–2 inches (refresh midwinter) | Spot-wrap sensitive species | Watch for early growth; shield from late snaps |
| Windy sites | Behind fence/shrubs | 2–3 inches | Reinforce with twine and stakes | Inspect for abrasion; prune winter damage |
| Shaded patios | Brightest wall available | 2 inches | Breathable wrap only | Gradual sun increase in spring |
- Checklist 1 — Grouping: Match plants by hardiness; place toughest on the outside.
- Checklist 2 — Location: Use house walls and windbreaks to build warmth.
- Checklist 3 — Mulch: Apply 2–3 inches of organic material around pots, not over crowns.
- Checklist 4 — Wrap: Reuse burlap bags or strips; secure with twine, not plastic.
- Checklist 5 — Care: Water before freezes; check after storms; unwrap at the final frost.
- Checklist 6 — Wildlife: Leave seedheads on asters and yarrow to feed birds and shelter insects.
Smart winter care isn’t about perfection; it’s about layering simple protections so plants keep their momentum into spring. Group, mulch, wrap, and observe—that’s the rhythm I follow every year.
If this guide helped, I’d love to hear how your burlap-wrapped containers fare this winter. Share your wins and lessons in the comments on Plant Care Dairy—your experience helps the whole community grow smarter.
Disclaimer: This article is for educational purposes only. Always consider your local climate, site conditions, and plant tags/cultivar specifics before applying any recommendations. Test changes on a small scale first, and consult local extension resources for region-specific guidance.