
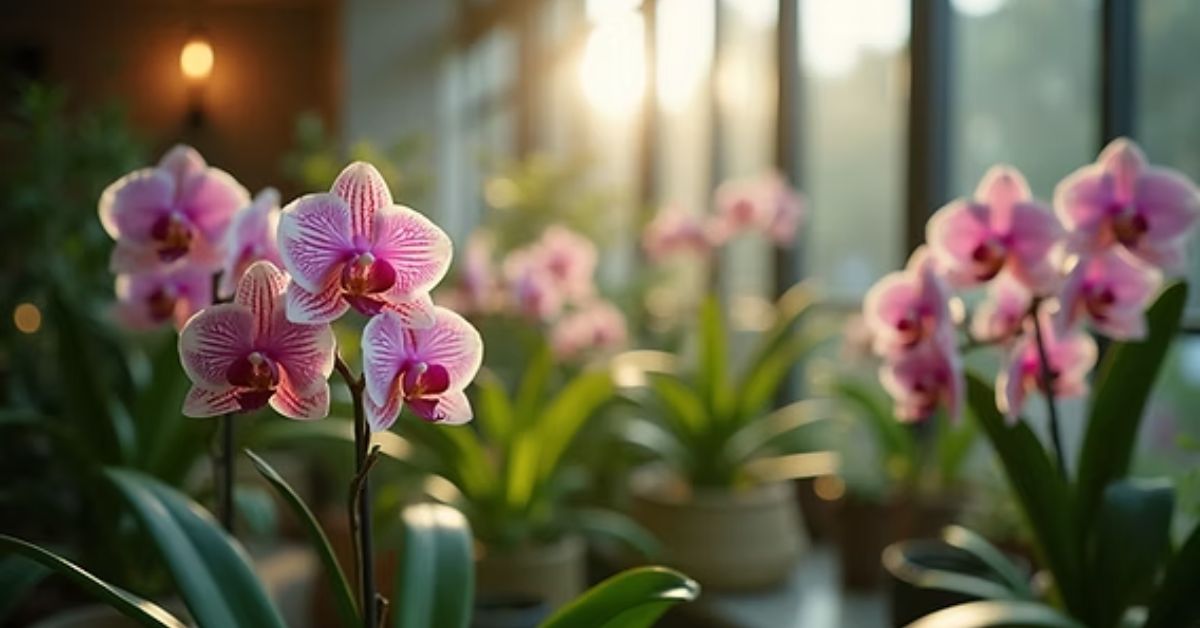
I’ll be honest with you—I used to think orchids were fussy, almost impossible to keep alive indoors. The first one I brought home looked perfect for a few weeks, then the blooms fell off and it sat there with plain green leaves. Sound familiar? That sinking feeling of “what did I do wrong?” is something most orchid owners know too well.
The truth is, orchids aren’t actually fragile. They’re just particular. They come from warm, tropical forests where the light, air, and water work in a rhythm most of us don’t automatically recreate in our homes. Once you understand that rhythm, you stop guessing and start seeing real results—healthy roots, glossy leaves, and yes, flowers that come back again and again.
In this guide, I want to share the orchid care tips I’ve learned over the years that actually work indoors. Not quick hacks or one-size-fits-all advice, but simple shifts that help you match your plant’s natural cycle. If your goal is to see your orchids bloom more than once, you’re in the right place.
So let me ask you—when your last orchid stopped flowering, what did you do with it? Did you keep caring for it, or quietly give up?
Understand Your Orchid’s Natural Cycle & Growth Phases
One of the biggest mistakes I made in the beginning was treating my orchid like any other houseplant—water every few days, hope for blooms, and panic when the flowers dropped. But orchids don’t work like that. They live by an internal calendar, and once you learn it, the whole “why won’t it bloom?” mystery starts to make sense.
Different orchid types follow slightly different rhythms:
- Phalaenopsis (Moth Orchids): Usually bloom once or twice a year, then rest while storing energy in their thick leaves and roots.
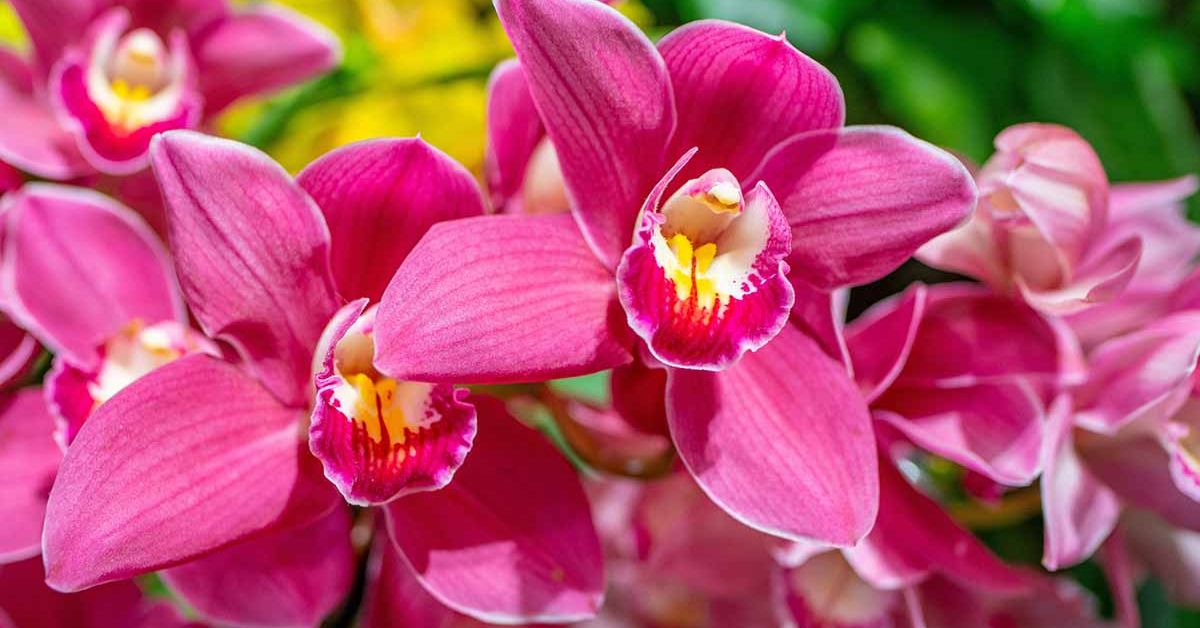
- Cattleya: Famous for showy flowers, they often need a stronger seasonal cue—like a temperature dip—to push them into bloom.
- Dendrobium: Can produce long canes with multiple flowers, but often need a distinct dry or cooler rest period first.
- Cymbidium: These thrive with cooler nights and longer seasonal rest, often blooming in winter or spring.
Think of it this way: your orchid doesn’t just stop blooming out of stubbornness. It’s resting, recharging, and waiting for the right signals—changes in light, temperature, and humidity—to know it’s time again. If you mimic those natural cues, you’re not fighting the plant; you’re working with it.
Light — The Most Critical Factor
If there’s one thing I want you to take away from orchid care, it’s this: light makes or breaks your blooms. Orchids love brightness, but not the harsh, burning kind. I once left mine on a south-facing sill in full summer sun, and the leaves literally scorched. Lesson learned.
Here’s what actually works:
- Indirect, bright light: East-facing windows are gold. South or west-facing works too, but filter it with a sheer curtain.
- Artificial support: If your home feels dark in winter, consider a small LED grow light. Even a few hours of supplemental light can trick orchids into staying active.
- Seasonal shifts: In summer, cut back on direct sun exposure. In winter, move them closer to the brightest spot you have.
A good rule of thumb (from The Spruce)—if the leaves are dark green, your orchid isn’t getting enough light. Medium green with a slight yellowish tinge means you’ve hit the sweet spot. Not sure if your orchid is really soaking in enough light? Our guide on how to check if your houseplant is getting enough light walks you through simple tricks that work for orchids too.
Watering & Humidity — Balance, Not Overload
If light is the key, water is the trap. Most people (me included) either drown their orchids or forget them completely. The trick is rhythm, not routine. If you’ve ever struggled with watering routines, the same principles of balance apply beyond orchids too—for example, knowing how to water air plants properly can also teach you a lot about moisture control in delicate houseplants.
Here’s how to get it right:
- Adjust for the season: During active growth, water once a week (sometimes twice if it’s very dry). During rest phases, cut back.
- Check the roots, not the calendar: Silvery roots = thirsty. Green roots = hydrated. Mushy brown roots = too much water.
- Water quality matters: Use room-temperature rainwater, distilled, or filtered tap water. Cold water shocks roots; hard water leaves salts.
- Boost humidity smartly:
- Place a tray with pebbles and water under the pot (but not touching roots).
- Group orchids together—they create their own mini climate.
- Mist lightly in the morning so leaves dry by night.
- Use a humidifier if your indoor air is desert-dry in winter.
Humidity can make or break blooming. Orchids crave that subtle tropical “air hug.” Too dry, and buds shrivel; too damp, and fungus creeps in. The balance is delicate, but once you dial it in, the difference is night and day.
Potting Medium & Pot Choice — The Hidden Foundation
When I first started with orchids, I made the rookie mistake of dropping one into regular potting soil. Within weeks, the roots turned mushy. The truth is, orchids aren’t like other houseplants—they’re epiphytes, designed to grow on trees with roots exposed to air. That’s why the right medium and pot matter more than most people realize.
Here are your best options:
- Bark chips: Great for airflow, but dries out faster. Best in humid homes or summer months.
- Sphagnum moss: Holds water longer, perfect for drier climates or winter heating season.
- Charcoal or perlite mixes: Balance moisture and cut down on rot.
And don’t overlook the pot itself:
- Plastic pots: Hold moisture longer, lightweight and easy to handle.
- Clay pots: Heavier, breathable, but dry out faster—good if you overwater.
- Clear pots: My go-to because you can actually see root health and moisture levels.
- Drainage holes: Non-negotiable. If water pools, rot sets in quickly.
Think of it like this: a weak root system = no blooms, no matter how much you water or fertilize. Strong roots start with the right home. Some growers even experiment with self-sustaining setups—much like building a bioactive terrarium that thrives without constant care—to maintain ideal moisture and airflow for orchids.
Fertilizing the Orchid — “Weakly Weekly” & Seasonal Adjustments

Orchids don’t need heavy feeding; they just need consistent, gentle support. That’s where the rule of “weakly, weekly” comes in: fertilize every week, but at one-quarter the strength listed on the bottle.
Here’s a simple breakdown:
- Growth season (spring/summer): Use a balanced fertilizer (like 20-20-20) weekly.
- When flower spikes form: Switch to a bloom booster with more phosphorus.
- During rest or after repotting: Hold off—extra nutrients at the wrong time stress the plant.
Experts at Better Homes & Gardens point out that after blooms fade, it’s better to focus on gentle care—fresh medium, steady light, and light fertilization—rather than pushing the plant too hard. This way, it recharges naturally for the next show.
Temperature & Seasonal Cues — Triggering Blooms Year-Round
If you’ve ever wondered why your orchid grows leaves but refuses to bloom, the missing piece is usually temperature cues. Orchids expect warm days and slightly cooler nights, and without that difference, they won’t get the “signal” to send up a spike.
Here’s the sweet spot:
- Daytime: Around 70–80°F (21–27°C)
- Nighttime: Around 60–65°F (15–18°C)
- A 10-degree drop between day and night often makes all the difference.
Easy ways to mimic this indoors:
- Place the orchid in a cooler room at night.
- Keep it away from heaters, radiators, or vents.
- In late summer or fall, a few weeks of cooler nights can trigger blooming.
Think of it as giving your orchid a “seasonal nudge.” Too steady an environment confuses the plant—it needs those subtle shifts to know it’s time to perform.
After Bloom Care & Rebloom Encouragement
The moment flowers drop, many people think their orchid has “died.” I used to make the same mistake. In reality, this resting period is when the plant builds strength for the next bloom cycle.
Here’s how you set it up for success:
- Prune wisely: If the spike is still green, cut just above a node to encourage a side shoot. If it’s brown and dry, remove it completely at the base.
- Ease off on care: During rest, reduce watering and pause heavy feeding. Keep steady light but let the plant recharge.
- Rebloom triggers: After a few weeks, increase light levels slightly and create a small day/night temperature difference. Check roots and leaves for pests or stress before expecting new spikes.
Treat this stage as an “investment period.” The more balanced care you give now, the stronger and longer the next blooms will be.
Common Problems & How to Fix Them
Even the best growers face issues—it’s part of orchid care. The trick is spotting them early and knowing what they’re telling you.
- Root rot: Caused by waterlogged medium or poor drainage. Cut off the mushy roots, repot, and improve airflow.
- Yellowing leaves: A lower leaf dropping is normal, but multiple yellow leaves often mean too much light or nutrient stress.
- Bud blast: Buds shriveling before opening? That’s usually sudden temperature changes or low humidity. Keep conditions stable during spike formation.
- Pests & fungus: Warm, damp air invites trouble. Inspect weekly for scale or mealybugs, and avoid letting water sit in leaf crowns.
The American Orchid Society notes that most orchids fail to bloom not because they’re unhealthy, but because their environment doesn’t match their natural cycle. Light, temperature, and rest all play a role in whether buds form or stall.
Year-Round Orchid Care Calendar / Checklist
Consistency wins. Orchids thrive when your routine follows the rhythm of the seasons. Here’s a simple guide:
| Season | Do’s | Don’ts |
|---|---|---|
| Spring | Repot if roots are cramped, begin light fertilizing, increase water as growth starts | Don’t drown roots before they’re active |
| Summer | Provide bright filtered light, boost humidity with trays or misting | Avoid harsh midday sun—it burns leaves |
| Fall | Cut back on fertilizer, create cooler nights to encourage spikes | Don’t keep them in steady warmth only |
| Winter | Place in the sunniest indoor spot, keep even moisture, watch for pests | Don’t set near heaters or dry vents |
Think of it as a cycle: grow strong in spring and summer, set buds in fall, and shine in winter. A checklist keeps you proactive instead of scrambling when problems pop up.
Practical Tips & Mistakes to Avoid
If I had to boil down years of orchid trial and error, it comes down to this: blooms don’t fail because orchids are “difficult.” They fail because we miss the basics. Here are the top mistakes I see most often:
- Not enough light: Orchids need more brightness than most houseplants.
- Overwatering or underwatering: Both stress roots; learn to read the root color instead of watering by schedule.
- Wrong medium: Regular potting soil suffocates roots—always use bark, moss, or a proper orchid mix.
- Skipping rest: Orchids need a break after blooming; neglecting this delays reblooming.
- Overfeeding: Too much fertilizer burns roots and stalls flowers.
And the quick wins?
- Move your orchid to the brightest indirect light you can give it.
- Start a simple care calendar—just reminders for watering, feeding, and seasonal adjustments.
- Check roots monthly; healthy roots = happy blooms.
Remember, orchid care is a journey. You’ll make mistakes, but every season teaches you something new. Stick with it, and those blooms will reward your patience.
Have you faced one of these orchid challenges yourself? Share your experience in the comments—I’d love to hear what worked (or didn’t) for you.
For more practical guides and plant wisdom, visit Plant Care Dairy and keep your green companions thriving year-round.
Disclaimer: The orchid care tips shared here are for general guidance only. Results may vary depending on plant variety, home environment, and local climate. Always observe your orchid closely and adjust care to its specific needs.