The first time I planted potatoes, I thought it would be straightforward—dig a hole, drop them in, and wait. A few weeks later, I had wilted leaves, small tubers, and a lesson I wouldn’t forget: potatoes aren’t difficult, but they do demand the right start. If you’ve ever wondered why your store-bought spuds sprout on the counter but never thrive in the soil, the secret lies in using proper seed potatoes and following a few steps that make all the difference.
Growing potatoes at home isn’t just about filling your pantry—it’s about enjoying fresher flavor, cutting grocery costs, and the quiet pride of digging up food you grew yourself. With just a bit of planning, even a small backyard, raised bed, or a couple of containers on a balcony can produce pounds of harvest.
In this guide, I’ll walk you through the process step by step—choosing the right variety, preparing your soil, planting, caring, and finally harvesting without the usual mistakes. By the end, you’ll know exactly how to turn a handful of seed potatoes into a reliable, rewarding crop.
Have you ever tried growing potatoes before—or is this your first season giving it a shot?
Why Growing Potatoes at Home is Worth It?
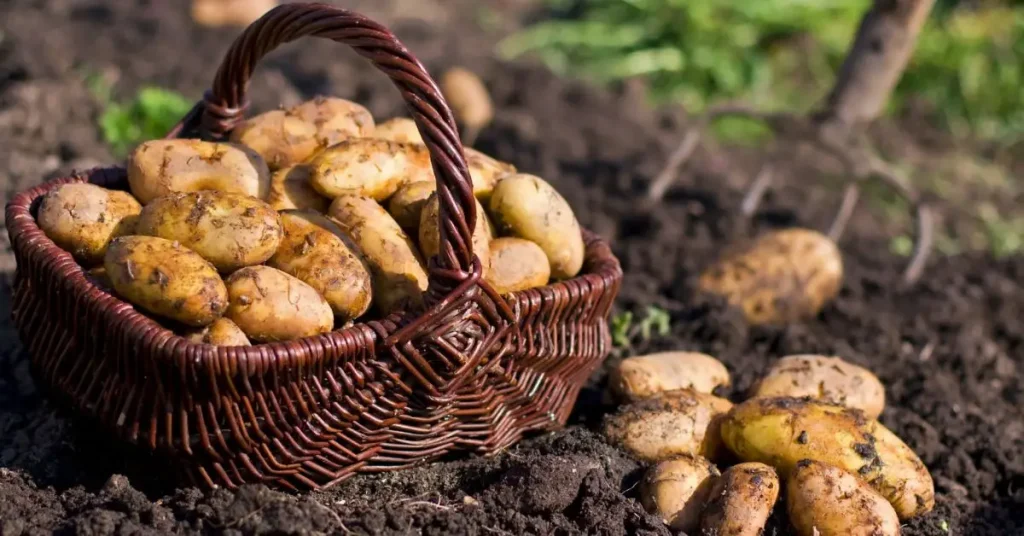
When I first started gardening, I couldn’t believe how different homegrown potatoes tasted compared to the ones from the store. They were sweeter, creamier, and actually felt “alive” in a way bagged potatoes never do. If you’ve only eaten supermarket potatoes, you’re missing out.
Here’s why growing your own is worth it:
- Cost savings: A single bag of seed potatoes can yield several pounds of harvest—much more value than buying them by the kilo.
- Taste difference: Freshly dug potatoes hold more natural sugars and vitamins. That’s why they taste richer and cook better.
- Control over chemicals: When you grow your own, you decide what goes into the soil. No hidden pesticides, no artificial sprays—just clean food for your table.
And the best part? Even a balcony or small patch of soil can give you enough potatoes for weeks. Once you experience that first harvest, you won’t look at grocery store potatoes the same way again.
What Are Seed Potatoes and Why They Matter?

When I first heard the term “seed potato,” I thought it meant some kind of fancy packet of seeds. But seed potatoes aren’t seeds at all—they’re small, sprouted tubers that act as the “starter” for your crop.
Here’s why they matter:
- Store-bought vs. certified seed potatoes:
- Grocery store potatoes are often treated with chemicals to stop sprouting, which makes them poor candidates for planting.
- Certified seed potatoes are grown specifically for planting, free from diseases that can ruin your crop.
- Disease protection: Using proper seed potatoes helps prevent blight and other soil-borne problems. One infected potato from the supermarket can spread disease through your entire bed.
If you’re new to this, think of seed potatoes as the foundation of your harvest. Just like you wouldn’t build a house on weak bricks, you don’t want to start your potato garden with the wrong tubers. Trusted guides like University of Minnesota Extension explain why certified seed potatoes are safer and more reliable than supermarket ones.
Choosing the Right Potato Variety for Your Garden
Not all potatoes are the same, and the variety you choose can make or break your season. When I started, I picked whatever was available—but once I learned about early, mid, and late-season potatoes, my harvests became more predictable.
Here’s a simple way to choose:
- Early varieties (60–80 days): Best for small gardens or containers. They grow quickly and let you enjoy an early harvest.
- Mid-season varieties (80–100 days): Balance between yield and storage life. Great if you want steady cooking potatoes for a few months.
- Late varieties (100–130 days): Perfect if you’ve got space and want long-term storage potatoes to last through winter.
A quick comparison for clarity:
| Variety Type | Days to Harvest | Best Use |
|---|---|---|
| Early | 60–80 | New potatoes, quick harvests, containers |
| Mid-season | 80–100 | Everyday cooking, balanced yield |
| Late | 100–130 | Long storage, large yields, winter use |
Choosing the right type comes down to your needs. Do you want fast results in a bucket on your balcony? Go for early types. Want a steady supply for family meals? Mid-season works well. Planning ahead for storage? Late varieties are your friend.
Once you’ve mastered potatoes, another rewarding crop to try is garlic. Here’s a guide on how to grow garlic at home with simple seasonal tips that pairs perfectly with your potato harvest.
Preparing Soil and Garden Bed for Potatoes
I learned the hard way that potatoes won’t forgive poor soil. My first attempt was in heavy clay, and the tubers came out small, cracked, and full of scabs. Potatoes thrive best in loamy, well-drained soil—something that allows water to flow without drowning the roots.
Here’s what you need to get right:
- Soil type: Light, crumbly, and easy for roots to expand into. If your soil is heavy, mix in sand or compost.
- pH level: Aim for 5.0–6.0. This slightly acidic range reduces the risk of common scab disease. A cheap soil pH tester will save you a season of disappointment.
- Compost & organic matter: Adding a good layer of compost before planting not only improves fertility but also keeps moisture steady. Think of it as giving your potatoes a nutrient-rich cushion to grow in.
This extra step doesn’t just make your soil healthier—it sets the stage for a bigger harvest and fewer problems later.
When and How to Plant Potatoes Step by Step
Here’s a straightforward method you can follow:
Step 1 – Chit or Sprout Your Seed Potatoes
Place seed potatoes in a cool, bright space for 2–3 weeks until sturdy green shoots form. This “head start” helps them settle faster once planted.
Step 2 – Cutting Larger Potatoes into Pieces
If your seed potatoes are bigger than an egg, cut them into chunks with at least one or two eyes each. Let the pieces dry for a day before planting—this seals the cut and prevents rotting.
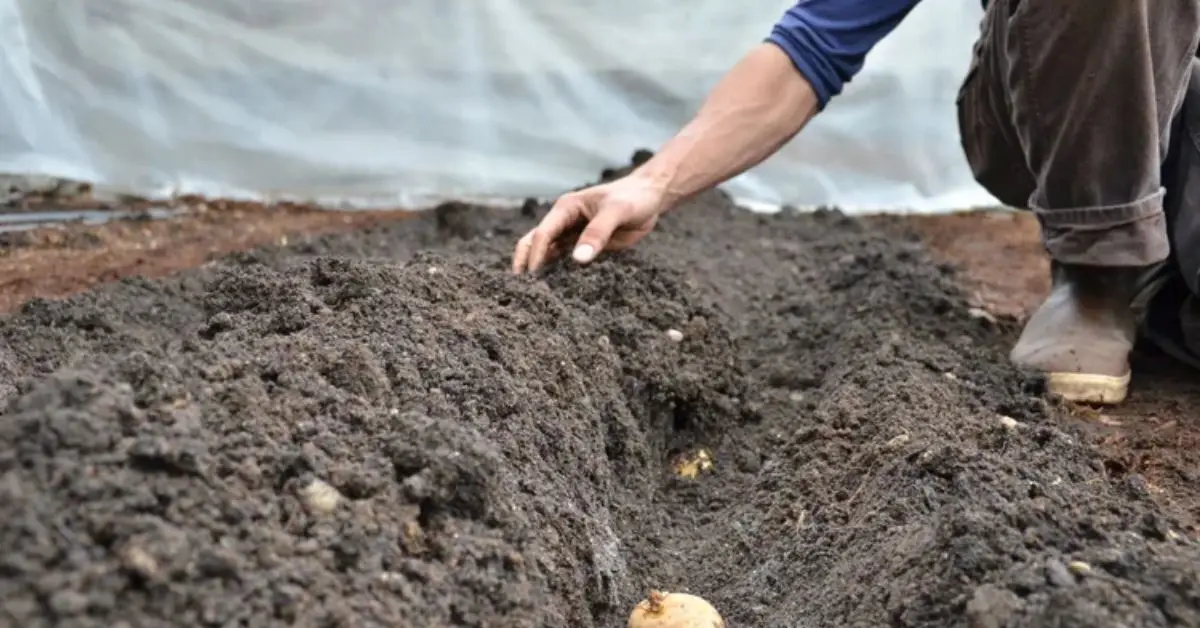
Step 3 – Planting Depth and Spacing
- Rows: Bury them about 4–6 inches deep, spaced 12 inches apart, with 2–3 feet between rows.
- Containers or grow bags: Plant 3–4 seed potatoes per large bag or bucket, covering them with 4 inches of soil, then top up as they grow.
Getting these basics right means your potatoes will sprout evenly, develop stronger roots, and be easier to care for.
Caring for Potato Plants During Growth
Once your potatoes are in the ground, the real work begins. I’ve lost crops by either drowning them with too much water or starving them of nutrients, so balance is key.
- Watering: Potatoes prefer deep, less frequent watering rather than daily sprinkling. This encourages tubers to grow deeper and stronger.
- Fertilizing organically: A light feed of compost tea or fish emulsion every few weeks keeps the plants healthy without chemical overload.
- Mulching: Adding a layer of straw or dried leaves helps in two big ways—keeps weeds down and locks in moisture. It also protects developing tubers from sunlight, which can turn them green and bitter. If you enjoy experimenting with plant growth hacks, you might also like learning how to use rooting hormone for faster plant growth—a simple trick that boosts root development in many garden plants.
If you’re unsure about timing or soil care, resources like the Royal Horticultural Society break down potato growth stages in detail and confirm that steady care is the difference between a weak harvest and a basket full of tubers.
The Importance of Hilling (Earthing Up)
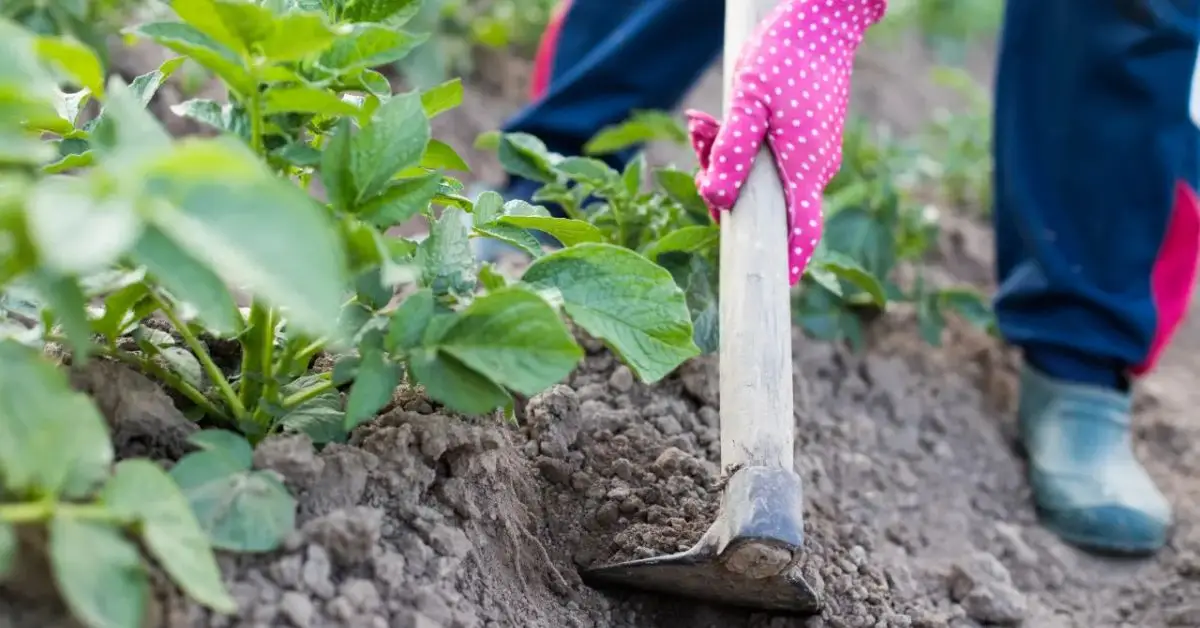
When I grew potatoes for the first time, I skipped hilling because it sounded like extra work. The result? Half my potatoes turned green and bitter. That’s when I realized hilling isn’t optional—it’s essential.
Here’s why it matters:
- Prevents greening: When tubers are exposed to sunlight, they develop chlorophyll and a toxin called solanine, making them unsafe to eat. Hilling keeps them covered.
- Boosts yield: Adding soil around the base encourages the plant to send out more underground stems, which means more potatoes.
- Stronger plants: Hilling stabilizes tall plants so they don’t flop over in wind or rain.
How to do it: Every 2–3 weeks, pull soil or mulch up around the base of your plants, covering stems but leaving leaves above the surface. Repeat until the mound is 6–8 inches high. If you’re growing in containers, just keep topping up with compost or soil as plants rise.
Common Potato Problems and How to Fix Them
Even with the best care, potatoes can run into trouble. Here’s what to watch for—and how to deal with it organically.
Potato Blight
- Signs: Brown spots on leaves, rapid collapse of foliage.
- Fix: Remove and destroy infected leaves (don’t compost). Avoid overhead watering. Rotate crops each year.
Potato Scab
- Signs: Rough, corky patches on potato skins.
- Fix: Maintain soil pH between 5.0–6.0, use certified seed potatoes, and avoid planting in dry, alkaline soil.
Colorado Potato Beetles
- Signs: Striped beetles and orange larvae chewing leaves.
- Fix: Hand-pick beetles, introduce natural predators like ladybugs, or spray neem oil. Companion planting with beans or marigolds can also deter them.
Overwatering Issues
- Signs: Yellow leaves, mushy tubers, foul smell in soil.
- Fix: Water deeply but less often. Ensure good drainage with loose, well-prepared soil.
Many beginners assume pests mean chemicals, but simple organic methods like neem spray and crop rotation often solve problems before they spread.
Harvesting Potatoes the Right Way
Digging up potatoes feels like uncovering treasure, but timing is everything.
- Signs they’re ready: Leaves and stems turn yellow and start dying back. Early potatoes can be harvested after 60–80 days, while main crops take 100–130 days.
- How to harvest: Use a fork or hands to gently lift soil. Stabbing too close to the roots can damage tubers. For containers, just tip them over and sift through the soil.
- Storing: Cure freshly dug potatoes in a dark, airy spot for 1–2 weeks to toughen skins, then store in a cool, dark place. Avoid plastic bags, which trap moisture and encourage rot.
If you want a visual reference on harvest timing and safe storage practices, the Edible Backyard guide offers a farmer’s perspective that reinforces these steps in a simple, practical way.
Beginner Mistakes to Avoid When Growing Potatoes
I’ve made more than a few potato-growing mistakes, and trust me—they can wipe out an entire season’s effort. Here are the most common ones beginners should avoid:
- Planting too shallow or too deep: Too shallow means sun exposure and green tubers; too deep slows growth and risks rotting. Stick to 4–6 inches deep.
- Using store-bought potatoes: Grocery potatoes are often treated to prevent sprouting and may carry diseases that spread in your soil. Always use certified seed potatoes.
- Skipping hilling: If you don’t cover the stems regularly, your tubers will turn green or stay undersized.
- Not rotating crops: Planting potatoes in the same spot every year encourages pests and soil-borne diseases. Rotate with beans, corn, or leafy greens.
Avoiding these mistakes saves frustration and gives you a far better harvest.
Creative Ways to Grow Potatoes in Small Spaces
Not everyone has a big backyard, but potatoes are surprisingly flexible. I’ve seen amazing results from small setups like these:
- Containers and grow bags: A large bucket or fabric grow bag can easily support 3–4 seed potatoes. Just keep topping up soil as plants grow.
- Balcony gardening: A sunny balcony with deep pots is enough to give you a steady supply of baby potatoes.
- Vertical stacking: Try “potato towers” made with wooden crates or stacked tires—add soil layer by layer as the plants grow taller.
These methods are perfect for urban gardeners who want fresh food without a traditional garden. If you’re setting up a garden that attracts pollinators and birds, make sure you avoid these bird bath placement mistakes so your outdoor space supports both plants and wildlife.
Final Takeaway – From Seed Potato to Table
Growing potatoes at home doesn’t have to be complicated. With the right start—good seed potatoes, healthy soil, and simple care—you can turn a small space into a surprisingly generous harvest. It’s a low-maintenance, high-reward crop that will taste better than anything you’ll find in a store.
Even if you’ve never grown a vegetable before, I’d encourage you to try just one container this season. The joy of digging out your first batch of potatoes is something you won’t forget.
Have you tried growing potatoes at home? Share your experiences in the comments below. And for more practical plant care guides, visit Plant Care Dairy for tips that actually work in real gardens.
Disclaimer: The information in this article is for educational purposes only. Gardening results can vary depending on climate, soil, and individual practices. Always follow local guidelines and consult trusted agricultural resources for specific advice.