
Let’s cut through the panic and guesswork. If your new orchid has dropped its blooms and the spike turned brown, that doesn’t mean it’s over. I’m going to show you how to quickly tell whether the plant is truly dying or simply resting—and exactly how to coax it back into flower.
In this guide, you’ll learn how to read leaves and roots, what yellowing really means, when and where to cut the flower spike, and the precise conditions that trigger reblooming. I’ll keep it practical, actionable, and honest so you can get your orchid thriving without mystery.
Quick story: I once stared at a pot of “sad green leaves” for months after the last flower fell. I almost tossed it. Instead, I checked the roots, tweaked the light, and gave it time. A few months later, a fresh spike emerged. That’s when I learned the real secret: orchids don’t perform on our schedule—but with the right care, they almost always come back.
Is Your Orchid Really Dead Or Just Resting?

Most orchids that look “done” are simply in a resting phase between bloom cycles. If you want a quick second opinion on whether an orchid is truly gone or just dormant, Epic Gardening explains the key signs in this guide on how to tell if an orchid is dead or alive. The flowers fade, the spike browns, and you’re left wondering what to do with a pot of leaves. Here’s how I quickly tell the difference between a truly dead orchid and one that’s just taking a break.
Start With A Leaf Check
Healthy leaves are firm and green, even if they’re not as glossy as when you brought the plant home. A bit of wrinkling usually means dehydration rather than death.
- Still green and firm: Keep caring for it—it’s alive.
- Completely brown or black, mushy, and collapsing: That’s a sign of severe rot and likely irreversible damage.
The Crown Tells The Truth
The crown—the central point where new leaves emerge—is the orchid’s lifeline. If it’s firm and green, your orchid is alive. If the crown is black, mushy, or pulls away, that’s crown rot, and the plant usually can’t recover.
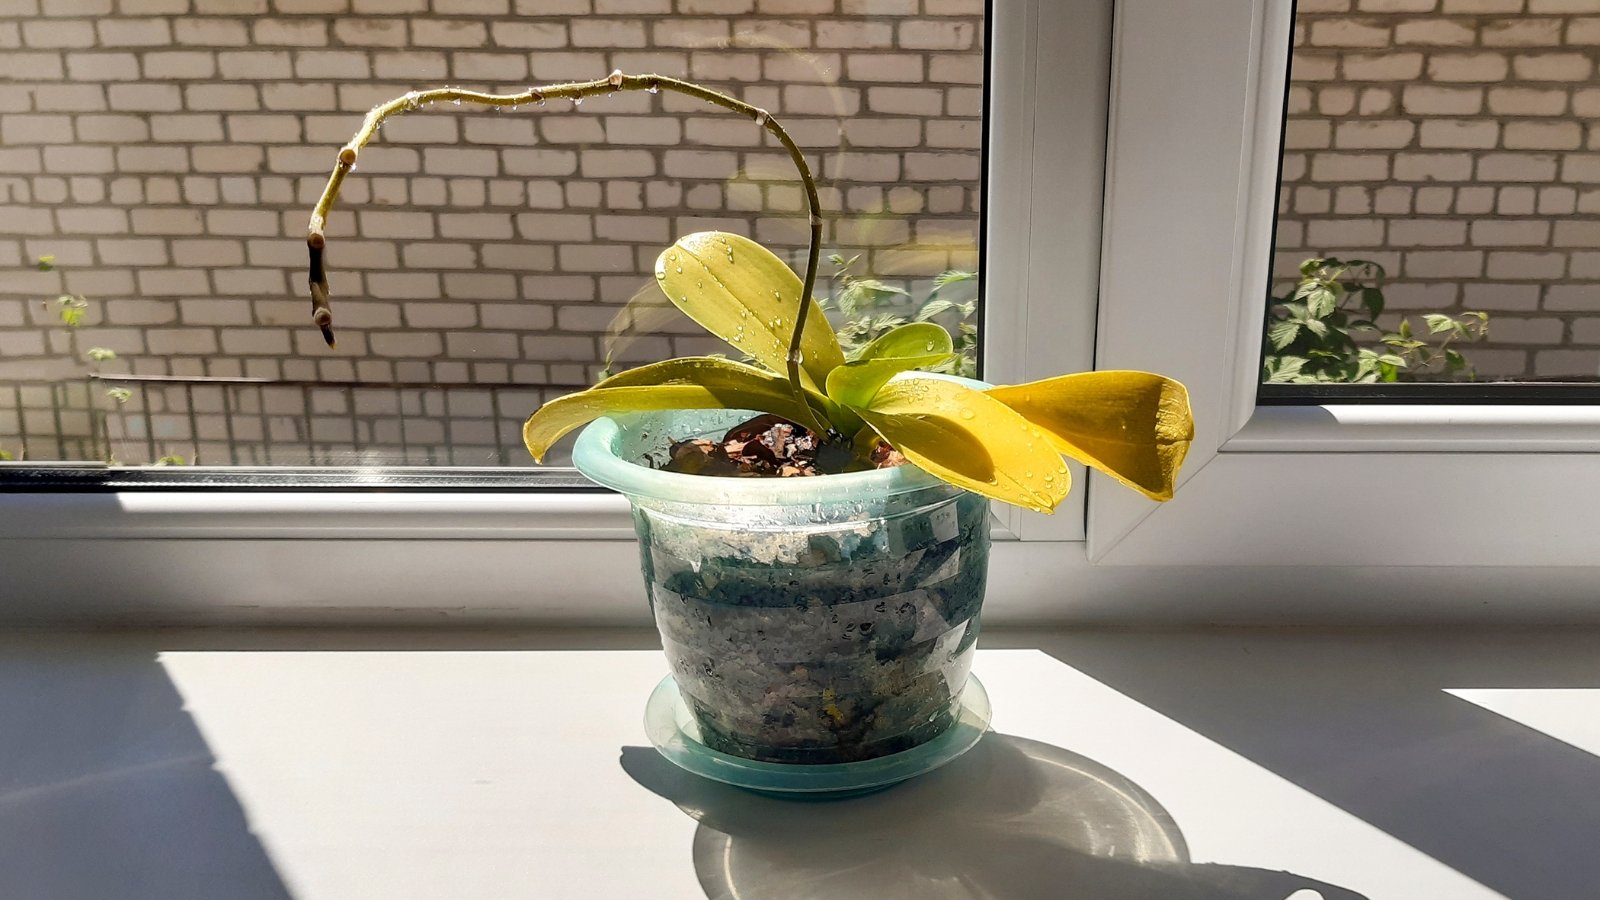
Browning Flower Spikes Are Normal
After bloom, the flower spike often turns brown and dry. That’s normal and not a death sentence. Many people panic at the browning spike and assume failure, but the spike’s decline is simply part of the cycle. What matters is the crown and roots.
Will Your Orchid Bloom Again? What To Expect
Assuming your orchid is alive, the next question is timing. Most orchids, especially Phalaenopsis (the common store-bought “moth orchid”), bloom once or twice per year. They need the right light, a gentle swing in temperatures, and consistent care to re-initiate flowering.
Why Orchids Take A Break
In nature, orchids bloom in response to seasonal cues like daylength and temperature shifts. After flowering, they shift energy to roots and leaves. This resting phase is completely normal, and Just Add Ice Orchids breaks down what’s happening during this period in their explanation of the orchid resting cycle.
This rest period can last several months, which is why many people think the plant is done for good.
Timing For Common Phalaenopsis Orchids
Phalaenopsis typically set spikes as nights get cooler—often in fall—then bloom in winter or spring. If you’re growing the classic moth orchid, House Beautiful also shares helpful insights on Phalaenopsis orchid care and rebloom timing. With steady care, you can see a fresh spike every year, sometimes twice if conditions are ideal.
Manage The Flower Spike After Bloom

- If the spike is still green halfway down: Cut just above a node (one of the small bumps along the stem). This can prompt a side branch with additional flowers.
- If the spike is fully brown: Cut it back to the base. The plant will focus on roots/leaves and eventually push a brand-new spike.
I’ve had success both ways. When I’m patient and want a stronger future bloom, I cut the entire spike back to the base. If I want a quick encore and the spike is still green, I trim just above a node.
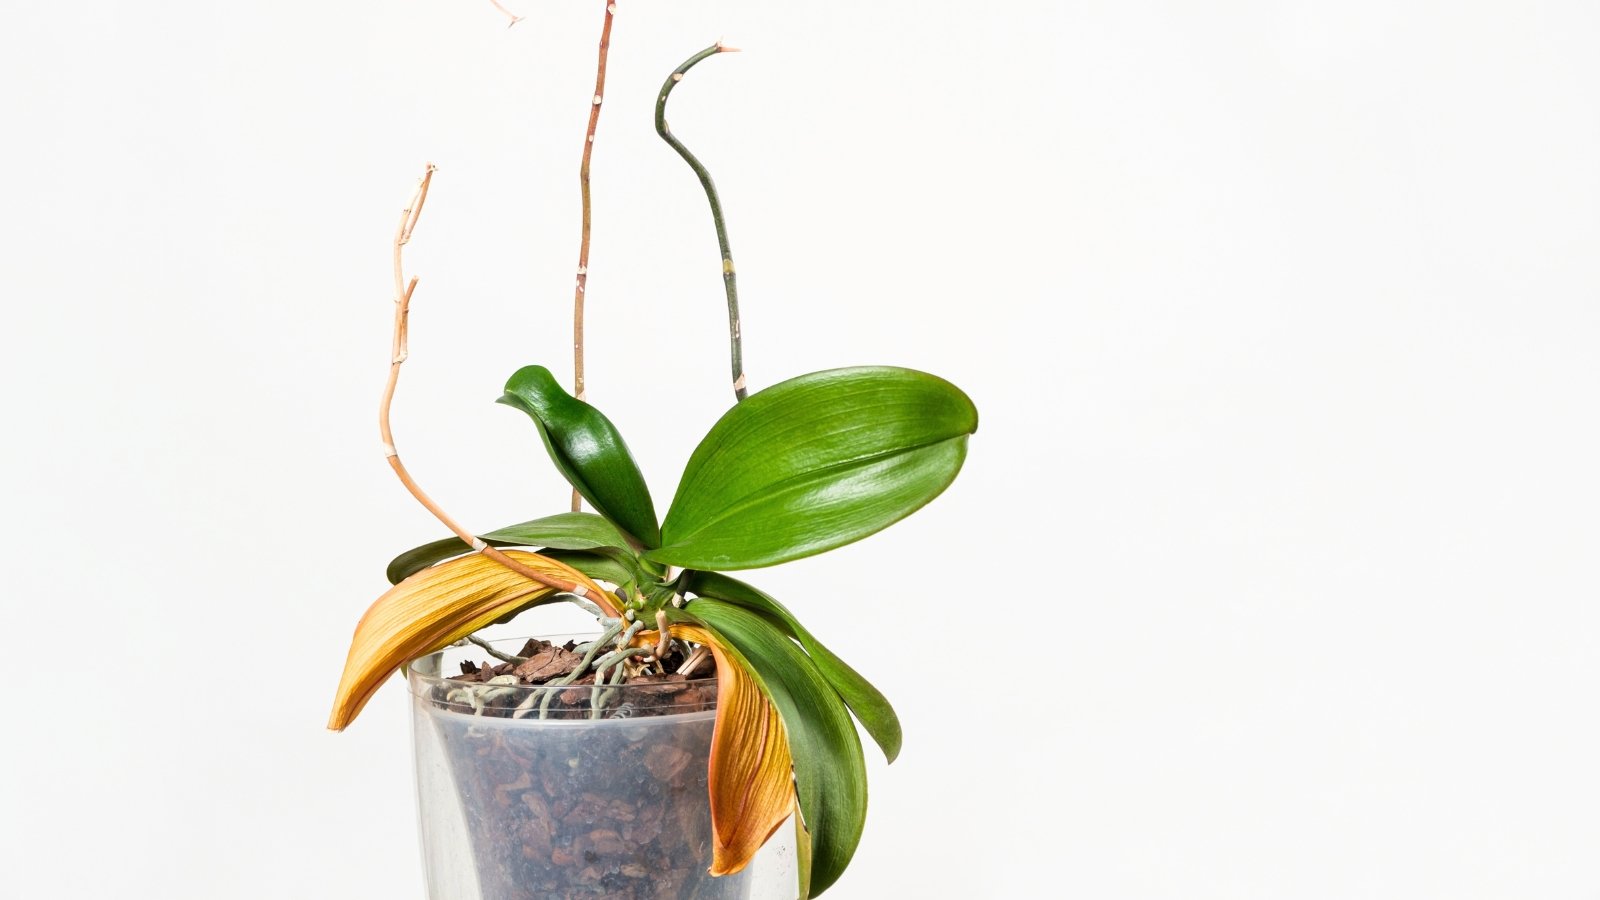
Yellow Leaves: What’s Normal And What’s Not
Yellow leaves don’t always signal doom. Orchids naturally shed their oldest lower leaves as they age. The key is noticing which leaves are yellowing and what the texture looks like.
Normal Leaf Drop Vs Trouble
- One or two lower leaves turning yellow: Normal aging. When they’re fully yellow and loose, gently remove them.
- Several leaves yellowing at once, especially near the crown: Something’s off—usually watering.
Overwatering Vs Underwatering Clues
- Overwatering: Yellowing starts from the base upward with soft, mushy tissue. Roots may be brown and squishy.
- Underwatering: Leaves feel wrinkled and leathery; roots look hollow or crispy.
Watch For Disease Red Flags
- Black spots, foul odor, or rapid collapse: Treat immediately; these often indicate rot or an infection.
- No healthy green tissue left anywhere: That usually means the plant has failed beyond recovery.
Check The Roots: The Health Report Card

I call orchid roots the “tell-all.” Healthy roots are thick and firm, silvery-gray when dry and bright green when wet. Root health becomes even more important if you’re experimenting with alternative methods like growing orchids in water, where constant monitoring is essential. If your orchid came in a clear plastic pot, you can check without unpotting.
What Healthy Roots Look Like
- Plump, firm, and springy: Good hydration and active growth.
- Silvery-gray (dry) that turns green when watered: Normal behavior for epiphytic roots.
- Aerial roots reaching out of the pot: Not a problem; they’re doing their job.
Diagnosing Rot Or Desiccation
- Brown, mushy roots: Classic overwatering or media that stays wet too long. These roots cannot recover.
- Black, hollow, or crispy roots: Underwatering or a mix that dries too fast with no rehydration.
- Some old discoloration: Fine. What matters is the overall ratio of healthy to dead roots.
Quick Root-Rescue Repot
- Remove the orchid from its pot and gently rinse the roots.
- Trim dead tissue with sterilized scissors (disinfect between cuts).
- Repot into a breathable orchid mix (bark, perlite, a touch of sphagnum) in a pot with plenty of drainage.
- Water lightly and let it settle; resume normal watering the following week.
7 Smart Steps To Trigger Phalaenopsis Reblooming
Here’s the plan I follow when I want reliable flowers again. These are the exact 7 steps I recommend for Phalaenopsis reblooming. For ongoing care beyond reblooming, you may also find this guide on orchid care tips to keep indoor orchids blooming all year helpful.
- Give Bright, Indirect Light: Place your orchid in an east-facing window with gentle morning sun or a bright spot with filtered light. Too little light delays spikes; too much direct midday sun can scorch leaves.
- Create A Day/Night Temperature Drop: Aim for a 10–15°F (6–8°C) difference between day and night. In fall, crack a window at night (if safe) or move the plant to a cooler room. That shift often triggers spike initiation.
- Water On A Consistent Rhythm: During active growth, water about once per week. In cooler months, reduce slightly. Always let the mix approach dryness, and never let the pot sit in water.
- Feed Lightly, Regularly: Use a balanced orchid fertilizer at a weak solution every few weeks in the growing season. Overfeeding won’t force blooms; consistency and proper dilution are what matter.
- Decide What To Do With The Old Spike: If it’s still green, cut just above a node to encourage a side branch. If it’s brown, cut it to the base so the plant can reset and push a fresh spike later.
- Use The Right Pot And Mix: Orchids need excellent drainage and airflow around the roots. Choose a pot with holes (clear is great for monitoring) and a chunky bark-based mix. Repot every 1–2 years before media breaks down.
- Practice Patience (Track Progress): Keep notes on light, temperatures, and watering. Look for the telltale new spike emerging from the plant’s crown area. It may take several months—that’s normal.
Conclusion And Quick Reference Checklist

Smart orchid care is less about hacks and more about steady, observant habits. If you confirm the crown is sound, roots are mostly healthy, and you provide bright light plus a gentle temperature drop, your orchid will likely reward you with another round of blooms. Remember: you’re not forcing flowers—you’re recreating the cues that tell the plant it’s time. If your orchid shares space with pets, it’s also worth knowing whether orchids are safe for cats while you’re optimizing placement and care.
| What To Check | Healthy/Ideal | Warning Signs | Quick Fix |
|---|---|---|---|
| Leaves | Firm, mostly green | Mushy, black/brown, multiple new leaves yellowing | Adjust watering; check crown for rot |
| Crown | Firm, green center | Black, mushy, pulls away | Improve airflow; keep water out of crown; severe cases often fatal |
| Roots | Thick, firm; silver when dry, green when wet | Brown mush (rot) or crispy hollow (desiccation) | Trim dead roots; repot in bark mix; water rhythmically |
| Light | Bright, indirect (east window or filtered) | Scorching or deep shade | Diffuse midday sun; move closer to light if too dim |
| Temperature | 10–15°F day/night drop | No temperature change | Use cooler nights in fall or a slightly cooler room |
| Watering | Weekly in growth; less in cool season | Constantly wet or bone-dry for long periods | Let mix approach dryness; never leave standing water |
| Fertilizer | Weak solution every few weeks | Heavy feeding or none for months | Resume light, regular feeding during growth |
| Spike Care | Trim above node if green; remove if brown | Leaving decayed spike attached | Make a clean cut to conserve energy |
Actionable Checklist
- Confirm life: Check leaves, crown, and roots for firm, green tissue.
- Reset the spike: Green? Cut above a node. Brown? Cut to base.
- Dial in light: Bright, indirect, preferably an east window.
- Create a cool night: Aim for a 10–15°F drop to trigger spikes.
- Water wisely: Weekly in growth, less in cool months; excellent drainage.
- Feed lightly: Balanced orchid fertilizer at weak dilution every few weeks.
- Refresh the mix: Repot into chunky bark if roots are cramped or media is breaking down.
- Be patient: Watch for a new spike over several months.
Got a tricky orchid situation or a reblooming win to share? I’d love to hear it. Drop your questions or tips in the comments on Plant Care Dairy—our community learns faster together.
Disclaimer: The information in this article is for general educational purposes. Growing conditions vary by home and climate; always adjust care to your environment. Use sterilized tools and follow product labels for any treatments. The author and Plant Care Dairy are not liable for outcomes from applying this guidance.