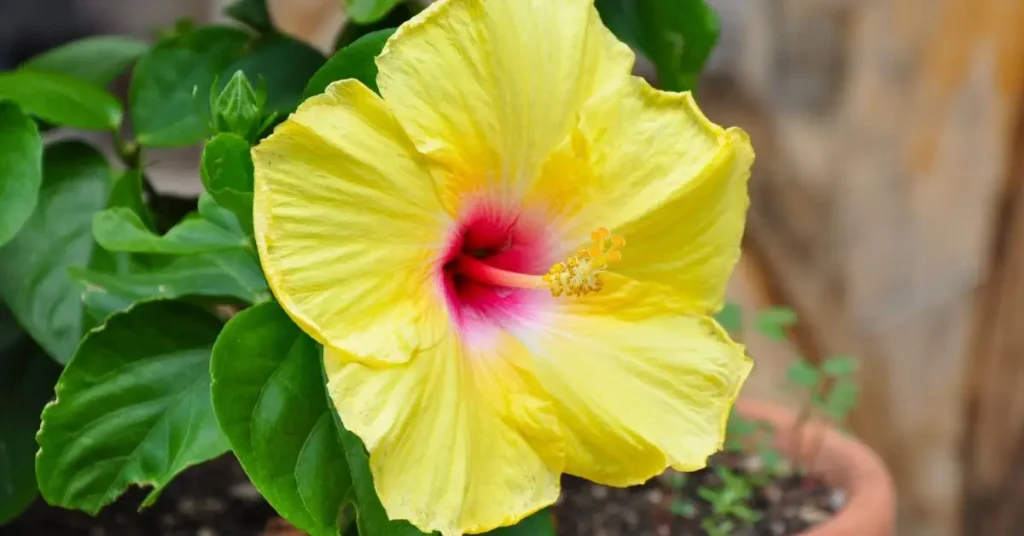
You notice the yellow leaves first. One day your hibiscus looks fine, the next it’s throwing you warning signs—leaves paling, a few dropping, buds stalling. I’ve been there, staring at the plant and wondering if I’ve already messed it up.
Here’s the truth: yellow leaves are a signal, not a death sentence. Hibiscus is fussy about balance—water, light, warmth, nutrients—and when one of those slips, the plant tells you. Most fixes are simple once you know where to look.
In this guide, I’ll help you separate normal leaf shed from real problems, read the clues (new leaves yellowing vs older ones, veins green vs whole leaf pale), and make a few quick checks you can do in under a minute. No jargon. No guesswork. Just what works—pulled from experience and solid horticulture advice.
By the end, you’ll know exactly how to stop the yellowing, keep buds from dropping, and get that deep green foliage back without overcorrecting or drowning the plant in fertiliser.
Before we dive in, tell me this: are the older bottom leaves turning yellow, or is it the new growth at the tips?
Understanding Your Hibiscus’ Needs
Tropical roots: what hibiscus naturally craves (sun, warmth, moisture)
If you’ve ever wondered why hibiscus feels so high-maintenance, it helps to remember where it comes from. This plant is a tropical native. In its natural environment, it grows in places that are warm year-round, with steady sunshine, high humidity, and soil that drains fast but never dries out completely.
That means your hibiscus is happiest when you give it:
- Consistent sunlight — ideally 6–8 hours of bright light each day.
- Warmth — it struggles when temps dip below 55°F (13°C).
- Moist but airy soil — damp but never soggy. Think of soil that feels like a wrung-out sponge.
When you know these roots, everything about care makes sense. You and I don’t thrive if we’re pulled far from our natural environment, and the hibiscus is no different.
What happens when balance is off → yellow signals
Here’s the catch: when even one of those needs is thrown off, hibiscus doesn’t stay quiet. It sends up yellow leaves as its first alarm system.
- Too little light? Lower leaves turn pale and limp.
- Soil staying soggy? Whole sections yellow fast and start to drop.
- Cold draft or heat wave? The plant “shuts down,” sacrificing leaves.
Those yellow leaves aren’t random—they’re your plant’s way of saying “something is off balance, fix me now.” Most articles list reasons without context, but if you see yellowing as a communication signal, you’ll understand the “why” and not just the “what.”
Main Causes of Yellow Hibiscus Leaves

1. Watering mistakes (over & under)
I’ve killed more plants by watering than by forgetting. Hibiscus is especially dramatic:
- Overwatering: Roots suffocate, leaves yellow evenly, and buds drop.
- Underwatering: New growth yellows first, soil pulls from the pot edges.
Quick fix: stick your finger two inches in. If it feels dry, water; if damp, wait.
2. Soil drainage problems
Even perfect watering can fail if the soil itself holds water like a sponge. Heavy clay or compacted soil means roots sit in a swamp.
- Solution: mix in perlite, sand, or compost for better drainage.
- In pots, always check that water drains freely from the bottom holes.
3. Temperature stress (cold snaps/heat waves)
I’ve seen hibiscus leaves yellow and drop almost overnight after a chilly night on the porch. Likewise, brutal summer heat can fry them.
- Below 55°F: growth slows, leaves pale and fall.
- Above 95°F: stress leads to wilt and yellowing.
Keeping hibiscus in a stable spot is often the biggest lifesaver.
4. Light issues (too much direct sun vs too little)
- Too little light = weak, pale yellow leaves.
- Too much harsh midday sun = scorched, yellow patches with crispy edges.
Balance it with morning sun + afternoon shade if you’re in a hot climate. Just like hibiscus, many plants suffer when exposed to harsh midday rays—if you’ve noticed scorched patches on your garden greens, here’s how to save your plants from sunburn with five easy fixes.
5. Pests (aphids, spider mites)
Tiny invaders like aphids suck the sap, leaving leaves mottled yellow. Spider mites create fine webs and cause stippled yellow dots.
- Flip the leaves often—if you see sticky residue or dots, pests are likely.
- Neem oil or insecticidal soap usually clears them up without chemicals. And don’t forget, ants often farm aphids on hibiscus for their sugary sap—if they’ve invaded your pots too, here’s a safe guide on how to get rid of garden ants without harmful chemicals.
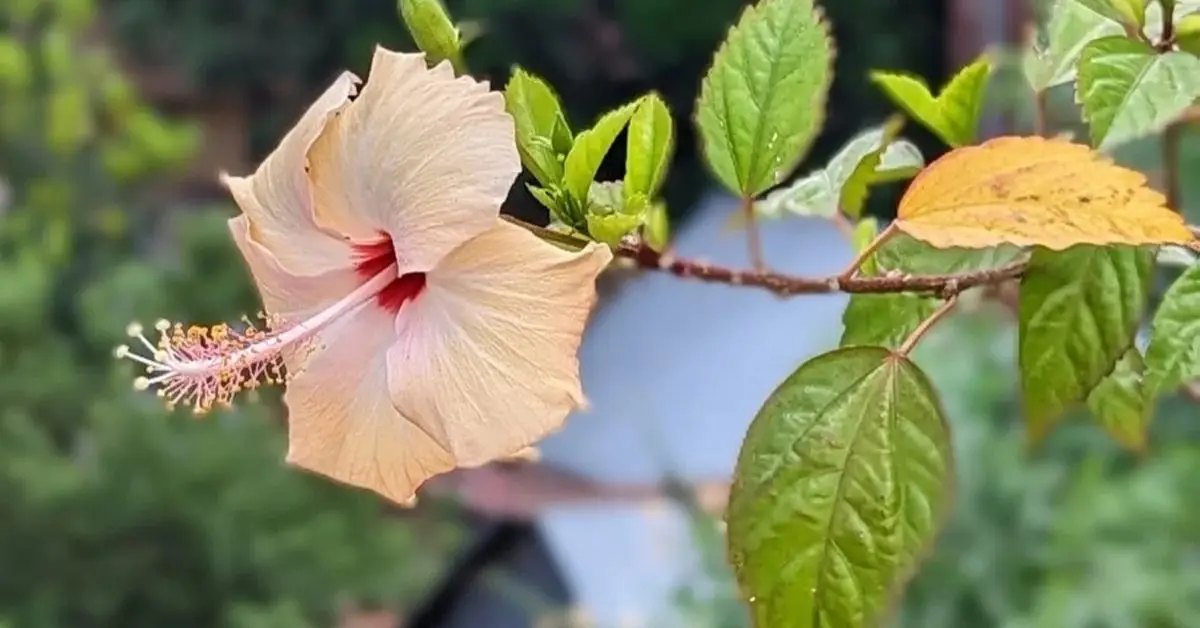
6. Nutrient deficiencies (iron, magnesium, nitrogen)
When your hibiscus is hungry, yellow leaves show up in distinct patterns:
- Nitrogen: older leaves yellow all over.
- Iron: new leaves stay yellow with green veins.
- Magnesium: yellow edges with a green “V” in the center.
As highlighted by Gardening Know How, these deficiencies are common and can be corrected with the right fertiliser or supplements before the plant declines further.
Notice how each yellowing pattern tells a story. Once you and I learn to read those signals—water stress, poor light, pests, or nutrients—the guesswork disappears and the fixes feel much simpler.
Quick Fixes That Work
Adjust watering habits + finger test trick
The fastest win is often water. Hibiscus hates extremes. If you’ve been watering on a strict schedule, drop it. Instead, do the finger test: push your finger two inches into the soil.
- If it feels dry, it’s time to water deeply until water runs out the bottom.
- If it feels damp, wait a day or two.
This simple check saves more hibiscus than any fancy gadget.
Improve soil drainage with perlite/organic matter
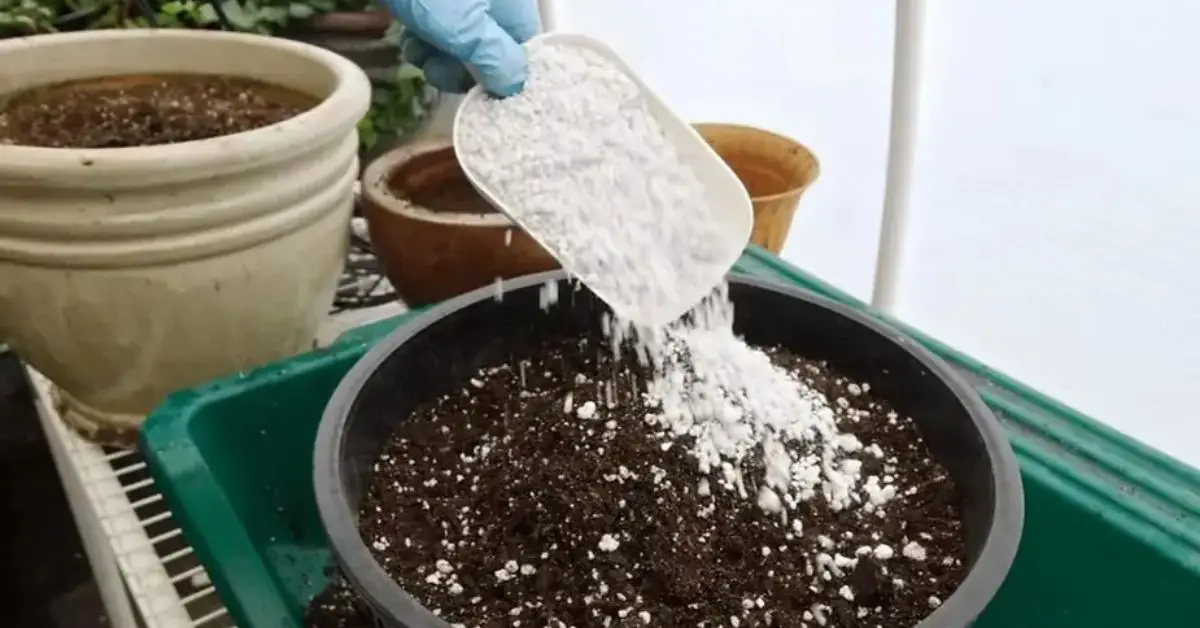
If water is pooling or soil feels heavy, drainage is the culprit. Mix perlite, coarse sand, or compost into your potting mix. For garden soil, loosen the planting hole and blend in organic matter.
Better drainage = happier roots = fewer yellow leaves.
Relocating for ideal sunlight hours
Sometimes yellowing is just your hibiscus telling you it’s in the wrong spot. Aim for:
- 6–8 hours of bright light daily.
- Morning sun, afternoon shade if summers are harsh.
A quick move from full-scorch afternoon sun to a gentler spot can green up new leaves within weeks.
Pest control using safe remedies (neem oil, insecticidal soap)
Check under the leaves—sticky residue or webbing usually means pests. Instead of harsh sprays, use:
- Neem oil spray (weekly until pests are gone).
- Insecticidal soap for quick knockdown of aphids and mites.
Both are safe around pets and kids, and won’t hurt the plant.
Fertiliser schedule for hibiscus (balanced vs targeted micronutrients)
Yellowing caused by hunger needs a steady meal plan:
- Use a balanced fertiliser (10-10-10) every 2–3 weeks during growing season.
- For specific deficiencies: iron chelate or magnesium (Epsom salt spray).
Don’t dump random fertiliser—measured, steady feeding keeps leaves green without overwhelming roots. For a natural nutrient boost, many gardeners also swear by rice water; learn the right way to apply rice water to your plants for faster, healthier growth.
Advanced Fixes and Prevention
Seasonal care checklist (summer vs winter hibiscus care)
Hibiscus reacts differently with the seasons. According to Real Simple, summer heat can push the plant into stress just as easily as winter chills.
- Summer: water more often, provide afternoon shade, feed monthly.
- Winter (indoors or mild climates): reduce watering, cut fertiliser, protect from drafts.
Adapting care to the season prevents leaf drop before it starts.
Container vs ground hibiscus—special considerations
- Container plants: dry out faster, need more frequent watering and fertiliser. Pots must have drainage holes.
- Ground plants: roots spread deeper, less frequent watering, but more exposed to cold snaps.
If you grow hibiscus in pots, think of it as a houseguest—it relies fully on you. Ground plants are tougher but need winter protection.
Long-term nutrient plan (liquid vs slow-release fertilisers)
Short fixes work, but prevention is about steady feeding.
- Liquid fertilisers: quick boost, perfect during active bloom periods.
- Slow-release granules: long-term balance, less risk of “overfeeding.”
A mix of both—granules for the base, liquid for quick recovery—keeps hibiscus strong year-round.
These advanced steps move you beyond “rescue mode” and into prevention mode. By tailoring care to seasons, choosing the right planting method, and setting a nutrient plan, you’ll see fewer yellow leaves and more weeks of bold blooms.
Myths & Mistakes to Avoid
Myth: Yellow leaves always mean disease
One of the biggest misconceptions I see in gardening groups is that yellow leaves equal a sick or dying hibiscus. That’s not true. Sometimes the plant is simply shedding older leaves to make room for new ones. Other times it’s a light or water adjustment away from bouncing back. If you panic and start dumping treatments, you’ll often make the problem worse.
Mistake: Random fertiliser dumping without soil test
I know how tempting it is to grab whatever fertiliser is in the shed and throw it at the problem. But hibiscus responds poorly to excess salts and imbalanced nutrients. Without checking what’s actually missing, you risk burning roots or pushing weak, floppy growth. A simple soil test kit (cheap and easy to use) tells you if the issue is nitrogen, magnesium, or iron—so you feed the plant what it truly needs.
Mistake: Moving hibiscus indoors/outdoors suddenly (shock)
Hibiscus doesn’t like sudden changes. If you drag it from your warm living room straight into full summer sun, expect leaves to yellow and drop in protest. Likewise, rushing it indoors at the first sign of cold causes shock. The right move is to transition gradually—a few hours outside each day, then back in, until it adjusts.
Hibiscus Rescue Toolkit
Checklist: Quick fixes for yellowing leaves
If you’re standing over your plant right now and need a fast action list, here’s your go-to:
- Check soil with the finger test before watering.
- Improve drainage: add perlite or compost, or repot if soil stays soggy.
- Relocate to 6–8 hours of gentle light daily.
- Inspect leaves for pests under the surface; treat with neem oil or insecticidal soap.
- Feed with a balanced fertiliser, or target specific deficiencies if identified.
When to call it quits: signs your hibiscus won’t bounce back
As much as I hate to say it, some plants don’t recover. Signs it may be time to let go:
- Stems are brittle and snap easily.
- No new buds or leaves appear after several months of proper care.
- Root system is mushy or blackened despite fixing drainage.
As noted by The Spruce, knowing when to stop pouring effort into a failing plant can free up your time and energy for a healthy hibiscus that will reward you with consistent growth and blooms.
Bringing It All Together
Yellow hibiscus leaves aren’t a death sentence—they’re a message. Once you and I learn to read those signals, the fixes become clear: water smarter, improve drainage, adjust light, feed the right nutrients, and protect against pests. The key is to act quickly but calmly, without throwing random solutions at the plant. With steady, thoughtful care, most hibiscus bounce back and reward you with glossy green leaves and bold blooms.
Now I’d love to hear from you—have you ever dealt with yellowing leaves on your hibiscus, and what worked for you? Share your experiences in the comments; your tip might be exactly what another gardener needs.
And if you’re looking for more practical, no-fuss plant care advice, visit us at Plant Care Dairy—your go-to resource for keeping every leaf in your garden thriving.