I’ll be honest with you—planting pumpkin seeds sounds simple, but if you just toss them in the dirt and hope for the best, you’ll likely end up with vines that struggle or fruits that never fully ripen. I’ve seen it happen in my own garden, and it’s frustrating when months of waiting give you nothing but small, pale pumpkins. The good news? Pumpkins aren’t difficult once you understand what they actually need—warm soil, space to spread, steady water, and a little patience. When you get those basics right, a single seed can turn into vines loaded with pumpkins big enough for carving, cooking, or simply showing off.
So, before you grab that packet of seeds, let’s talk about timing, soil prep, and the small planting tricks that make the difference between a disappointing season and a harvest you’ll be proud of.
Have you ever tried growing pumpkins before—or is this your first time starting from seed?
When and Where to Plant Pumpkin Seeds?
If you’ve ever rushed into planting too early, you probably know the disappointment of watching seeds rot in cold soil or seedlings die after a surprise frost. Pumpkins are heat lovers, and the single biggest mistake gardeners make is ignoring timing. I’ve learned the hard way that the right window isn’t about the calendar—it’s about the soil. You want the ground to feel warm to the touch, around 60–65 °F, before those seeds ever go in. From there, pumpkins need about 90–120 frost-free days to reach full maturity.
Here’s what I keep in mind before planting:
- Wait until frost danger is gone – even one cold snap can set you back weeks.
- Choose full sun – pumpkins are greedy for sunlight; without at least 6–8 hours daily, vines stay weak.
- Pick soil that drains well – soggy ground is a recipe for rot. Neutral to slightly acidic soil (pH 6–6.8) gives the best results.
I always remind myself: pumpkins don’t forgive bad timing. But when you match seed to season and give them the right spot, the reward is worth the patience.
Preparing the Site & Soil
Think of the soil as the pumpkin’s pantry. If you skimp here, the vines will spend their whole season hungry. I’ve found the easiest way to set them up for success is to build small mounds or hills, then enrich them with compost or well-rotted manure. This keeps roots warmer, improves drainage, and gives the plants a head start.
A few things I do every season:
- Test the soil before planting—sometimes a light boost of nutrients is all that’s missing.
- Aim for rich, loamy soil that holds moisture but doesn’t stay soggy.
- Rotate crops and avoid planting pumpkins where cucumbers, squash, or melons grew last year—this simple step helps prevent soil-borne diseases.
Healthy soil is the backbone of any garden, whether you’re growing pumpkins or even experimenting with something delicate like edible flowers in small spaces. The principles are the same—good soil prep sets you up for success.
One of the best tips I picked up from Utah State University Extension is that pumpkins thrive when the soil is not only fertile but also prepared ahead of time, so the nutrients are available right from the first sprout. It’s the kind of small prep that pays off all season long.
Do you usually test your soil before planting, or do you just trust the ground as it is?
How Deep to Plant & Spacing Guidelines
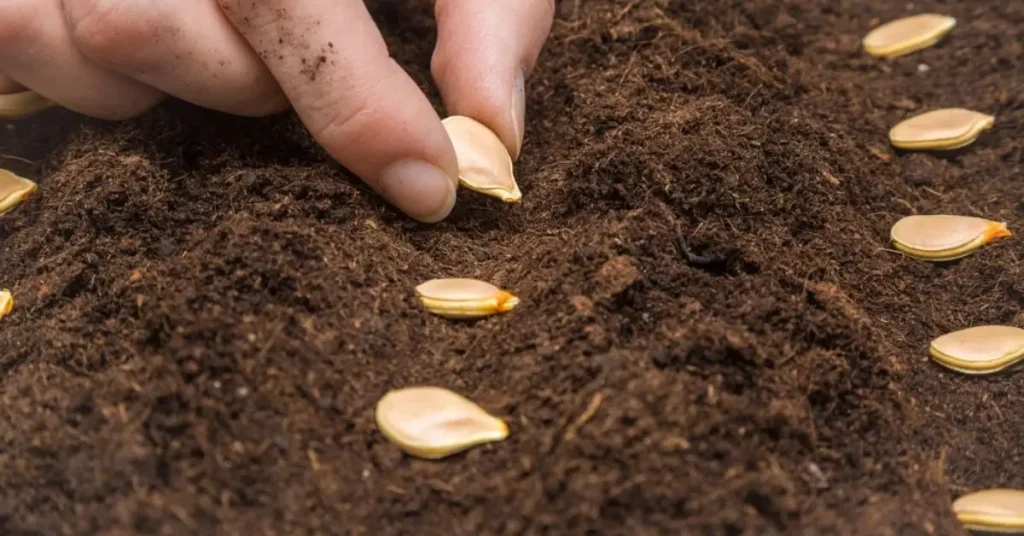
I’ve seen gardeners drop pumpkin seeds too shallow and wonder why nothing comes up—or bury them too deep and end up waiting on sprouts that never break through. The sweet spot is ¾ inch to 2 inches deep, depending on your soil and region. In lighter soils, you can go a little deeper, but in heavy clay, shallower is better so the seedlings don’t exhaust themselves trying to reach the surface.
Spacing matters just as much. Pumpkins are space hogs, and crowding them almost always leads to weak vines and more disease pressure. Here’s the rule of thumb I follow:
- Vining pumpkins: Plant in hills 4–6 feet apart, with rows spaced 8–15 feet apart.
- Bush or miniature pumpkins: Plant 2–3 feet apart, with 5–6 feet between rows.
When I ignored spacing early on, my vines tangled into a messy jungle that blocked airflow and attracted mildew. Now, I picture each plant like it’s going to take over its own territory—and I give it the room it needs.
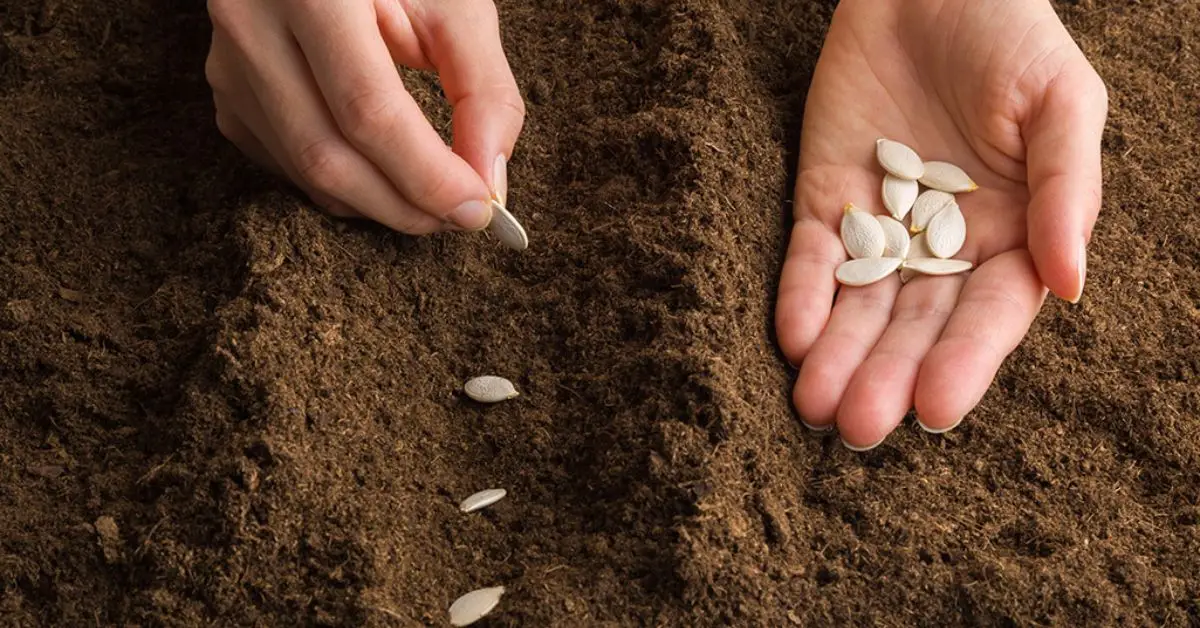
Seed Preparation & Sowing Tips

The difference between a slow start and a strong start often comes down to how you handle the seeds before they touch the soil. One trick I swear by is soaking seeds overnight in room-temperature water. It softens the shell and speeds up germination by a few days.
A couple more things I’ve learned:
- Saving seeds from a carved pumpkin? Make sure they’re fully cleaned and dried before storing. Just know that what grows back might not look exactly like the original—it depends on cross-pollination.
- Starting indoors? In cooler climates, plant seeds in peat pots 3–4 weeks before the last frost date. This gives you a head start, but don’t forget to harden them off before transplanting outdoors.
As the University of Illinois Extension points out, proper seed prep and careful sowing can be the difference between a handful of weak sprouts and a bed full of thriving pumpkin starts. It’s one of those small steps that pays off big later in the season.
Have you ever tried soaking seeds before planting, or do you usually sow them straight from the packet?
Watering, Mulching & Fertilization
Pumpkins love consistency, but too much or too little water can ruin a whole season. I’ve learned that it’s better to water deeply once or twice a week rather than sprinkling every day. Aim for about 1–2 inches per week, and always water at the base. Wetting the leaves only invites mildew and other diseases. Drip irrigation or soaker hoses make this job easy and keep the foliage dry.
Once the soil has warmed, I always add a layer of mulch. It locks in moisture, keeps weeds down, and helps maintain a steady soil temperature. Without it, you’ll spend half the summer battling weeds and chasing dry soil.
Fertilizing is another area where timing matters:
- Early growth: Give a boost of nitrogen so vines grow strong.
- Once vines start running and flowers appear: Switch to phosphorus and potassium to support fruit set and development.
This shift ensures your plants don’t just grow endless leaves but actually put their energy into producing big, healthy pumpkins.
Thinning, Pruning & Training Vines
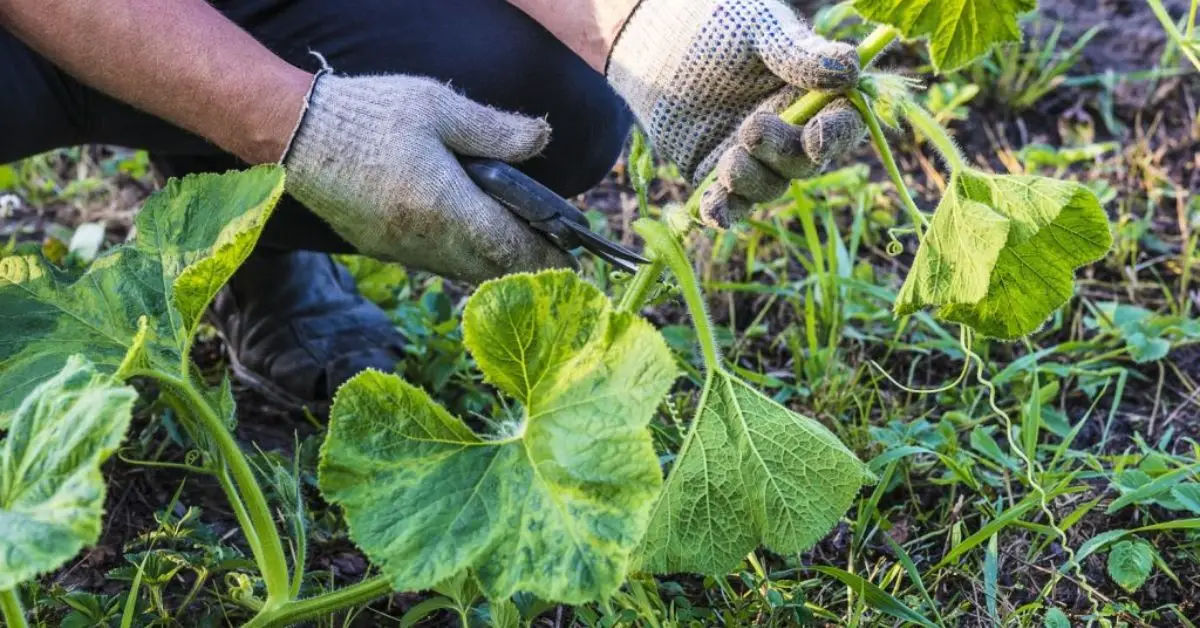
It’s tempting to keep every sprout that pops up, but I’ve found that thinning down to the strongest one or two plants per mound is essential. More plants just means more competition, and weaker growth all around.
When the vines are established and fruit begins to set, I prune back the vine tips or remove small side shoots. This focuses the plant’s energy on ripening the pumpkins that are already developing instead of wasting resources on new, late-season flowers.
For smaller gardens, you can even train vines up a trellis if you’re growing compact or miniature varieties. It saves space and makes harvesting easier. Once you get comfortable shaping your pumpkin vines, you’ll notice the same care techniques apply to other plants too—like learning how to prune rosemary properly to keep it thriving season after season.
As the Arkansas Extension Service explains, good spacing, thinning, and training practices are some of the simplest ways to improve airflow, reduce disease risk, and ultimately get more usable pumpkins from each plant.
Do you usually let your pumpkin vines sprawl naturally, or have you ever tried pruning or trellising them?
Monitoring Pests, Disease & Maintenance
If there’s one lesson pumpkins have taught me, it’s that you can’t just plant them and walk away. The vines are magnets for pests like squash bugs and cucumber beetles, and if you don’t catch them early, they’ll chew through leaves and flowers before you even notice. On top of that, diseases like powdery mildew and fruit rot can sneak in fast, especially when the weather turns humid.
Here’s what I do to stay ahead:
- Check the undersides of leaves for insect eggs and squash them before they hatch.
- Remove garden debris where pests like to hide.
- Use row covers on young plants if you’re planting early in the season.
- Keep watering at the soil level, never overhead—wet leaves almost guarantee mildew.
- Rely on mulch and good spacing to keep air moving and soil moisture steady.
Even small details in your garden setup can make a difference. Just like correcting common bird bath placement mistakes can reduce unwanted pests, proper maintenance around your pumpkin patch helps keep diseases at bay.
Staying proactive doesn’t just protect the plants—it saves the harvest you’ve been working toward all season.
Harvesting and Curing for Longer Storage
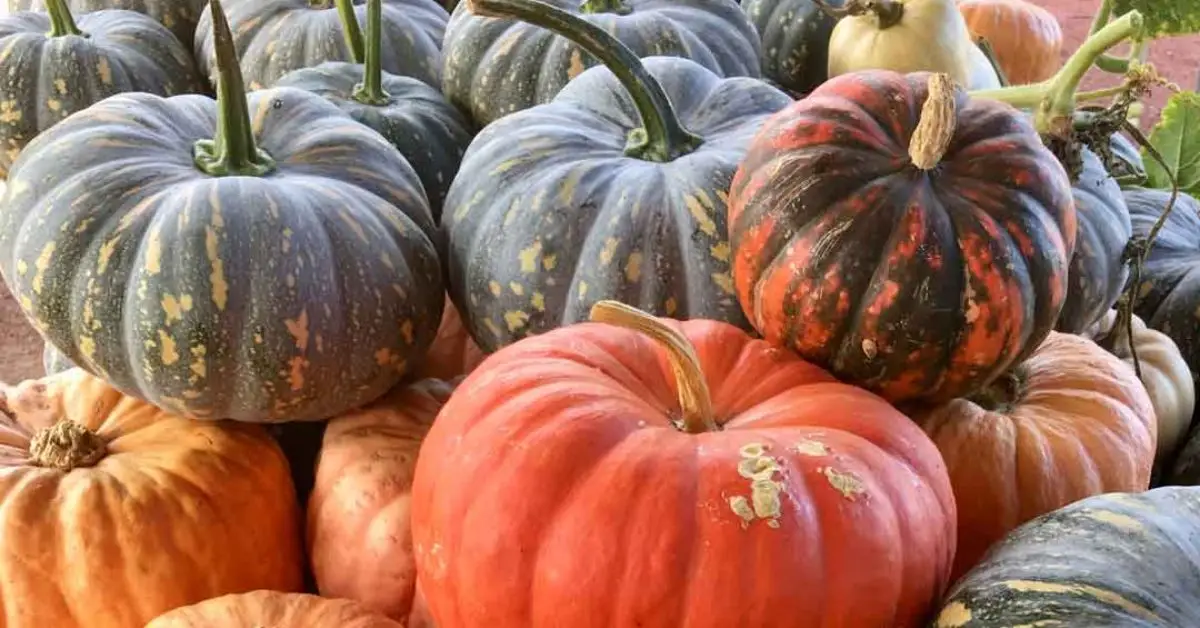
The best part of the process is walking out to the garden and seeing those pumpkins finally ready. But knowing when to pick is just as important as how you grew them. I always wait until:
- The skin is hard enough that I can’t pierce it with my fingernail.
- The color is deep and even across the pumpkin.
- The stem looks dry and woody, sometimes even starting to shrivel.
A quick tap test can help too—a ripe pumpkin gives off a hollow sound.
Once I cut them, I leave 1–4 inches of stem attached. It feels like a small detail, but it helps pumpkins last longer in storage. Then I cure them in a warm, dry spot for 10–14 days. This step hardens the skin and seals small scratches so the fruit can sit for weeks—or even months—without rotting.
When I skip curing, I notice pumpkins break down much faster. But with it, I’ve had healthy pumpkins last well past Halloween, ready for soups, pies, or just decorating the porch.
Do you usually grow pumpkins for eating, for carving, or just for the fun of seeing them fill up the garden?
Final Harvest Day Checklist
When harvest day finally arrives, I like to keep things simple and organized. A quick checklist keeps me from missing anything important:
- Check maturity – Skin should be firm, stems dry, and color uniform.
- Beat the frost – Don’t wait too long; pumpkins can be ruined by even a light freeze.
- Have the right tools – A sharp knife or pruners make clean cuts and prevent stem damage.
- Plan your curing spot – Warm, dry, and well-ventilated space for 10–14 days.
- Storage prep – A cool, dark location with good airflow extends pumpkin life.
- Think beyond storage – Whether it’s soup, pie, or carving, decide how you’ll enjoy your harvest.
This routine not only saves time but also ensures that the pumpkins you worked so hard to grow actually last and get used.
What about you—do you grow pumpkins mainly for eating, for carving, or just the joy of gardening? Share your thoughts in the comments below.
For more practical gardening tips and step-by-step guides, visit us at Plant Care Dairy.
Disclaimer: The information shared here is based on general gardening practices and personal experience. Growing results may vary depending on your local climate, soil conditions, and plant variety. For region-specific advice, consult your local agricultural extension or gardening experts.