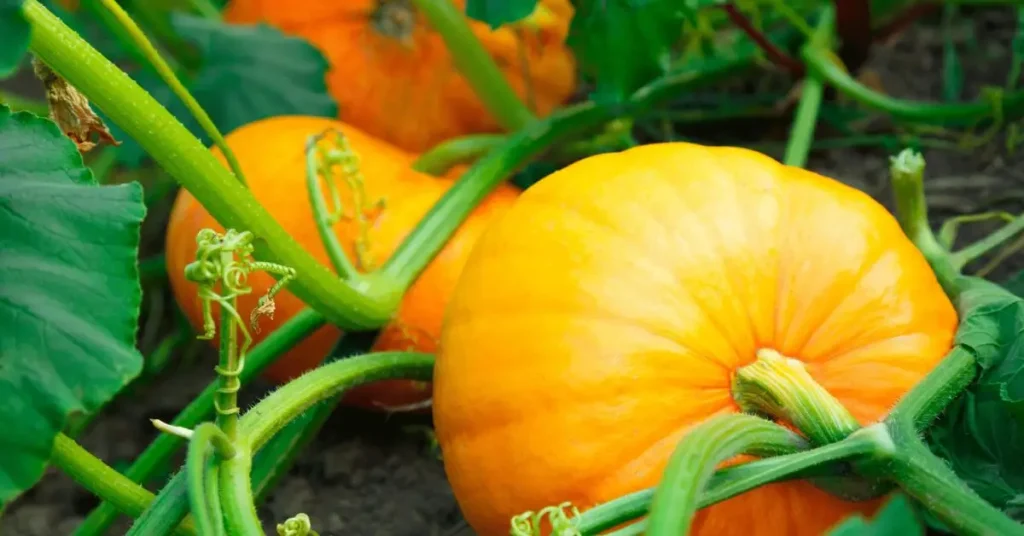
Every time I see a pumpkin patch, it reminds me of two things—childhood Halloween nights and the quiet satisfaction of growing something big with your own hands. Pumpkins aren’t just another garden vegetable; they carry stories, traditions, and a bit of magic in every vine.
The funny part is, most people think you need acres of land or years of gardening skill to grow them. That’s not true. I’ve seen pumpkins thrive in backyards, patios, even large pots on balconies when given the right start. The real challenge isn’t about space—it’s about knowing the timing, the soil, and a few tricks that make all the difference.
If you’ve ever thought, “Could I actually grow pumpkins at home?”—the answer is yes, and it’s easier than you think. By the end of this guide, you’ll see exactly how to turn a handful of seeds into something worth carving, cooking, or simply admiring in your garden.
So let me ask you—are you hoping for giant jack-o’-lanterns, sweet little pie pumpkins, or just the joy of watching vines take over a corner of your yard?
Understanding Pumpkin Growing Basics
When it comes to pumpkins, timing and setup matter more than anything. These plants love warmth and space. If you plant too early, frost will kill them. Too late, and you won’t see mature fruit before the season ends.
Here’s what you and I need to remember before dropping the first seed:
- Climate: Pumpkins thrive in temperatures between 70–85°F (21–29°C). Anything colder will stunt growth, and frost is fatal. According to the Old Farmer’s Almanac, pumpkins are highly frost-sensitive, which means they should only be planted once the soil has fully warmed in spring.
- Soil type: Loose, fertile soil with a pH of 6.0–6.8 works best. Think of soil as the pumpkin’s dining table—the richer it is, the stronger the vines grow.
- Sunlight: These plants need full sun, at least 6–8 hours daily. If your yard has a shaded corner, skip it; pumpkins are sun-seekers.
- Season overview: In most regions, seeds go into the ground in late spring and harvest comes in autumn. That’s why pumpkins feel tied to fall festivals—they’re ready right on time.
This foundation stops you from making rookie mistakes, like planting too early or tucking seeds into poor soil where they never stand a chance.
Choosing the Right Pumpkin Variety for Your Space

Not every pumpkin suits every gardener. One of the biggest mistakes I see is people planting “giant” types in small yards, only to realize the vines take over everything. You don’t need that headache.
Here’s how to match variety to your space and goals:
- For small spaces or containers:
- Baby Boo (tiny white pumpkins, great for table décor).
- Jack Be Little (mini orange pumpkins, perfect for kids and balconies).
- For larger gardens or carving fun:
- Big Max (huge, round, can weigh over 100 lbs).
- Howden (classic carving pumpkin, reliable size and shape).
If you enjoy the idea of adding character to your garden with unique plants, you might also love learning how to grow an olive tree at home, indoors or outdoors—a rewarding project that fits beautifully alongside pumpkins.
Step-by-Step: How to Plant Pumpkins at Home
This is where the real fun begins. Let’s break it into simple, doable steps so you don’t feel lost.
Preparing Soil & Containers
- Choose a sunny patch or large pot (minimum 15–20 gallons).
- Mix compost or well-rotted manure into the soil—pumpkins are heavy feeders.
- Create small mounds (hills) about 2–3 feet apart; this helps with drainage and warms the soil faster.
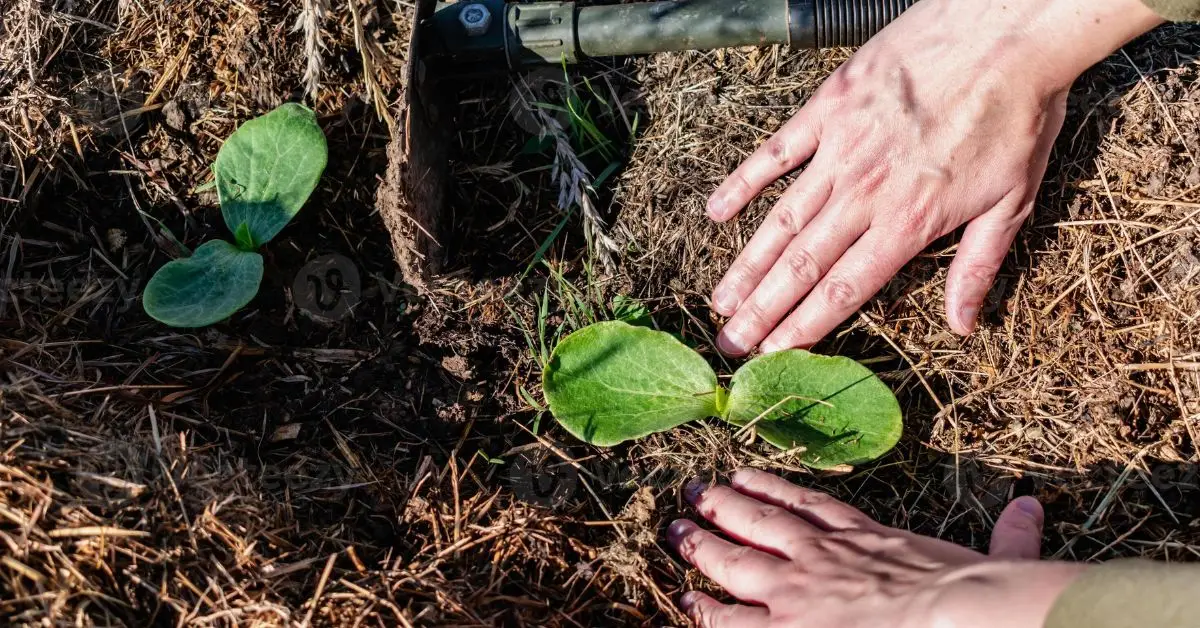
Planting Seeds vs Transplants
- Seeds: Sow directly 1 inch deep when soil is warm. Place 2–3 seeds per mound, thin later to the strongest seedling.
- Transplants: If your growing season is short, start seeds indoors 2–3 weeks early. Transplant gently—pumpkin roots hate disturbance. For gardeners who want faster, stronger growth from their seedlings, it’s worth exploring how to use rooting hormone for plant growth—a simple trick that can support healthier transplants, especially in the early stages.
Watering & Feeding Schedule
- Water: Keep soil consistently moist, but don’t drown it. One smart gardener once said, “Pumpkin roots rot faster from too much love than too little.” In other words, skip daily drenching—deep watering once or twice a week works better.
- Feeding: Use a balanced fertilizer early, then switch to high-potassium feed once flowers appear to encourage fruiting.
These steps are the backbone of pumpkin growing. Get this right, and the rest of the season becomes much smoother.
Pumpkin Plant Care Through the Season
Once your pumpkin seedlings settle in, the season turns into a game of steady care. Pumpkins grow fast, and if you don’t guide them, they’ll sprawl everywhere and leave you overwhelmed. Here’s how I keep them under control and productive:
- Mulching: Spread straw, dry leaves, or compost mulch around the base. It keeps the soil moist, blocks weeds, and stops pumpkins from sitting directly on wet ground (which can cause rot).
- Pruning vines: Don’t be afraid to cut. Once you’ve got a few healthy pumpkins forming, trim excess runners so the plant can focus energy on fruiting instead of endless vines.
- Pollination basics: Pumpkins rely on bees, but if pollinators are scarce, you can step in. Use a small brush or cotton swab to transfer pollen from male to female flowers. And if you’re looking to add more colour and flavour alongside your pumpkins, try growing edible flowers in small spaces—they attract pollinators and brighten up even the tiniest garden. I once saw a gardener share this hand-pollination hack on Twitter, and it’s a lifesaver if you want reliable fruit set.
Keeping up with these little habits makes the season smoother—you’ll feel in control rather than at the mercy of the vines.
Common Problems & Easy Fixes
Even with the best care, pumpkins test your patience. I’ve run into pests, mildew, and fruitless vines more times than I can count. The trick is spotting issues early and knowing quick fixes.
Pests: Squash Bugs, Vine Borers
- Squash bugs suck sap and weaken plants. Hand-pick them or use row covers early in the season.
- Vine borers tunnel into stems, causing sudden wilt. Slice open the stem, remove the grub, then cover the wound with soil to encourage new rooting.
- According to Utah State University Extension, correct pest ID is crucial—what looks like simple wilting can often be hidden insect damage.
Diseases: Powdery Mildew
- White patches on leaves? That’s mildew. Improve airflow by spacing vines well and pruning. A diluted milk spray or organic fungicide helps control it.
Growth Issues: Yellow Leaves, No Fruit
- Yellow leaves often point to nutrient deficiency—feed with a balanced fertilizer.
- Lots of flowers but no pumpkins? That’s poor pollination. Hand-pollinate or attract more bees with nearby flowers.
Knowing these quick fixes keeps frustration low and saves your harvest before problems spiral out of control.
Harvesting Pumpkins the Right Way
After months of watching vines sprawl and fruit swell, the real question is—when do you know your pumpkins are truly ready? Pick too early and they’ll shrivel; wait too long and frost will ruin them. Here’s what I’ve learned to look for:
- Hard rind: Press your fingernail into the skin. If it resists scratching, the pumpkin is mature.
- Hollow sound: Tap it lightly—ripe pumpkins have a deep, hollow tone.
- Stem check: The vine near the stem starts drying and turning brown when fruit is ready.
When it’s harvest time, always use sharp pruners or a knife and leave a few inches of stem attached. A short stem means quicker decay. After cutting, cure pumpkins by leaving them in a warm, dry, and well-ventilated spot for about 10 days. This toughens the skin and extends shelf life.
For storage, keep them in a cool (50–55°F), dry space, not directly on concrete. A wooden shelf or cardboard layer helps. Done right, pumpkins can last until mid-winter, ready for soups, pies, or even holiday decorations.
This step matters because it turns your effort into usable, long-lasting pumpkins instead of wasted ones.
Fun & Creative Uses for Your Pumpkins
The best part about pumpkins is enjoying them after the harvest. Whether you’re into cooking, carving, or composting, they’ve got endless uses:
- Cooking: Roasted pumpkin soup, spiced pies, or even toasted seeds make autumn meals richer. The BBC Good Food guide is packed with ideas if you’re ready to experiment.
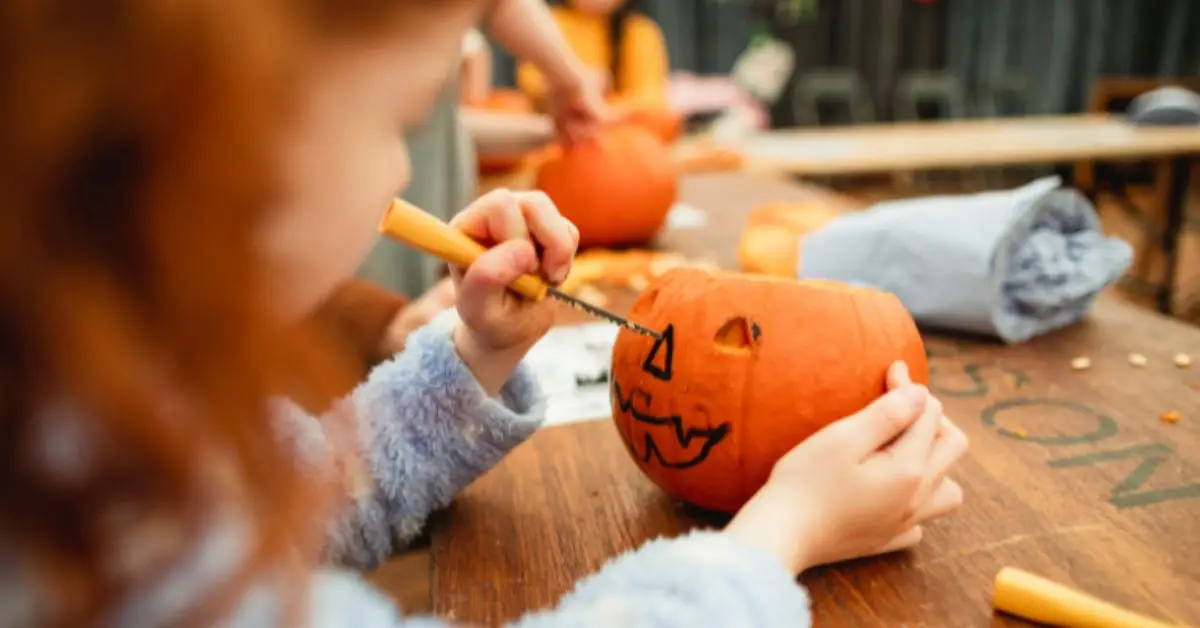
- Halloween carving: A tradition that never gets old—carved pumpkins light up porches and bring families together. You could even browse Instagram for creative designs that turn ordinary gourds into works of art.
- Composting: Don’t throw away old, mushy pumpkins. Break them up and compost—they return nutrients to the soil and cut down on waste.
Adding this lifestyle layer makes growing pumpkins more rewarding—you don’t just stop at the harvest, you turn them into meals, memories, and even soil for next year’s garden.
Final Takeaway: Growing Pumpkins Made Simple
At the end of the day, growing pumpkins isn’t about having acres of land or a farmer’s background—it’s about timing, patience, and a bit of care. From picking the right variety to curing your harvest, each step builds confidence. Even if you’ve got just a balcony, a small pumpkin can thrive with the right start. Once you see that first bright orange globe forming, you’ll realize it was all worth it.
What about you—are you planning to grow pumpkins this season, or have you tried before? Share your experience in the comments below, I’d love to hear your story. And if you want more practical guides and gardening tips, check out Plant Care Dairy for fresh ideas to make your green space thrive.
Disclaimer: The tips shared here are based on general gardening practices and personal experience. Growing conditions can vary depending on your local climate, soil, and available space, so always adapt methods to what works best in your area. For region-specific advice, check with your local extension service or trusted gardening resources.