
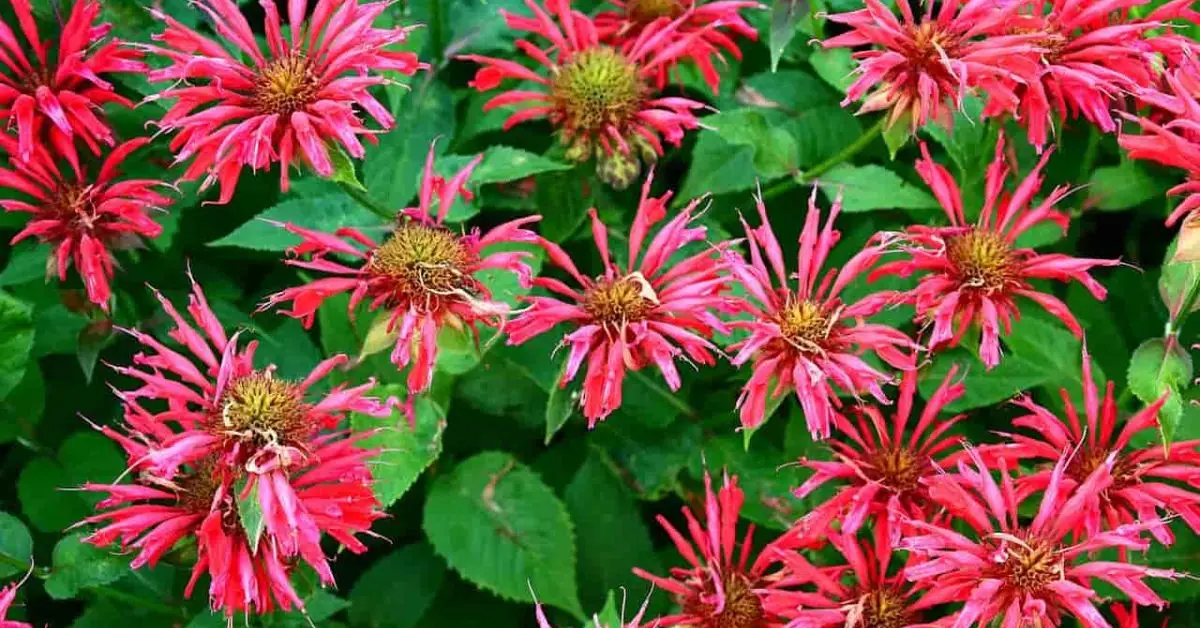
Pruning bee balm can feel like a daunting task, but trust me, it’s one of the best things you can do for your plant’s health and vibrancy. If you’ve ever wondered when to prune bee balm to get the most vibrant blooms, you’re not alone. Many gardeners hesitate, unsure if they’re cutting at the right time or doing more harm than good.
The good news is, with just a little knowledge, you can unlock the full potential of your bee balm plants. Whether you’re a seasoned gardener or just starting, proper pruning can encourage more flowers, improve air circulation, and keep your plant strong throughout the seasons. In this guide, I’m going to walk you through the when, why, and how of pruning bee balm for the healthiest, most stunning blooms. Ready to dive in? Let’s get started.
Spring Pruning: Kickstart for Robust Growth
As spring arrives, your bee balm is just waking up, and it’s the perfect time to give it a little encouragement. Pruning now can lead to stronger, more vibrant plants later in the year.
Pinching Back Tips
Pinching back the top growth is one of the easiest ways to encourage a bushier, more compact plant. By removing the tips of the main stems, you stimulate lateral growth, leading to more branches and, eventually, more blooms. It’s like giving your bee balm a fresh start after the long winter!
- How to Pinch Back: Simply use your fingers or sharp scissors to remove the top few inches of each stem.
- When to Pinch: Do this when the plant is just beginning to emerge in early spring, before it has set buds.
Spring pruning is also a great time to prepare your garden for other plants. For example, learning how to plant peas and beans in fall can complement your bee balm care by ensuring you have a productive garden all year.
The “Chelsea Chop” Technique
The Chelsea Chop is a classic gardening technique for delaying blooming while strengthening the plant. It involves cutting back one-third to one-half of the plant’s height, usually around mid-spring. This method not only promotes sturdier stems but also results in more compact, fuller plants.
- How to Perform the Chelsea Chop: Choose one or two stems from each plant and cut them back by 1/3 to 1/2 of their height.
- Benefits: This delay in blooming will help stagger the flowering period, leading to a more extended show of blooms.
Disease Prevention
Spring pruning also improves the plant’s airflow, which is essential for reducing the risk of diseases like powdery mildew. Bee balm can be susceptible to this fungal disease, especially in damp conditions. By trimming back dead or weak growth and ensuring air can circulate freely, you’re giving your plant a better chance at staying healthy.
- Air Circulation Tips: After trimming, avoid crowding your bee balm with other plants, and make sure it’s planted in a well-draining location.
- Watch for Signs of Disease: If you notice white, powdery spots on the leaves, it’s time to take action. You can always learn more about disease prevention on trusted gardening sites like The Spruce.
Mid-Summer Maintenance: Deadheading for Continuous Blooms
As the summer heat kicks in, you’ll notice your bee balm starting to fade. But don’t worry—deadheading can make a huge difference in extending its blooming season.
Deadheading Techniques
Deadheading is the process of removing spent or faded flowers from your plant. It may seem like a small task, but trust me, it’s one of the most effective ways to encourage new blooms and keep your bee balm looking fresh all season long.
- How to Deadhead: Simply snip off the flower heads as soon as they start to fade. Be sure to cut back to just above a leaf or a side branch.
- When to Deadhead: Do this regularly throughout the summer, especially after each wave of blooms.
Deadheading can also help other plants in your garden bloom longer. For instance, knowing how to harvest eggplant the right way can ensure you get the most out of your summer crops.
Benefits of Regular Deadheading
Deadheading isn’t just about keeping your plant neat—it also encourages the plant to direct its energy toward producing new flowers instead of seeds. This means you’ll have more vibrant blooms for a longer period.
- Prolonged Blooming Season: By removing spent flowers, you can encourage your bee balm to bloom again and again.
- Tidier Appearance: Deadheading also keeps your plant from becoming messy or leggy, making it look fuller and more attractive.
Avoiding Self-Seeding
Another perk of deadheading is that it prevents your bee balm from self-seeding, which can sometimes lead to the plant spreading where you don’t want it. By removing seed heads, you’ll keep your garden tidy and prevent unwanted bee balm sprouts from popping up in the wrong places.
- How to Prevent Self-Seeding: After deadheading, be sure to remove any remaining seed heads to avoid your bee balm from spreading too far.
- Bonus Tip: If you want to collect seeds for next season, let a few flowers go to seed, but be sure to deadhead the rest.
Fall Pruning: Preparing Bee Balm for Winter
As the days shorten and temperatures drop, your bee balm is getting ready to rest for the season. Fall pruning helps protect the plant from frost damage and encourages a healthy resurgence come spring.
When to Prune
Timing is key when it comes to fall pruning. You want to prune your bee balm before the first hard frost hits, as cutting back too late can expose the plant to frost damage. Ideally, prune in late fall, after the blooms have faded and before the temperatures dip too low.
- How to Time Pruning: Keep an eye on local weather forecasts. Once the first frost is expected, it’s time to prune.
- Why Timing Matters: Pruning too early may encourage fresh growth that’s vulnerable to frost. Wait until the plant is mostly dormant but before the frost settles in.
Cutting Back Guidelines
The goal of fall pruning is to reduce the size of the plant to help it survive winter and encourage healthy regrowth. You should trim bee balm down to 2–4 inches above the ground.
- How to Cut: Using sharp pruning shears, remove the stems that have become weak or leggy, cutting them back to about 2–4 inches above ground level.
- Why This Works: Cutting back the plant helps prevent disease buildup and ensures the plant can rest for the winter, which leads to a stronger return next spring.
Dealing with Diseases
Before you finish pruning, inspect your bee balm for any signs of disease or damage. Remove any diseased stems or leaves to prevent pathogens from overwintering and causing trouble when the plant starts growing again.
- How to Spot Disease: Look for yellowing leaves, mildew, or blackened stems. These should be cut away to avoid reinfection in the following growing season.
- Why It’s Important: Removing diseased parts prevents the spread of fungi or mold, ensuring a healthy start to the next year’s blooms.
Tools of the Trade: Essential Pruning Equipment
Pruning doesn’t have to be a chore. With the right tools, you’ll find that it’s an enjoyable, rewarding task that sets your bee balm up for a successful season.
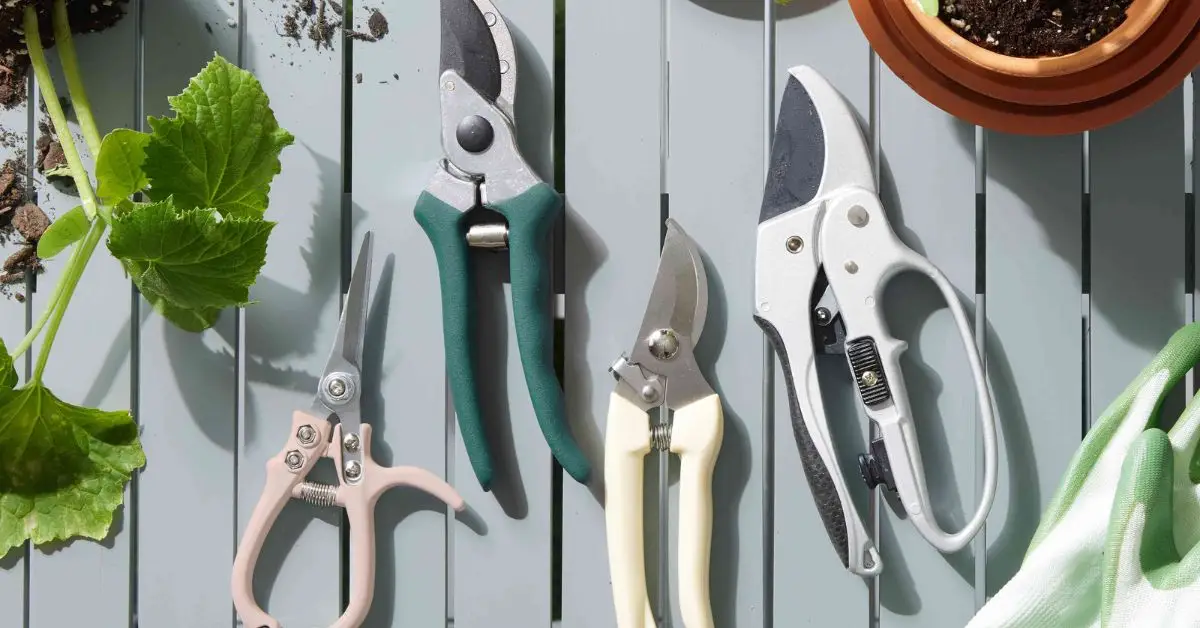
Pruning Shears
A good pair of sharp, clean pruning shears is your best friend when it comes to cutting back bee balm. You’ll need a tool that gives you control and precision to avoid damaging the plant.
- Choosing the Right Shears: Look for shears that are sharp, easy to handle, and durable. A bypass pruner (rather than an anvil pruner) is ideal for clean cuts that won’t crush the stems.
- Why This Matters: Sharp blades make the job easier and cleaner, preventing unnecessary stress on the plant and reducing the risk of disease from ragged cuts.
Gloves
Don’t skip on the gloves! Pruning bee balm can expose you to plant irritants and sharp stems. A good pair of gloves will protect your hands from cuts and potential allergens, making the whole process more comfortable.
- Choosing Gloves: Go for gloves that are thick enough to protect against thorns but still flexible enough to handle the shears comfortably.
- Why It’s Essential: Bee balm can sometimes be prickly, and having the right gloves ensures you don’t end up with scratches or irritation.
Cleaning Tools
Keeping your tools clean is just as important as having the right equipment. Cleaning your pruning shears and gloves after each use helps prevent the spread of disease between plants.
- How to Clean Tools: After each use, wipe down your tools with rubbing alcohol or a diluted bleach solution to disinfect them.
- Why Tool Hygiene Matters: Keeping your tools clean helps stop the spread of diseases from one plant to another. Even a small amount of bacteria on your shears can wreak havoc on your garden.
For more in-depth advice on pruning tools and techniques, check out this comprehensive guide on pruning from Gardeners’ World for expert tips.
Common Mistakes to Avoid While Pruning Bee Balm
Pruning is a delicate process, and it’s easy to make mistakes if you’re not careful. But don’t worry! I’ll walk you through the most common errors people make while pruning bee balm and how you can avoid them for a healthier plant.
Over-Pruning
One of the biggest mistakes gardeners make is cutting back too much. While pruning is important, over-pruning can stress your bee balm and hinder its ability to bloom properly. Removing too many stems or cutting back too drastically can leave the plant weak and unproductive.
- How to Avoid Over-Pruning: Stick to trimming only the necessary growth—remove dead or weak stems and cut back just enough to promote healthy regrowth.
- Why This Matters: Over-pruning can leave the plant vulnerable to diseases and prevent it from flowering the way you expect.
Incorrect Timing
Pruning at the wrong time can be just as harmful as over-pruning. For example, if you prune bee balm too early in the season, you may remove vital growth before the plant has had a chance to thrive. Similarly, cutting it too late can expose it to frost damage or prevent healthy blooming.
- How to Prune at the Right Time: Spring is the best time for major pruning, while deadheading and light cuts can be done throughout the blooming season. Avoid pruning in the fall, especially right before the frost hits.
- Why Timing Matters: Pruning at the wrong time can set your plant back and even cause it to produce fewer flowers.
Neglecting Disease Signs
Failing to check for diseases is another mistake gardeners often make. Bee balm can fall victim to powdery mildew, rust, or mold, especially in humid conditions. Not removing infected stems can lead to the spread of these diseases, weakening the plant and reducing its bloom quality.
- How to Spot and Remove Disease: Look for signs like yellowing leaves, white spots, or mold. If you see these signs, cut back the affected areas immediately and dispose of the stems properly.
- Why Disease Prevention is Key: Removing infected parts ensures that the disease doesn’t spread and helps your bee balm stay healthy.
Expert Tips for Thriving Bee Balm Plants

Bee balm is a beautiful plant, but to get the most out of it, you need to go beyond basic care. With these expert tips, you can enhance your bee balm’s growth and keep it looking its best throughout the year.
Soil Requirements
Bee balm thrives in well-drained, nutrient-rich soil. It loves slightly acidic to neutral soil that’s moist but not soggy. Good soil is the foundation of strong, healthy plants that can resist diseases and bloom to their fullest potential.
- What Soil to Use: If your soil is heavy or clay-like, mix in organic matter like compost or peat moss to improve drainage.
- Why Soil is Important: Bee balm roots need proper drainage to avoid rot, and nutrient-rich soil ensures they have all the necessary minerals for healthy growth.
Like with bee balm, ensuring that your other plants thrive is equally important. For instance, learning how to grow green onions easily in small spaces or containers can add variety to your garden and improve its overall health.
Watering Practices
Watering can be tricky, but bee balm likes consistent moisture—without getting too wet. Too much water can lead to root rot, while too little can stress the plant and affect bloom quality. Find a balance by checking the soil moisture regularly.
- How to Water: Water deeply when the soil feels dry to the touch, but avoid over-watering. Bee balm does well with 1-2 inches of water per week, depending on weather.
- Why Consistency Matters: Consistent moisture promotes strong root growth and vibrant blooms. Too much fluctuation in watering can lead to stress or disease.
Mulching
Applying a layer of mulch around your bee balm helps retain soil moisture, suppresses weeds, and provides additional nutrients as it breaks down. Mulch is especially beneficial in hot, dry climates where it helps keep the soil cool.
- How to Mulch: Spread a 2-3 inch layer of organic mulch around the base of the plant, avoiding direct contact with the stems.
- Why Mulching Helps: Mulch helps your bee balm conserve water, protects it from temperature extremes, and reduces weed competition, allowing it to grow strong and healthy.
Conclusion: Mastering Bee Balm Pruning for Optimal Blooms
By now, you should have a solid understanding of how and when to prune your bee balm. Pruning is not just about cutting back; it’s about giving your plant the best chance to thrive and bloom beautifully. Whether you’re pinching back in spring to promote healthy growth, deadheading to extend blooms through summer, or preparing your plant for winter dormancy, every cut counts.
Pruning your bee balm properly ensures healthier plants, more vibrant flowers, and extended blooming periods. By following these techniques, you’ll help your bee balm produce more blooms while preventing disease and stress. A well-pruned bee balm is not just a gorgeous addition to your garden—it’s a plant that will continue to thrive year after year.
Don’t be afraid to grab your pruning shears and get started! Whether you’re a seasoned gardener or new to bee balm care, these simple steps will help you achieve stunning, vibrant blooms with ease. Start with one plant, experiment with the techniques, and watch your garden come to life!
What do you think? Have you had success with bee balm pruning in your own garden? Share your experiences or any additional tips in the comments below! I’d love to hear how you care for your plants.
For more tips and expert advice on plant care, head over to Plant Care Dairy. We’ve got everything you need to make your garden flourish!
Disclaimer: The information provided in this article is for general gardening advice. Results may vary depending on individual circumstances, and we encourage you to consult with a local gardening expert or professional for specific guidance tailored to your area and conditions.