You know that feeling when your indoor plant starts looking a little… cramped? The leaves might droop, the soil dries out too quickly, or you notice roots poking out of the drainage holes. I’ve been there, and honestly, nothing slows down your plant’s growth like being stuck in a pot that’s too small. But here’s the thing—repotting isn’t just about moving it to a bigger container. Done wrong, it can stress your plant, damage roots, or even set back months of growth.
In this guide, I’m going to walk you through exactly how to repot your indoor plants safely, step by step. We’ll cover how to choose the right pot, handle the roots without harming them, and give your plant the best chance to thrive after transplanting. Whether you’re dealing with a tiny succulent or a tall fiddle leaf fig, these tips will help you avoid common mistakes and feel confident while doing it. By the end, you’ll not only know how to repot—you’ll understand why every step matters.
Why & When to Repot Indoor Plants
1. Why Repot at All
I always tell myself that repotting isn’t just moving soil around—it’s about giving your plant a fresh start. Here’s why it matters:
- Nutrient replenishment: Over time, the soil loses essential nutrients, and your plant can start looking sluggish.
- Room to grow: Roots need space, and cramped roots can stunt growth or even cause the plant to tip over.
- Preventing root-bound issues: If roots circle inside the pot, they can strangle themselves or stop absorbing water properly.
- Fixing drainage or soil problems: Compacted soil or poor drainage can leave roots sitting in water, inviting rot.
Understanding the why makes it easier to know when it’s really time to repot, instead of doing it out of habit.
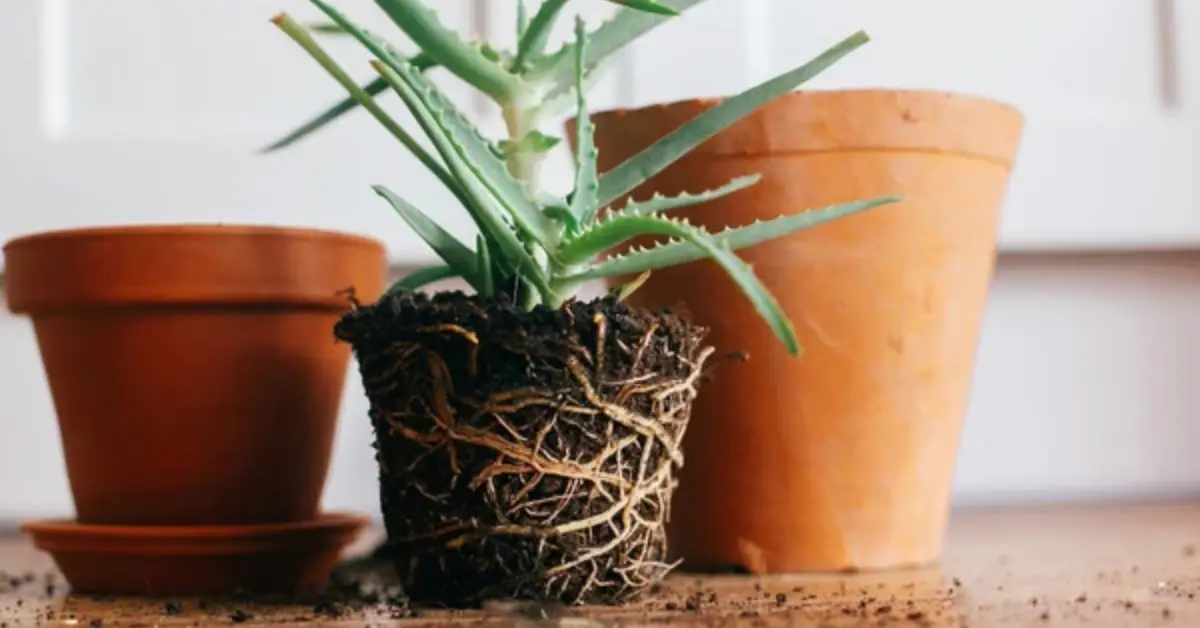
2. Signs a Plant Needs Repotting

You don’t want to wait until your plant looks sick, but these signs tell me it’s time:
- Roots are pushing out of drainage holes or visible on the surface.
- Soil dries out super fast, or water just rushes straight through.
- Growth has slowed, the plant feels top-heavy, or it’s starting to tip.
- Soil level drops, or the root ball starts cracking.
I often think back to something I read on Reddit: “I repot about the time I feel the plant is ready for a pot that is 2× the size…” It stuck with me because it’s practical, not just theory. These cues make you confident that repotting now is the right move.
3. When (Season / Timing) Is Best
Timing can make or break the whole process. If you’re repotting during colder months, make sure your indoor plants are protected from chilly drafts and temperature fluctuations—our guide on how to care for houseplants in winter covers all the essentials for keeping them healthy through the season. From my experience:
- Best season: Spring or early summer, when the plant is actively growing. According to Léon & George, repotting during this phase helps the plant recover faster.
- Avoid: Dormant periods or stressful times—like extreme heat or cold—when plants are vulnerable.
- Exceptions: Some species grow differently, so it’s worth checking before making a move.
If you repot at the right time, you drastically reduce stress and help your plant thrive.
Preparation Before Repotting
1. Tools & Materials Checklist
I always lay everything out before I start—trust me, it makes the process smoother:
- Fresh, well-draining potting mix
- Proper pot with drainage holes (right size, not too big)
- Gloves, trowel, scissors or pruners
- Newspaper or tarp to catch soil spills
- Optional: mesh for drainage, tray or saucer
Having this ready prevents mistakes mid-repot, so you’re not scrambling for tools or dirtying your space.
2. Choosing the Right Pot
Picking a pot seems simple, but I’ve seen so many beginners make this mistake. A few rules I follow:
- Only 1–2 inches larger than the current pot.
- Avoid pots that trap water—too much wet soil = root rot.
- If using decorative or cache pots, always keep an inner pot with drainage.
A correctly sized pot keeps your plant healthy without creating new problems.
3. Preconditioning the Plant
Before I even touch the soil, I prepare the plant:
- Water a day before repotting so roots are easier to handle.
- Never repot a brand-new plant immediately—Reddit users and I both agree: it can trigger transplant shock.
- Move it to a shaded or moderate-light spot while you work.
Taking these steps reduces stress, protects roots, and makes the process smoother for both of you
Step‑by‑Step Repotting Process
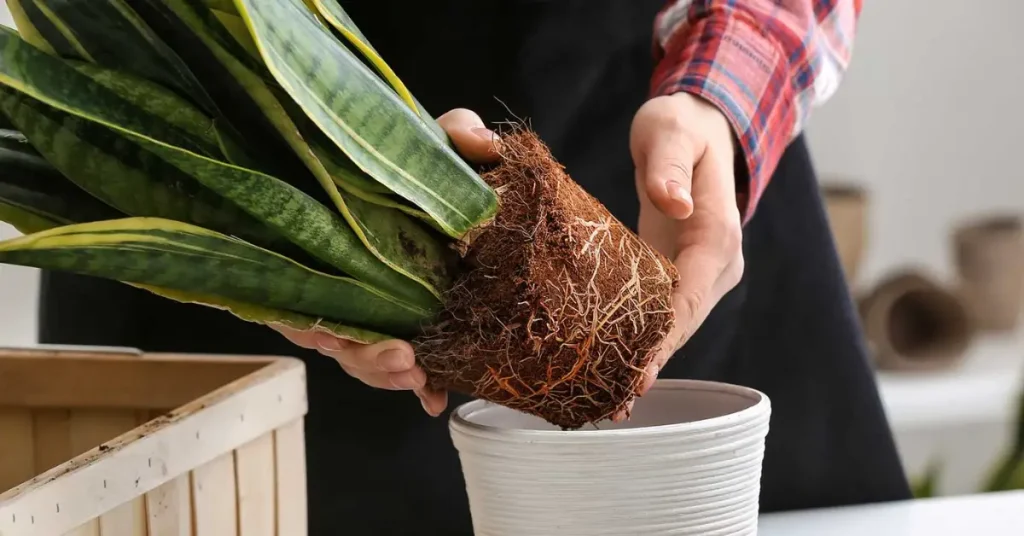
1. Remove Plant from Old Pot
- Gently loosen the pot by tapping the sides or squeezing if it’s plastic.
- If it’s stuck, carefully use a knife or spatula to free the edges.
- Always support the plant by its base—not the stems or leaves.
Preserves root structure and avoids breaking delicate stems.
2. Untangle / Loosen Root Ball
- Gently massage or tease the roots to break circling patterns.
- Trim dead, rotten, or overly long roots (maximum ~1/3).
- Optionally, prune roots if you’re keeping the same pot size to control growth.
Healthy roots expand easily into fresh soil and avoid “root-bound” problems.
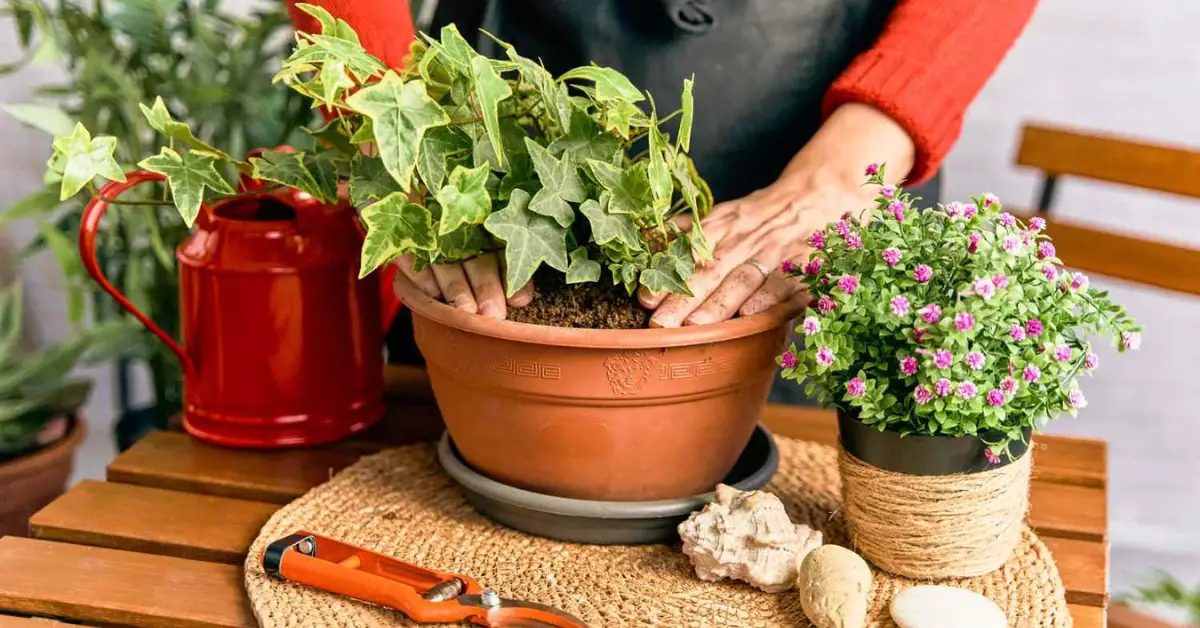
3. Add Base Soil & Position Plant
- Place fresh potting mix in the bottom third of the new pot.
- Position your plant at the correct depth (same as before, with slight allowance).
- Adjust soil underneath to ensure it’s level and stable.
Prevents burying stems too deeply and provides solid support.
4. Fill Around & Firm Soil
- Add soil around the roots, pressing gently to remove major air pockets.
- Tap the pot lightly or shake slightly to help soil settle.
- Avoid over-packing; roots need airflow.
Ensures stability, avoids soil compaction, and supports healthy growth.
5. Water Thoroughly & Drain
- Water slowly until water flows out of the drainage holes.
- Let the plant sit in the saucer briefly, then remove excess water.
- Use a gentle shower or “rain” setting to avoid displacing soil.
- Watch for overwatering signs during the first week.
Settles soil around roots and prevents dry pockets; careful watering avoids rot.
Aftercare & Monitoring (First Weeks)
1. Where to Place the Repotted Plant
- Keep in indirect light with stable temperature.
- Maintain humidity if needed (misting, tray, or humidifier). If you’re unsure about the ideal moisture levels, check out our guide on the best humidity level for houseplants to keep your plants thriving indoors.
- Avoid drafts and sudden environmental changes.
Helps your plant re-establish and prevents stress that can stunt recovery.
2. Watering & Nutrition (Resumption)
- Avoid fertilizing immediately—wait 1–2 weeks. According to Patch Plants, this allows roots to recover before new nutrients are introduced.
- Check soil moisture by feel or weight rather than a fixed schedule.
- Resume your regular watering routine gradually.
Fragile roots can be easily damaged by overwatering or early fertilization.
3. Common Post-Repotting Issues & Solutions
- Wilting or drooping (normal initially, but persistent droop needs attention).
- Yellowing leaves or leaf drop—stress indicators.
- Soil either too dry or waterlogged; adjust carefully.
- Watch for pests or disease flare-ups.
Special Cases & Variations
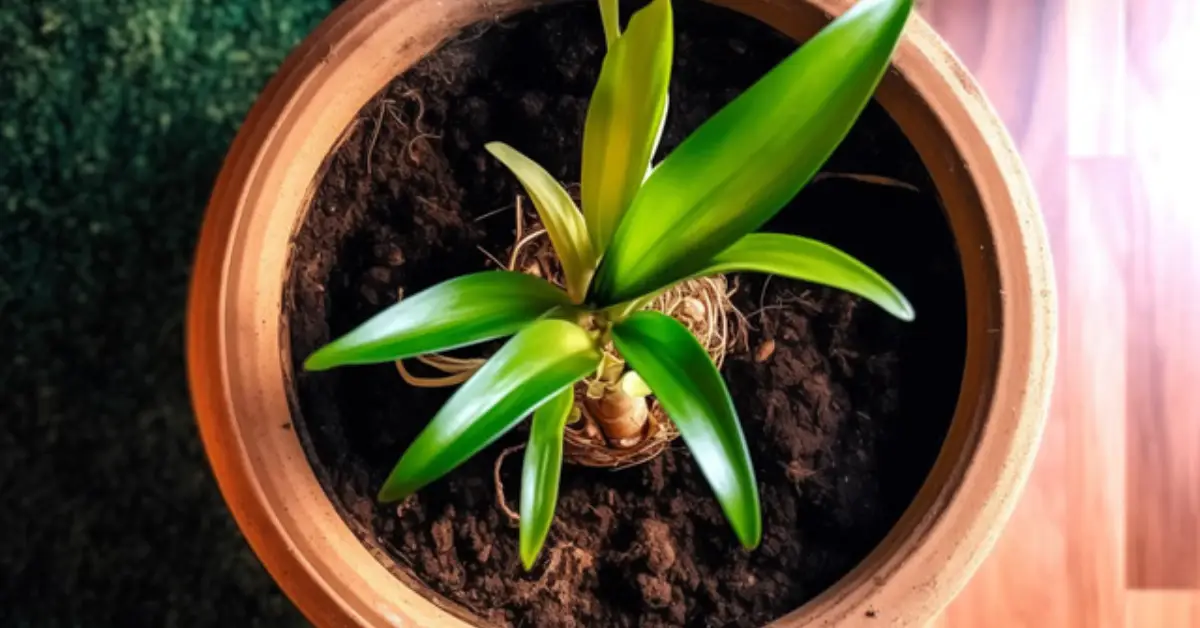
1. Succulents, Cacti, Orchids (Low-Moisture Plants)
- Use specialized, fast-draining soil and shallow pots.
- Follow plant-specific repotting frequency for minimal stress.
These plants are common indoors but require different handling than typical foliage plants. If your repotted plant will sit in a bedroom or a low-light area, it’s worth picking species that thrive in those conditions. Our guide on bedroom plants for low light shows the top picks that can survive and flourish even with minimal sunlight.
2. Large / Tall Indoor Plants (Trees, Palms, Ficus)
- For indoor repotting, you may need to lay them on their side or use tarps/trays (Reddit users share practical apartment tips).
- Use stakes or supports for stability.
- Sometimes dividing the root ball or “stepping up” gradually is safest.
Large plants present unique challenges many guides overlook.
3. When You Want to Keep Current Size (Root Pruning / Refresh Soil Only)
- Trim roots and reduce soil volume without changing pot size.
- Refresh the top layer of soil rather than fully repotting.
- Consider the trade-offs between growth control and root health.
Mistakes to Avoid & Myths Debunked
When I repot plants, I always keep a mental checklist of what not to do. These are the pitfalls that can quietly sabotage your efforts:
- Oversizing the pot: Bigger isn’t always better—too much soil can hold excess water and rot roots.
- Repotting too often: Avoid moving your plant more than necessary. As Reddit users point out, repotting twice in a month stresses the roots.
- Overfertilizing immediately: Your plant’s roots need time to recover before absorbing nutrients.
- Leaving roots exposed too long: Roots dry out quickly; work efficiently.
- Deep potting of the stem: Burying stems can cause rot and disease.
- Myth: “New soil will fix everything”: Even fresh soil won’t save a plant with damaged roots.
Knowing these mistakes upfront helps you sidestep traps, keep your plant healthy, and feel confident while repotting.
Summary & Key Takeaways
Here’s a quick cheat sheet to keep your repotting stress-free:
Dos:
- Check if your plant really needs repotting before starting.
- Choose a pot only 1–2 inches larger than the current one.
- Use fresh, well-draining soil and handle roots gently.
- Water carefully after repotting and let roots recover before fertilizing.
- Monitor the plant for a few weeks for stress signs like drooping or yellow leaves.
Don’ts:
- Don’t oversize the pot.
- Don’t repot too often or immediately after purchase.
- Don’t overfertilize or leave roots exposed.
- Avoid burying the stem too deep.
- Don’t assume new soil fixes root problems.
5‑Step Quick Repotting Checklist:
- Prep your tools, pot, and soil.
- Remove and loosen the plant carefully.
- Add base soil and position the plant.
- Fill, firm, and settle the soil.
- Water gently and monitor over the first few weeks.
This checklist is perfect for quick reference, saving you from common mistakes and keeping your plant thriving.
I’d love to hear about your repotting adventures! Share your tips, questions, or photos in the comments below. For more hands-on guides and plant care hacks, visit us at Plant Care Dairy—your go-to place for keeping indoor plants happy and healthy.
Disclaimer: The advice in this article is for general indoor plant care. Individual plant species may have unique needs, so always check specific care instructions. Plant Care Dairy is not responsible for any damage or loss of plants resulting from following these guidelines.