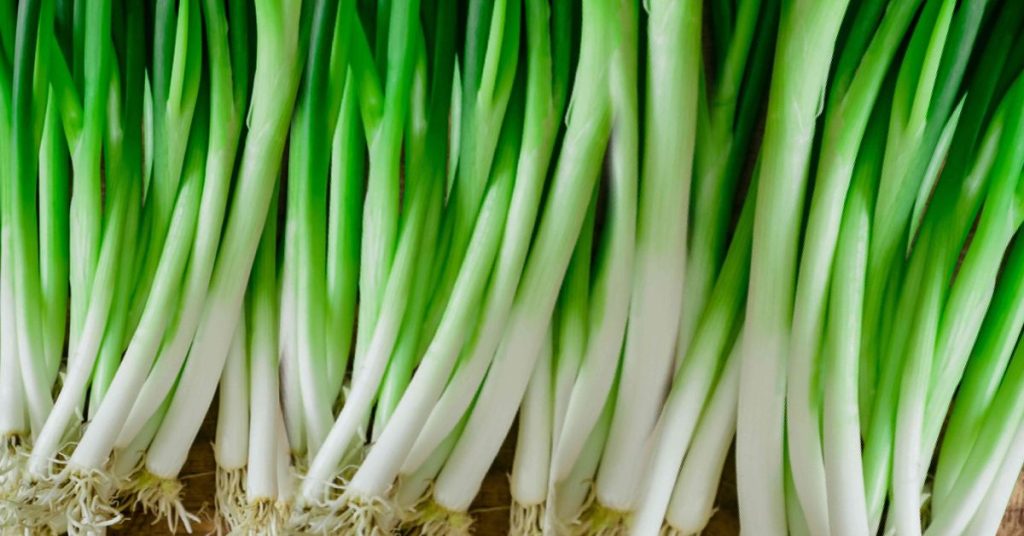
I still remember the first time I tried to grow something in my tiny apartment kitchen—it was green onions. I had no backyard, no balcony, just a narrow windowsill that barely caught the morning sun. But within a week, I watched those slim green shoots push through the soil, and it felt like magic.
If you’ve ever wanted fresh herbs or veggies but felt your space was too small, green onions are the perfect place to start. They don’t demand much—just a little container, some water or soil, and a bit of attention. The best part? They grow fast, and you can keep harvesting them again and again.
Most guides online throw out long lists of “do this, do that,” but they often miss the real pain points: what to do when your soil stays soggy, how to avoid overcrowding, and whether regrowing in water actually lasts. That’s where I want to help you—by giving you a clear, practical roadmap that fits your small space and saves you from those frustrating mistakes.
So tell me, have you ever thought about turning that sunny corner or empty jar into your own little onion patch?
Why Green Onions Are Perfect for Small Spaces
When I first tried gardening indoors, I didn’t have a balcony or yard—just a narrow windowsill. Green onions were the first thing I grew there, and they surprised me with how little effort they needed.
Here’s why they’re perfect for you if space is limited:
- Beginner-friendly: Even if you miss a watering or two, they bounce back quickly.
- Nutritional boost: They’re loaded with vitamins A, C, and K, while being super light on calories. That means you’re adding flavor to your meals and doing your health a favor.
- Space-savers: A small pot (6–8 inches deep) or even an old container is enough—you can line them up on a windowsill without clutter.
- Fast results: You don’t need to wait months. In as little as 15–20 days, you’ll have fresh greens ready to cut.
Green onions are like a “confidence crop.” They don’t demand much, but they give back quickly—making them a smart choice for beginners and busy people alike.
Choosing the Right Growing Method (Soil vs Water)
Once you’re ready, the next step is picking how you want to grow them. You’ve got two simple options, and both can work depending on your routine:
- Growing in Soil:
- Best for long-term harvests.
- Produces sturdier, more flavorful shoots.
- Great if you have a pot, planter, or even a balcony space.
- Regrowing in Water:
- Perfect if you want to see results fast with very little effort.
- Just place the root ends of store-bought onions in a jar of water, and new shoots pop up within days.
- It’s a fun, low-maintenance project—especially if you’ve got kids curious about plants.
If you’re serious about keeping a steady supply, soil is the way to go. But if you just want to dip your toes in or try something fun, the water method is surprisingly rewarding. You can check out this step-by-step DIY guide on Instructables for a simple walk-through.
So, what sounds better to you right now—a jar on your kitchen counter, or a pot of onions soaking up sunlight by the window?
Container and Space-Saving Hacks
One of the things I love about green onions is how forgiving they are when it comes to containers. You don’t need fancy garden boxes—just a little creativity.
Here’s what works best in small spaces:
- Pot size & depth: A container that’s 6–8 inches deep is enough. Wider pots let you grow more at once, but even a coffee mug can get you started.
- Creative containers: Mason jars, recycled plastic bottles, or even balcony railing planters work beautifully. The key is drainage—make sure excess water can escape.
- Vertical gardening: If you’re really tight on space, stack containers or use a vertical planter. It not only saves room but looks great as a green corner in your home.
I’ve even seen people use old tin cans lined up on a window ledge—it doesn’t have to be fancy, it just has to drain well.
Step-by-Step Guide to Planting Green Onions
If you’re starting fresh, don’t worry—it’s much easier than it sounds. Here’s a simple process that works every time:
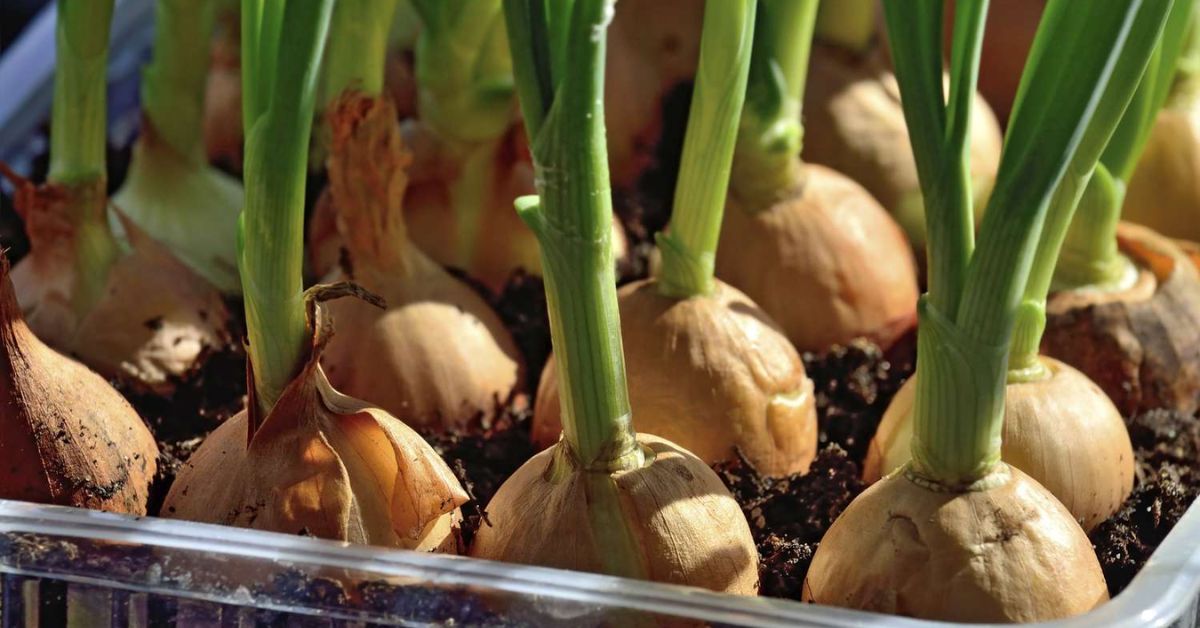
- Choose your starter: You can either use seeds or the white bulb ends from store-bought onions. If you’re a beginner, cuttings are quicker and more reliable.
- Prepare the soil: Use a mix that drains well—equal parts garden soil, compost, and a little sand works great.
- Planting depth & spacing: Bury the bulbs just an inch deep with the roots pointing down. Space them about 2 inches apart so they don’t crowd each other. If you’re just getting started with planting, it also helps to know the basics of seed starting—especially avoiding common mistakes when growing indoors. You can check this guide on how to start seeds indoors without making beginner mistakes for extra tips.
- Light & water: Place the pot where it gets at least 5–6 hours of sunlight. Keep the soil moist, not soggy—think damp sponge, not wet towel.
For a simple container-specific walkthrough, you can check this guide on Days Well Spent which shows how easy it is to set things up even on a small patio.
Daily Care and Maintenance
Once planted, green onions don’t need much fussing over. A few small habits will keep them healthy:
- Watering schedule: Check the soil every morning. If the top inch feels dry, water lightly. Avoid waterlogging—it’s the number one mistake beginners make.
- Fertilizer (optional): A diluted liquid fertilizer once every two weeks is enough. Too much feed can make them taste bitter.
- Spacing & trimming: If your onions look crowded, thin them out or harvest a few early. Overcrowding weakens growth and attracts pests.
I like to treat this as a “check-in crop.” A quick glance daily is usually enough—you’ll spot if the soil is too dry or if the shoots are bending toward the light.
Common Mistakes to Avoid When Growing in Small Spaces
I’ve learned the hard way that green onions aren’t just “plant it and forget it.” A few small mistakes can ruin your harvest, especially in tight spaces.
Here are the big ones to watch out for:
- Overwatering or poor drainage: If the soil stays soggy, roots will rot fast. Always use pots with drainage holes.
- Using shallow containers: Anything less than 6 inches deep will stunt their growth. You’ll end up with thin, weak shoots.
- Too much shade: Green onions need at least 5 hours of sunlight daily. A dark corner will only give you pale, floppy greens.
- Cutting too low at harvest: If you slice right at the base, you’ll kill the regrowth. Leave at least an inch above the soil so they can bounce back.
Think of it this way: a few simple checks—right pot, good light, proper drainage—save you from most of the frustration.
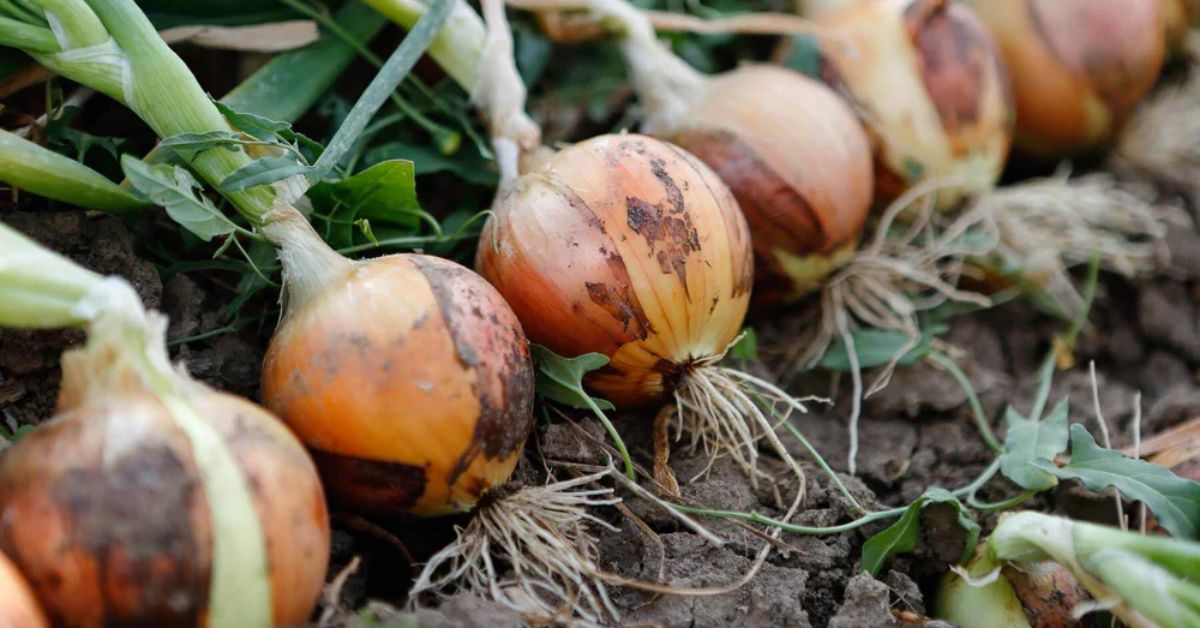
Harvesting and Continuous Regrowth
This is the part I enjoy most—cutting fresh onions and watching them grow back again. The trick is knowing how and when to harvest without damaging the plant.
- When to cut: Once the greens reach 6–8 inches tall, they’re ready.
- How to cut: Use clean scissors or a knife and trim from the outside shoots first. Leave the inner ones to keep growing.
- Regrowth cycle: Most plants will give you 4–5 harvests before they weaken. With good soil and sunlight, you can stretch it even longer.
For a simple visual guide, check this beginner-friendly tutorial on Gardener’s Basics. It shows exactly how to snip and regrow in containers.
Growing your own onions feels like a little loop of endless food—you cut, they regrow, and your kitchen always smells like something fresh is cooking.
Cost-Saving and Nutritional Benefits
One of the best parts about growing green onions at home is the money you save without even realizing it. A small bunch from the store might cost a couple of dollars, but when you grow them yourself, that same bunch keeps regrowing for weeks. Over a month, you could easily save the cost of 4–5 bundles.
And it’s not just about saving money—it’s about freshness. Homegrown green onions taste sharper, crisper, and you cut them minutes before they hit your pan. Store-bought ones often lose their flavor within a few days in the fridge.
Nutritionally, green onions punch above their size. They’re rich in vitamins A, C, and K, plus antioxidants that support your immune system and bone health. So every little snip from your pot isn’t just garnish—it’s a nutrient boost. Green onions are just the start—growing your own veggies can save you money across the board. For example, here’s a detailed guide on how to grow potatoes at home step by step if you want to expand your kitchen garden.
Troubleshooting: Yellowing Leaves, Slow Growth, Root Rot
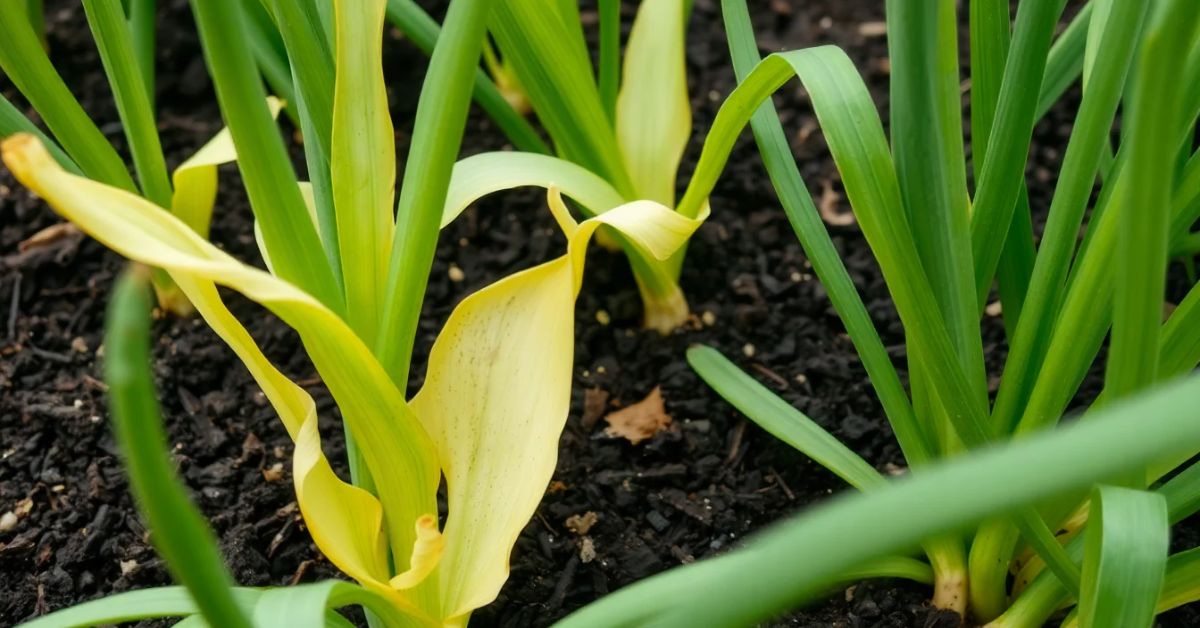
Even easy plants like green onions can throw you a curveball. Here are quick fixes for common problems:
- Yellowing leaves: Usually a sign of overwatering or lack of nutrients. Let the soil dry slightly before the next watering, and consider a light feed.
- Mold in water regrowth: Change the water every 2–3 days and rinse the roots. Keeping the jar in indirect sunlight instead of dark corners also helps.
- Slow growth: Move the pot to a brighter spot—at least 5 hours of sun is ideal. If indoors, a south-facing window or a small grow light can make a big difference.
- Root rot: Always use containers with drainage holes. If the roots are mushy, cut away the rotten part and replant the healthy bulbs.
A little observation goes a long way. Once you know what to look for, you’ll catch problems early before they spread.
Bringing It All Together
Even if you live in a tiny flat with nothing more than a sunny window, you can still grow endless green onions. They’re affordable, low-maintenance, and give you the satisfaction of fresh food right at home.
Try both methods—keep a jar of cuttings in water for quick use, and a pot of onions in soil for steady harvests. You’ll be surprised how quickly they become a regular part of your cooking routine. If you enjoyed growing onions, garlic is another easy crop that thrives in small spaces. You can follow this practical guide on how to grow garlic at home with simple tips for every season to keep your kitchen stocked year-round.
Now it’s your turn—have you tried growing green onions at home? What worked best for you? Share your experience in the comments, and let’s learn from each other.
For more simple, practical gardening tips, visit Plant Care Dairy and explore guides that make plant care easy, even in the smallest spaces.
Disclaimer: The information in this article is for educational purposes only. Gardening results may vary depending on your location, climate, and care methods. Always adjust practices to your specific conditions.