
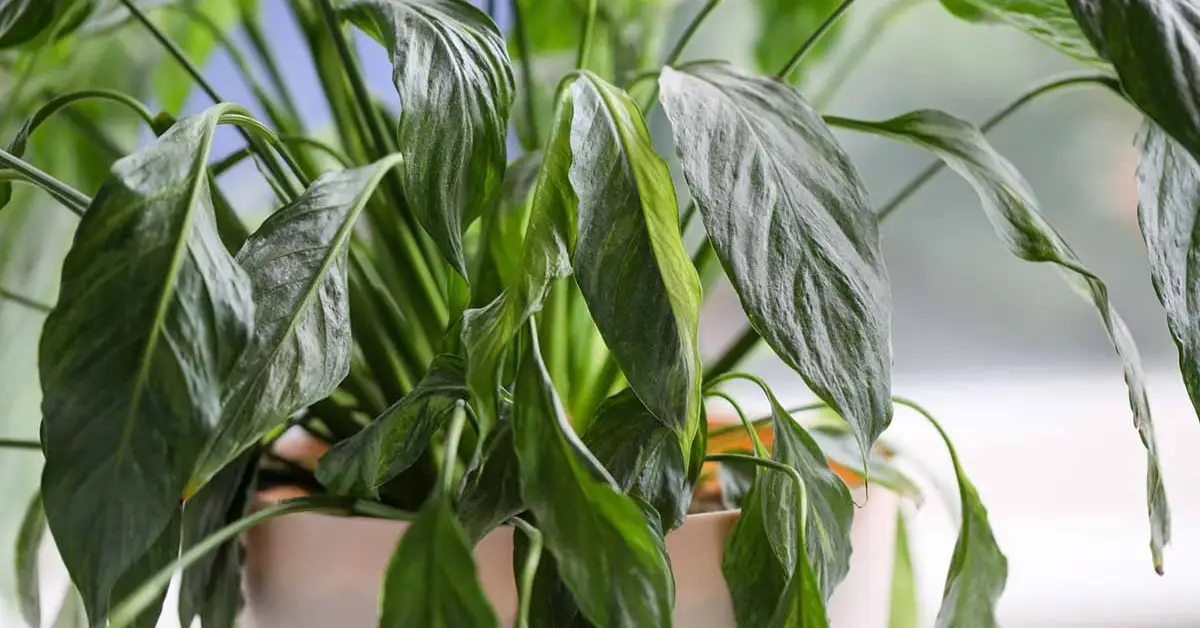
When I first noticed my peace lily leaves turning yellow, I’ll be honest—I thought I had done something terribly wrong. Maybe I overwatered it, maybe I left it in the wrong corner of the room, or maybe it was just giving up on me. If you’ve walked past your own plant and spotted that sudden yellow flush, I know the mix of worry and frustration you’re feeling.
Here’s the good news: yellowing leaves don’t always mean your peace lily is dying. Sometimes it’s a natural part of the plant’s cycle, and other times it’s a clear signal that something in its care routine needs adjusting. The trick is learning to tell the difference—because once you know why those leaves are changing color, the fixes are usually simple and quick.
In this guide, I’ll walk you through the real reasons behind yellowing leaves, the mistakes most plant owners don’t realize they’re making, and the practical steps you can take right now to bring back that deep, glossy green. Think of it as learning to “read” your peace lily’s signals so you can respond before the problem grows.
Have you spotted just one yellow leaf, or is the whole plant starting to change? That detail alone can tell us a lot—let’s start there.
The Most Common Causes of Yellow Peace Lily Leaves
If your peace lily has started showing yellow leaves, don’t panic—it’s one of the most common plant problems, and I’ve dealt with it more times than I can count. The key is figuring out whether it’s a simple fix or a sign of something deeper. Let’s break down the main reasons this happens so you can quickly spot what’s going on with yours.
Overwatering and Root Rot
I’ll start with the number one culprit: too much water. Peace lilies like moist soil, but when you keep the pot soggy, the roots can’t breathe. Instead of soaking up nutrients, they start to suffocate, and that stress shows up as yellow, droopy leaves.
Here’s how to tell if overwatering is your issue:
- Soft, limp yellow leaves instead of dry ones.
- Soil that smells musty or sour.
- Roots that look black or mushy when you peek into the pot.
As explained by Houseplant Journal, root rot is often the hidden reason behind persistent yellowing—it’s not just “bad luck,” it’s a clear signal the plant’s roots are struggling.
Underwatering Stress
On the flip side, letting the soil stay bone-dry for too long is just as harmful. Peace lilies are dramatic—they’ll flop over when thirsty, and if left too long, those leaves start yellowing and crisping at the edges.
A quick check I always use: stick your finger into the soil about an inch deep. If it feels completely dry, your plant is overdue for a drink.
Signs of underwatering include:
- Leaves that are limp and yellow at the same time.
- Brown, crispy tips following the yellowing.
- Soil pulling away from the sides of the pot.
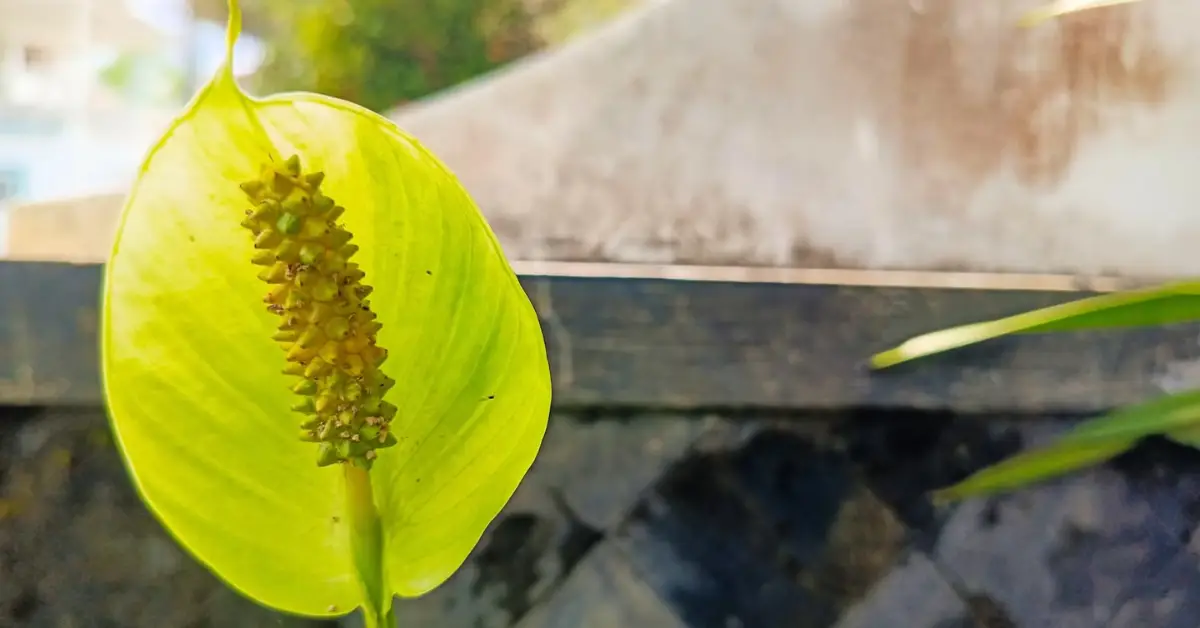
Low Light or Too Much Direct Sun
Peace lilies are shade lovers, but that doesn’t mean they can survive in the dark. At the same time, direct harsh sunlight can burn them, leaving yellow or bleached patches on the leaves.
A simple rule: if you can read a book comfortably in the spot without turning on a light, your peace lily will be happy there. I remember seeing an expert say on social media, “Your peace lily isn’t a cave dweller—it still needs light, just not the blazing sun.” That line stuck with me because it’s exactly the balance these plants need.
Look for these clues:
- Pale yellow leaves overall = too little light.
- Scorched yellow patches = too much sun.
Nutrient Deficiency
Sometimes the issue isn’t water or light—it’s food. Peace lilies need a steady supply of nutrients, especially nitrogen and magnesium, to keep their leaves green and strong. Without them, the plant starts looking washed-out and yellow.
If you haven’t fertilised in months, this could be your culprit. A gentle, balanced liquid fertiliser every six weeks during spring and summer usually does the trick.
If you’re exploring natural ways to boost nutrients, some gardeners even use wood by-products—though it’s important to understand first if charcoal ash is really beneficial for plants before adding it to your soil mix.
Quick indicators:
- Uniform pale yellowing across many leaves.
- Slow or weak new growth.
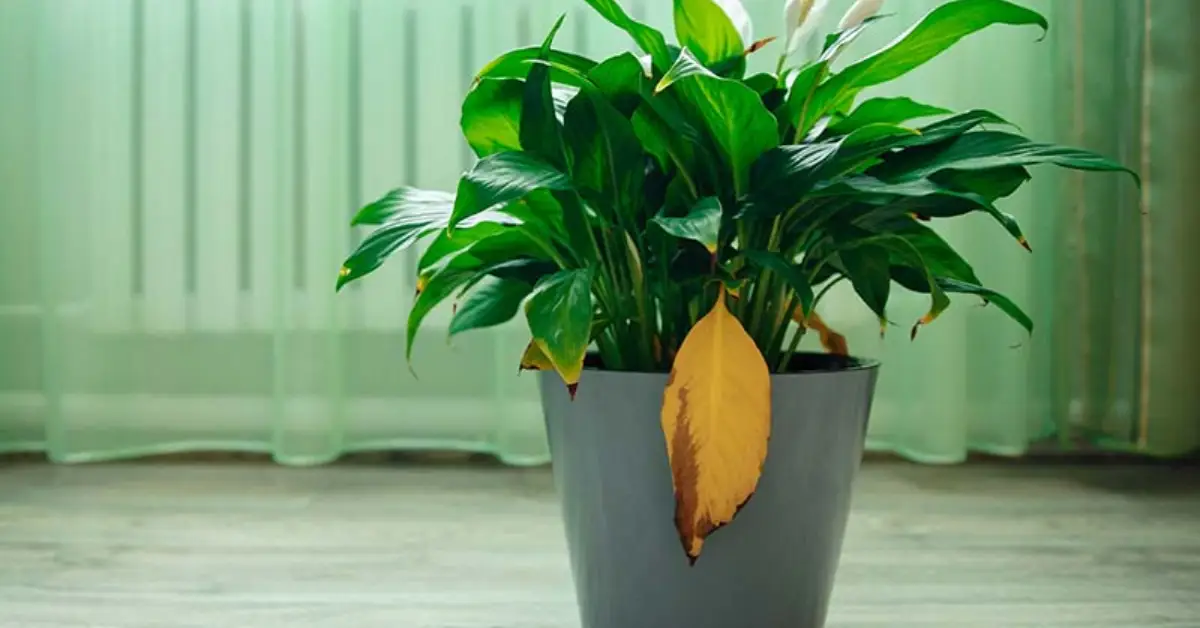
Natural Ageing
Finally, sometimes yellowing is nothing to worry about—it’s just the plant doing its thing. As peace lilies grow, older leaves at the base naturally yellow and die off, making room for new, healthy growth at the top.
What to do:
- Prune yellow leaves at the base with clean scissors.
- Focus on the overall health of the plant rather than one or two fading leaves.
Remember, a couple of yellow leaves here and there is totally normal. The concern only starts when several leaves yellow at once or new growth is affected.
Have you noticed if the yellowing is happening on old bottom leaves or spreading across the entire plant? That small detail can tell you exactly where the problem lies.
Quick Fixes That Actually Work
When you notice yellowing leaves, it’s easy to feel overwhelmed. But in my experience, most peace lily problems can be reversed with a few simple adjustments. Think of this section as your 60-second action plan—quick, doable steps that give your plant the best chance to bounce back.
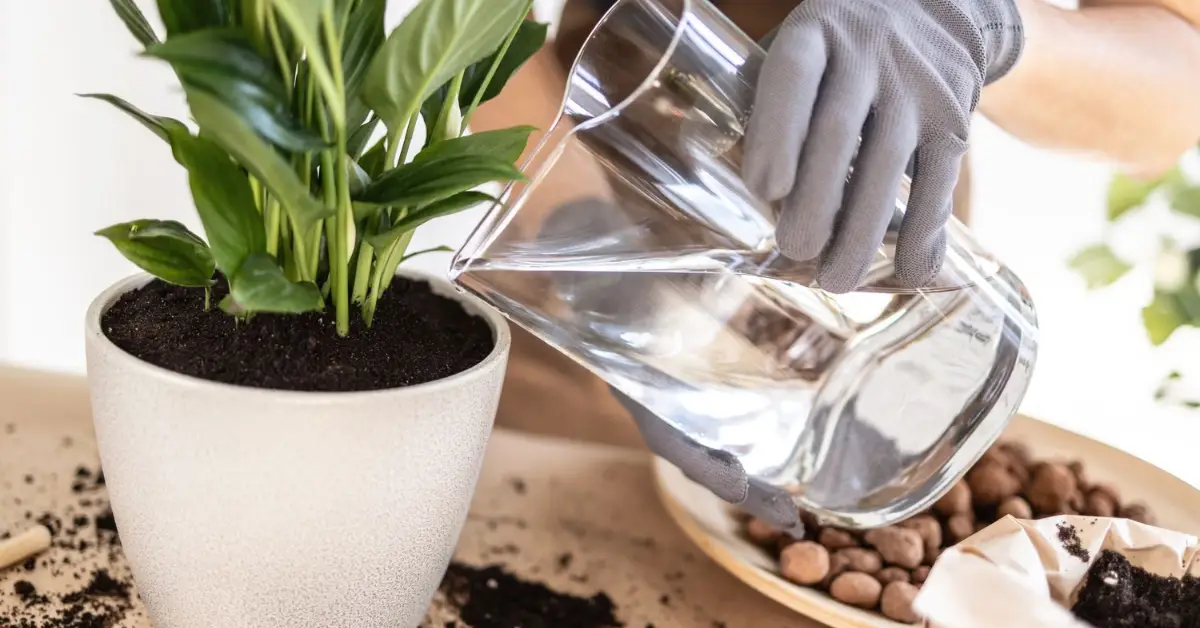
- Water Check Routine: Before reaching for the watering can, stick your finger an inch into the soil. If it feels damp, hold off. If it’s dry, water slowly until it drains from the bottom.
- Drainage Upgrade: Poor drainage is a silent killer. Repot your lily in a pot with holes and use an airy mix (peat, perlite, bark). This keeps the roots oxygenated and reduces the risk of rot.
- Light Adjustment: Move your peace lily near a north- or east-facing window. These spots give it the indirect light it craves without harsh burn.
- Fertiliser Balance: Feed your plant a balanced liquid fertiliser about every six weeks during spring and summer. Avoid overfeeding—it’s worse than underfeeding.
- Pruning Tip: Cut yellow leaves at the base with clean scissors. This not only tidies up the plant but also signals it to focus energy on new, healthy growth.
Small tweaks like these often lead to visible improvement within a couple of weeks.
Advanced Troubleshooting When Fixes Don’t Work
Sometimes, even after making all the right adjustments, your peace lily keeps yellowing. This is where deeper troubleshooting comes in. Most guides stop at the basics, but here’s what I’ve learned from years of trial, error, and plant rescues.Check for Pests
Tiny pests like spider mites or aphids can stress your plant, and the first symptom is often yellowing leaves. They’re hard to spot, so take a close-up photo in good light and zoom in. I’ve seen countless posts on plant forums where people thought they had watering issues, only to find mites crawling on the undersides of the leaves.
Spider mites are one of the most common hidden culprits, and if you spot fine webbing, it’s worth learning how to effectively get rid of spider mites without chemicals so your peace lily can recover without harsh sprays.
Signs to look for:
- Fine webbing under leaves.
- Small brown or green dots moving when disturbed.
- Leaves yellowing unevenly rather than all at once.
Soil & Pot Size Issues
A peace lily that’s been in the same pot for years may be rootbound, meaning its roots circle tightly inside the container. This restricts water and nutrient flow, leading to yellowing.
How to check:
- Gently lift the plant out—if you see more roots than soil, it’s time.
- Repot every 1–2 years into a container that’s just one size larger.
This simple step often gives the plant fresh life, as new soil provides both nutrients and breathing space.
Water Quality (Chlorine & Fluoride)
One overlooked cause of yellowing is tap water quality. Peace lilies are sensitive to salts, chlorine, and fluoride commonly found in municipal water. Over time, these chemicals build up in the soil, stressing the plant.
Quick fix options:
- Leave tap water out overnight to let chlorine evaporate.
- Use filtered, distilled, or rainwater for more sensitive plants.
- Flush the potting mix with clean water every few months to remove buildup.
For more guidance on identifying and fixing yellowing caused by environmental stress, Better Homes & Gardens provides additional expert-backed care tips you can trust.
If you’ve ruled out the basics and your peace lily is still struggling, chances are one of these deeper issues is at play. It’s about patience and observation—your plant is always sending signals if you know where to look.
Preventing Yellow Leaves Long-Term
Fixing yellow leaves is one thing—but keeping your peace lily green and thriving long-term is where the real satisfaction comes in. Once you understand the plant’s rhythm, it becomes less about “rescue missions” and more about steady, consistent care.
Here’s a simple checklist I follow:
- Water: Use the finger test before watering. Aim for evenly moist soil, not soggy.
- Light: Bright, indirect light is best. Rotate the pot every few weeks to keep growth balanced.
- Feed: A balanced liquid fertiliser every 6–8 weeks during the growing season keeps leaves vibrant.
Seasonal adjustments matter:
- In summer, your peace lily will need more frequent watering and may appreciate light misting.
- In winter, growth slows, so reduce watering and skip fertiliser until spring.
One trick that’s saved me countless times: set calendar reminders for watering. It sounds simple, but it helps you avoid the classic “oops, I forgot” cycle that causes half the yellowing issues in the first place.
For a deeper dive into peace lily care routines, Lively Root shares useful long-term plant maintenance tips that can help you stay consistent.
When to Worry vs. When to Relax
Not every yellow leaf is an emergency, and learning to tell the difference can save you a lot of stress. I’ve seen plant parents panic over a single fading leaf when in reality, the plant was just shedding its old growth.
Here’s the difference:
- Normal:
- 1–2 older leaves at the bottom turn yellow while new growth looks healthy.
- Yellowing happens slowly, not overnight.
- Plant still produces fresh green leaves and blooms.
- Worry:
- Several leaves yellowing all at once.
- Stems or crowns that feel mushy (a sign of rot).
- Yellowing combined with black or brown spots.
- No signs of new growth after weeks of care.
The goal isn’t to keep every single leaf perfect forever—it’s to keep the overall plant healthy and growing. Once you shift your perspective, you’ll stop stressing over the occasional yellow leaf and start focusing on the bigger picture of plant health.
Yellowing isn’t unique to peace lilies—many plants go through stress phases, just like lemongrass does when care slips. If you’re curious, here’s a guide on why your lemongrass might be dying and how to fix it that shows the same principles apply across different houseplants.
Tell me—do you usually see just one or two yellow leaves, or does your peace lily seem to decline all at once? That detail will decide whether you should relax or take quick action.
Final Takeaway
At the end of the day, most yellowing leaves on a peace lily come down to just two things: water or light. Fix those first before diving into more complicated solutions. Keep your watering balanced, give your plant bright but indirect light, and don’t forget that older leaves naturally fade with time.
A little pruning goes a long way—snip off the yellow leaves, stay patient, and let your peace lily redirect its energy into fresh, glossy growth. With consistent care and a bit of observation, your plant can bounce back faster than you think.
Have you tried any of these fixes on your peace lily? Share your experience in the comments—I’d love to hear what worked for you. For more trusted plant tips and care guides, visit Plant Care Dairy and keep your indoor garden thriving.
Disclaimer: This article is for general informational purposes only and is not a substitute for professional horticultural advice. Always consider your plant’s specific conditions before applying care tips.